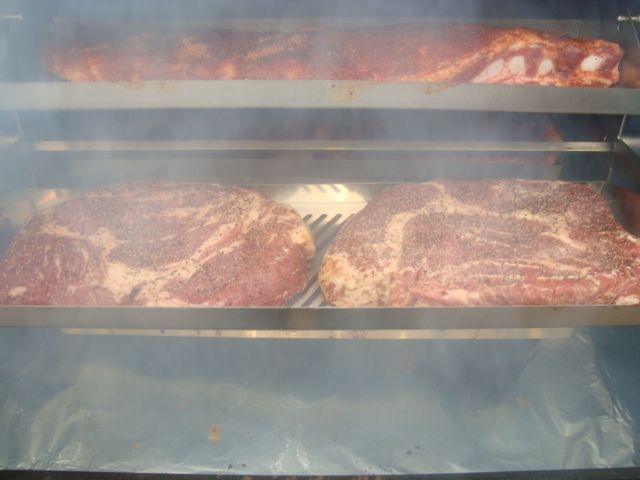
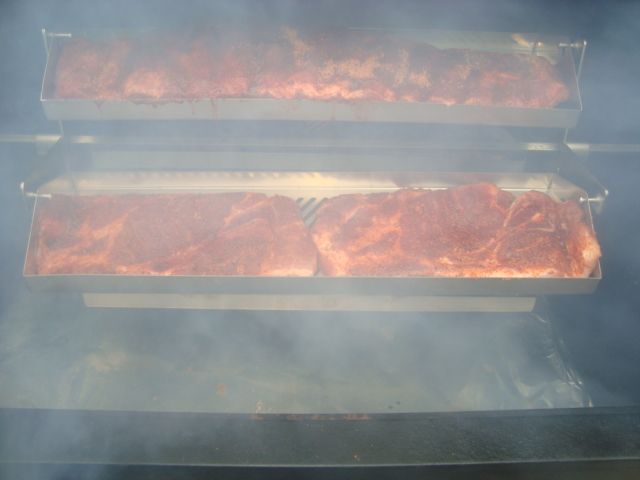
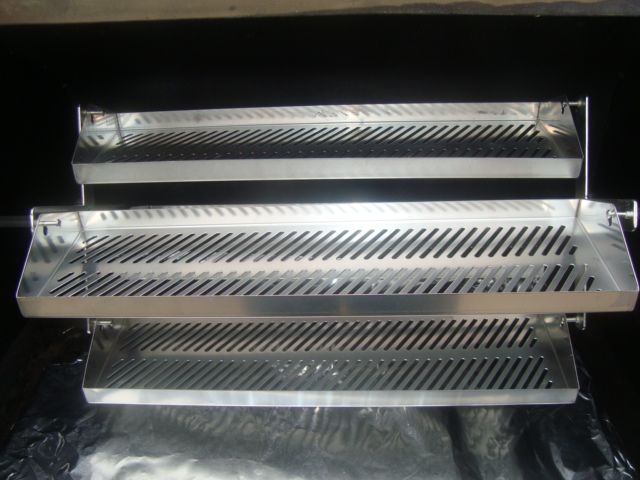
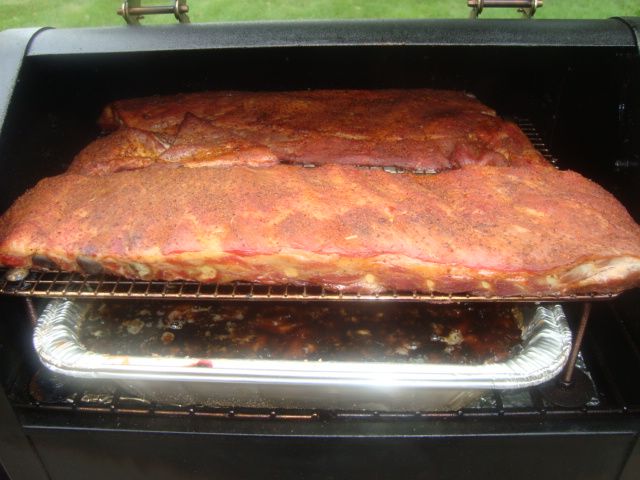
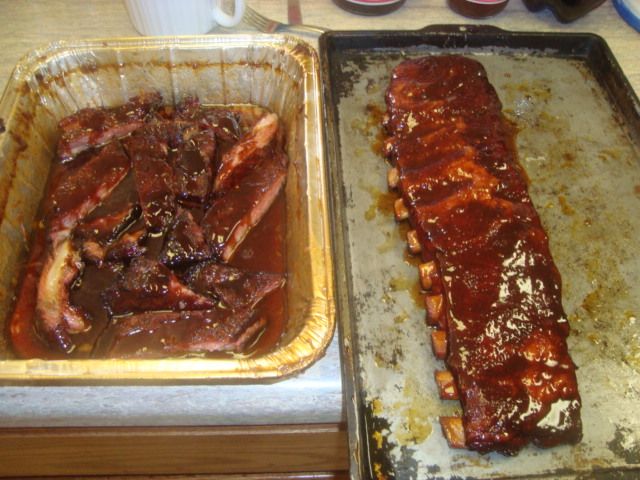
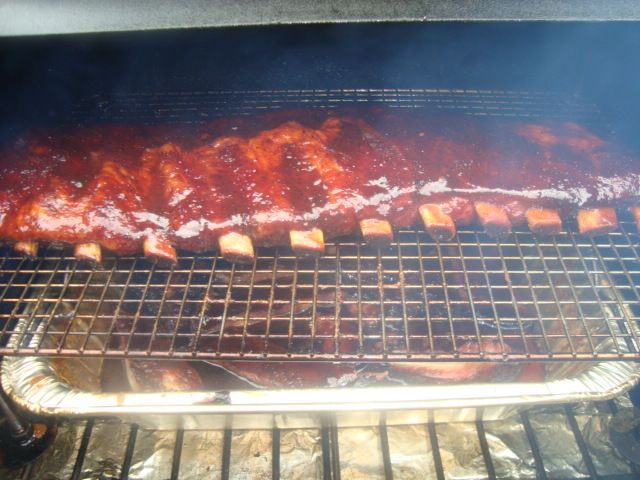
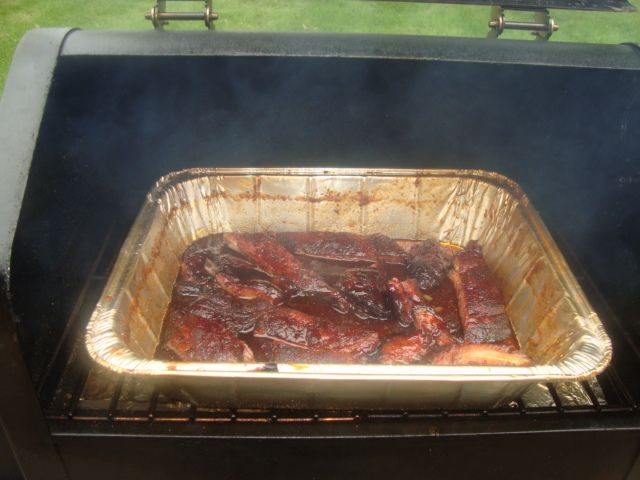
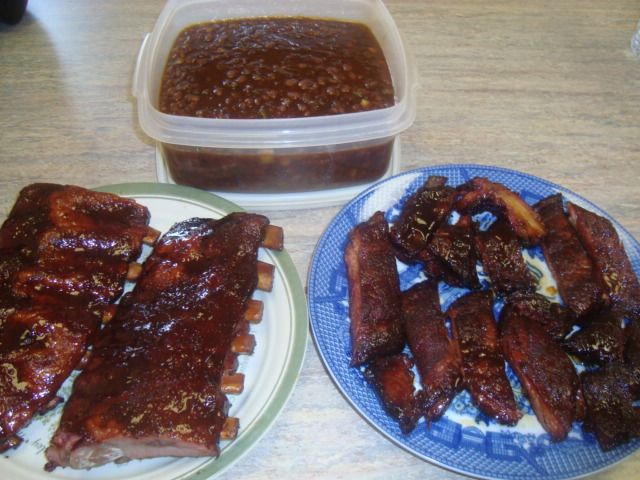
This cook was done on my GMG Daniel Boone running a Rib-O-Lator rotisserie setup. It was also my first cook on this setup. I wanted to cook a full load of spare ribs but just didn't need them at this time so I decided to do a mixed cook to see how this modification would work.
The cook consisted of the following meats.
Slab of St Louis cut Spare Ribs
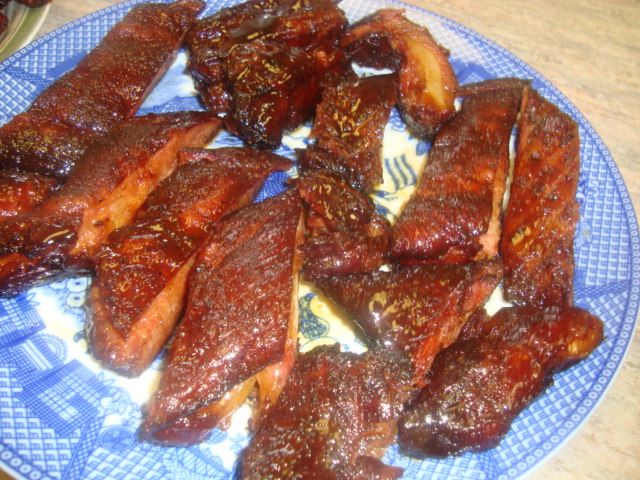
Rib Tips from the slab of spares
Three Pork Steaks
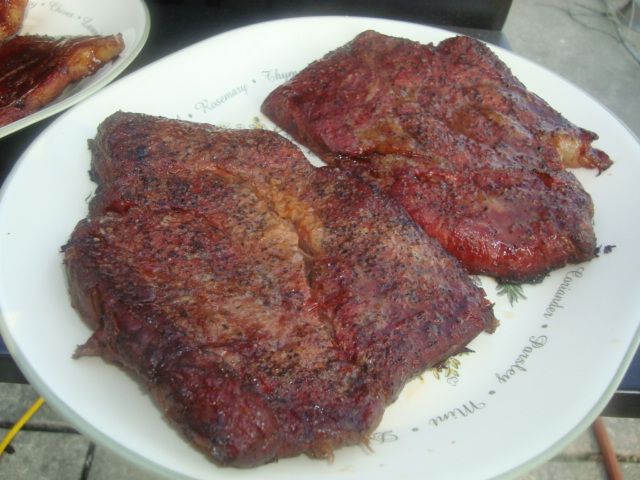
Two Chuck Steaks
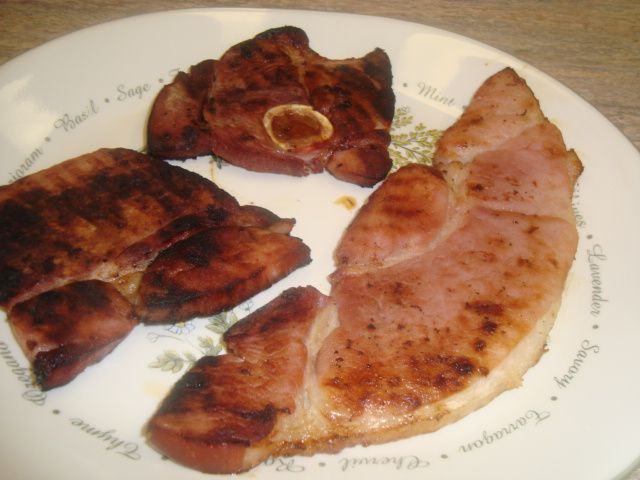
Ham Steak
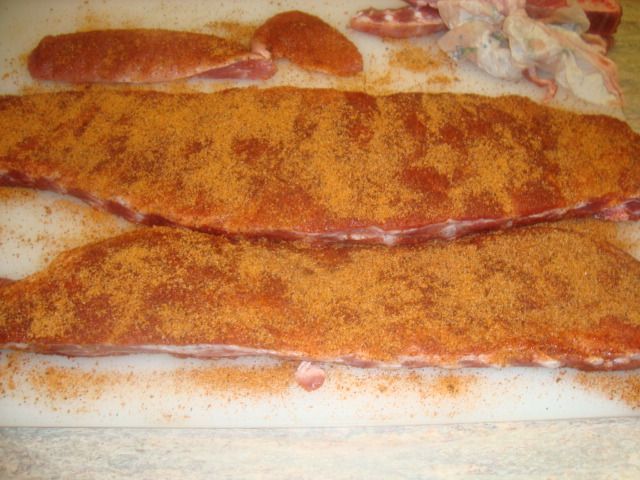
I prepped the meat by cutting the spare ribs up into a slab of St. Louis cut spare ribs and then I had the rib tips to cook as well. I applied a rub to both the tips and the spares.
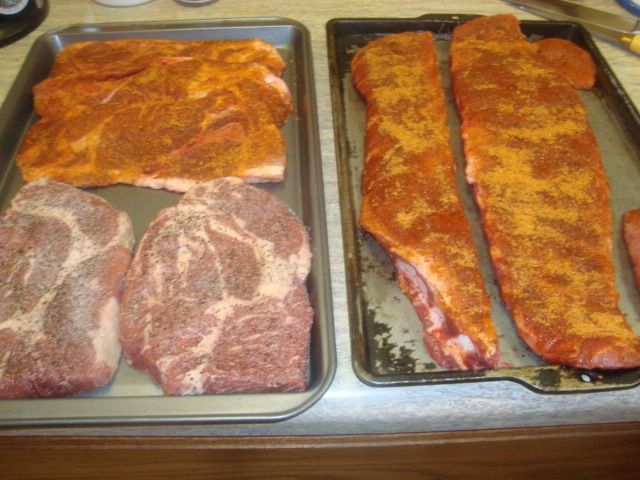
I prepped the pork steaks by just giving them a good rub.
I prepped the chuck steaks by sprinkling on a medium coat of garlic salt and then a generous dose of black pepper.
I did nothing to prep the ham steak.
To keep this rotisserie in balance, I planned to load the ribs on one tray and then the tips on the tray opposite the ribs. Then I would load 2 of the pork steaks on one tray and the two chuck steaks on the last tray.
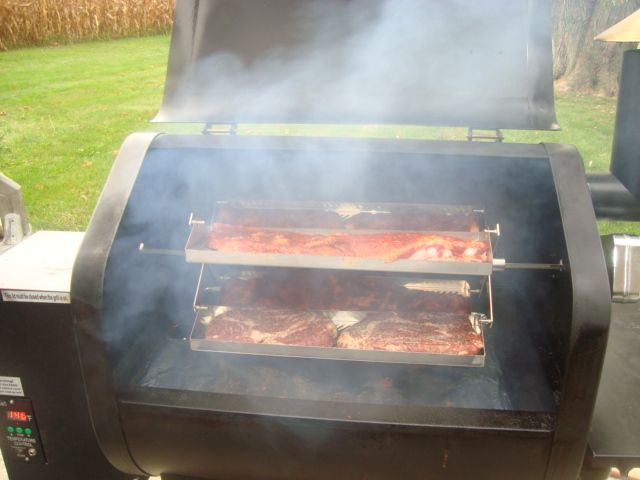
I was running hickory pellets and set the cooker at 150 degrees for the first hour to get some additional smoke into my product.
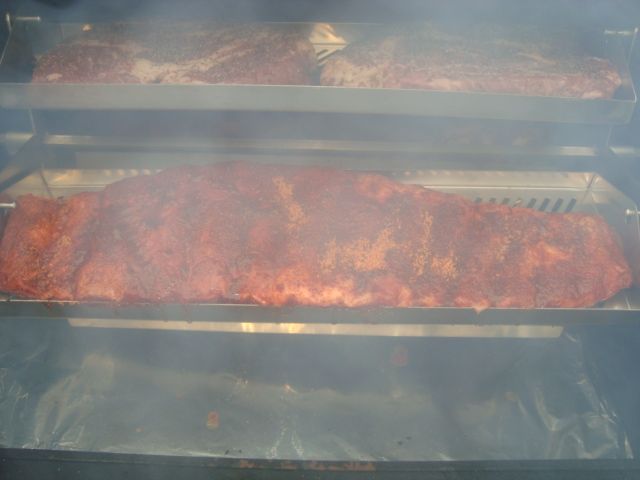
I got all but the ham steak loaded into the cooker and it did balance out quite well and was rotating just fine.
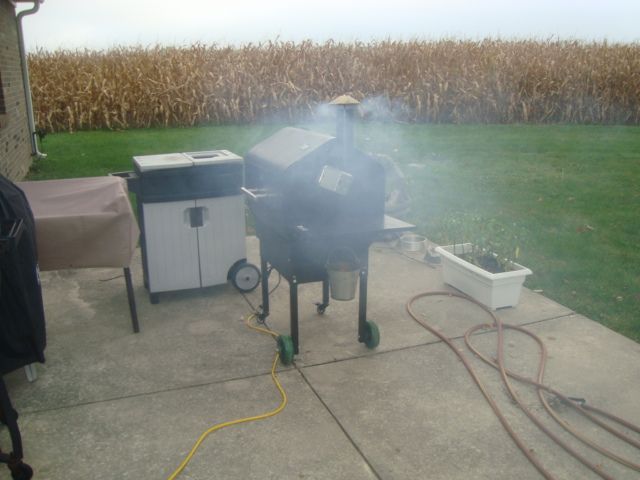
After one hour at 150 degrees, I raised the temperature up 300 degrees for the balance of the cook. I ran at this temp until my chuck steak and pork steak was done and my ribs were ready to wrap.
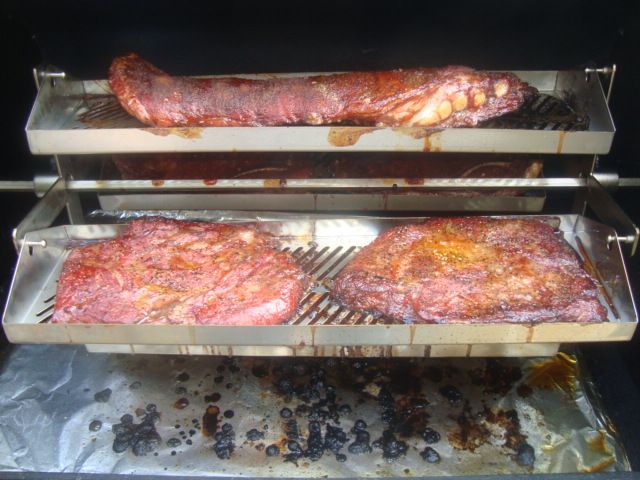
Rib Tips and Chuck Steaks
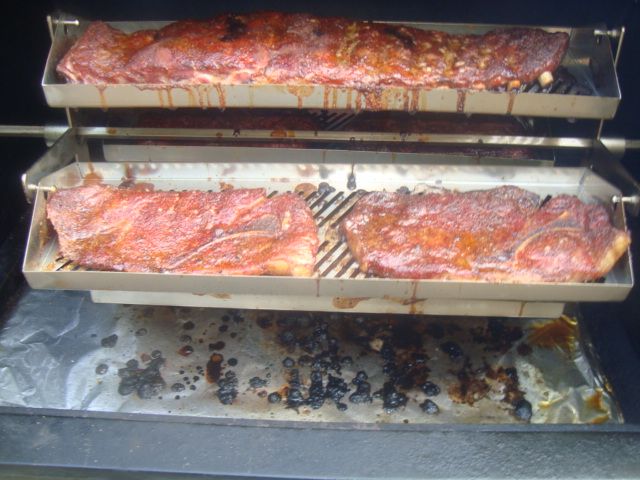
Ribs and Pork Steak
The food looked good at this point into the cook. I pulled the pork and chuck steaks and then wrapped the ribs and tips and placed them back on the cooker.
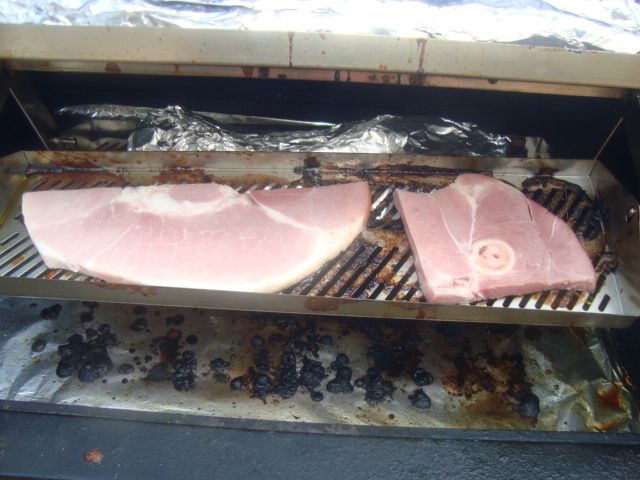
I had to cut up my ham steak as it was too wide for the trays and then I loaded it on one of the empty trays and then placed my last pork steak on the other tray.
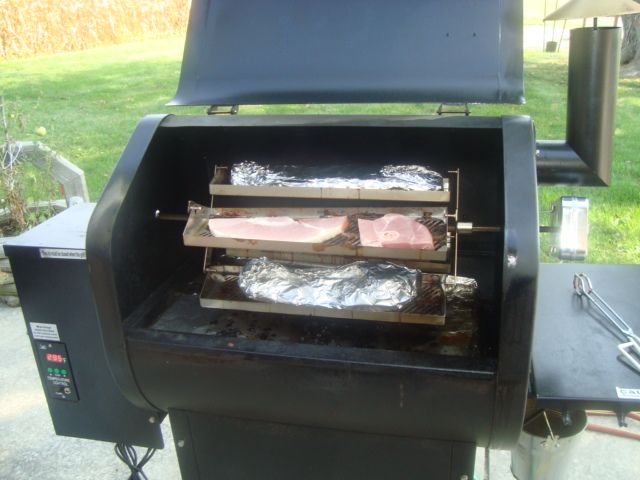
Cooked about an additional hour until my ham and last pork steak was done.
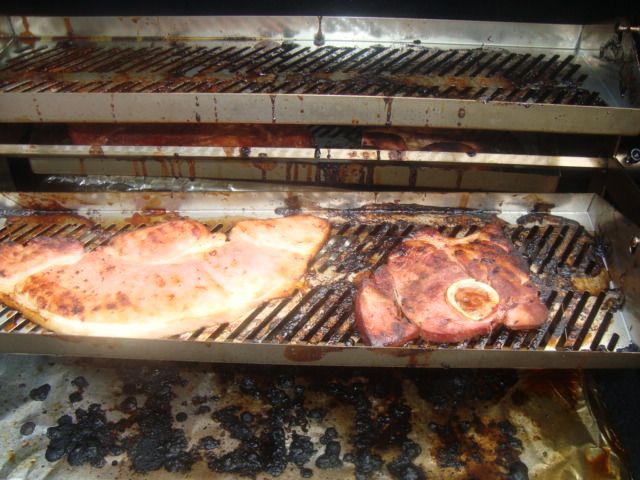
The cook came out quite well for a first cook with this rig.
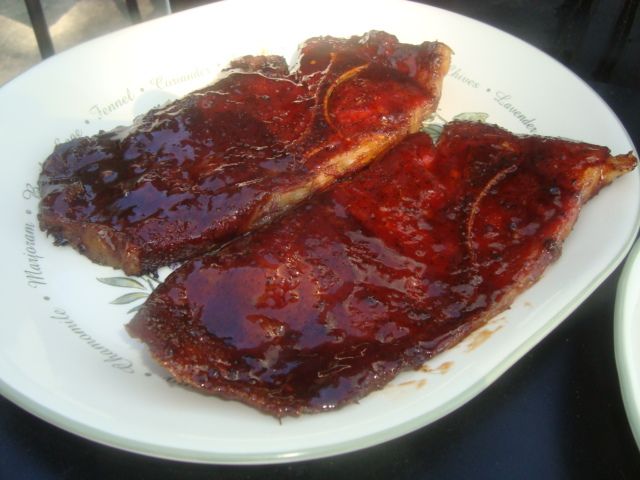
Pork Steak and Chuck Steak.
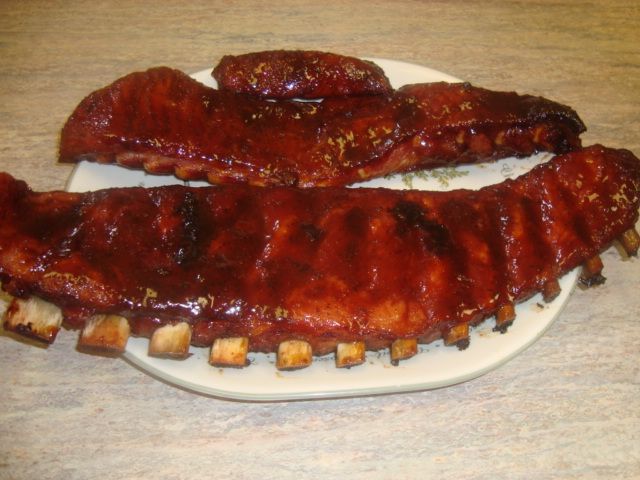
Ribs, Rib Tips, and Ham Steak
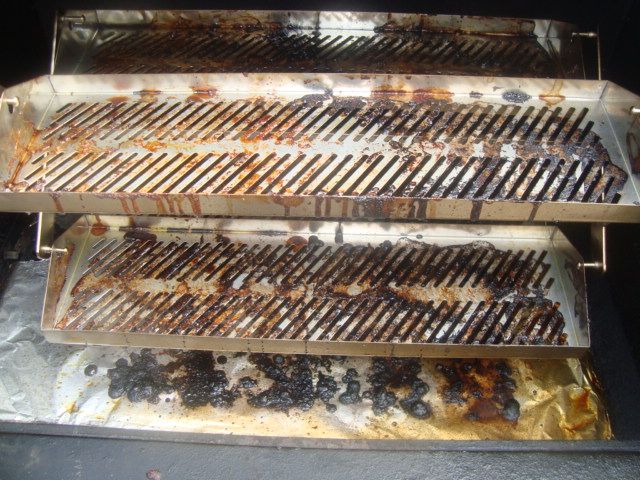
Not looking forward to the cleanup!!!
The Rib-O-Lator did a great job with the meats I tried on this first cook. Was very easy to keep in balance and will cook just fine even if it isn't in perfect balance. Looking forward to cooking a full load of ribs in this rotisserie setup.
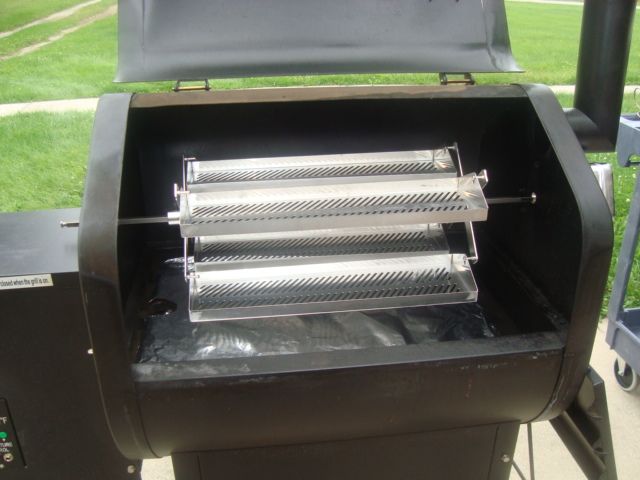
Saturday, October 11, 2014
Rib-O-Lator in a GMG Daniel Boone
Well, I married a standard Rib-O-Lator unit with a Green Mountain Daniel Boone pellet grill and wonder how well it will cook ribs.
With the additional height inside the Daniel Boone, made this modification very easy.
Looks like it will work fine....
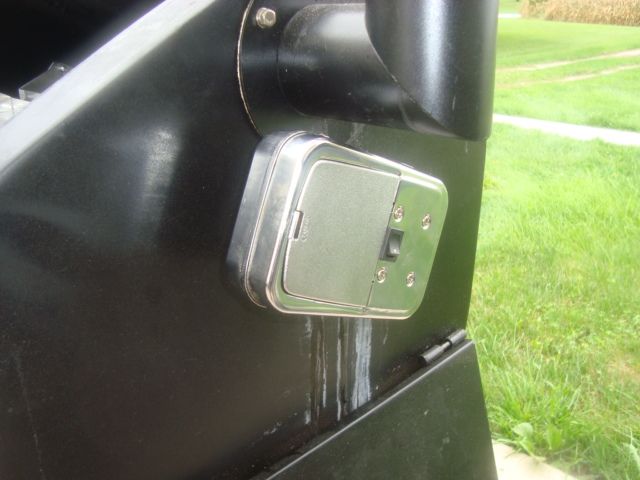
Used my battery operated spit motor for this modification.
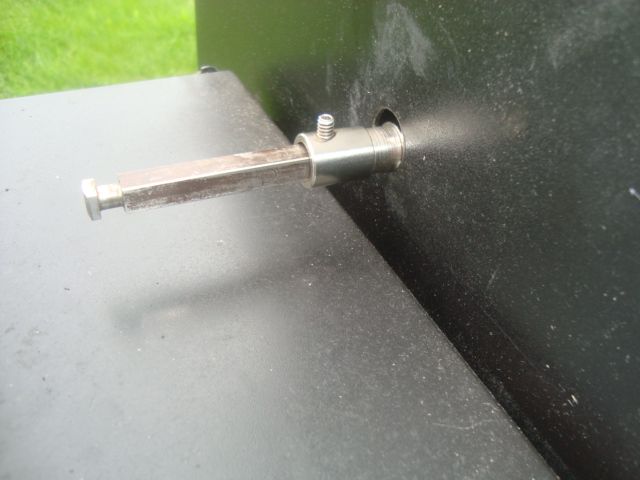
And a 1/2” spit rod bearing on the other end of the rod.
But, will it cook ribs???
With the additional height inside the Daniel Boone, made this modification very easy.
Looks like it will work fine....
Used my battery operated spit motor for this modification.
And a 1/2” spit rod bearing on the other end of the rod.
But, will it cook ribs???
Pot Roast & Veggies in a Lodge Camp Oven
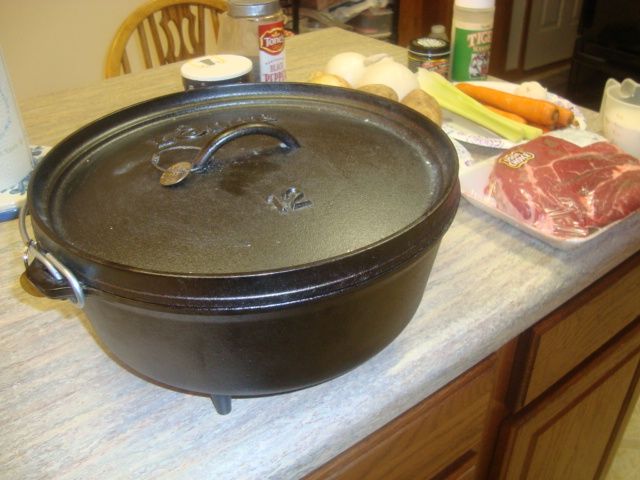
This is a chuck or pot roast with veggies cooked in a standard 12” Lodge camp oven over a charcoal fire.
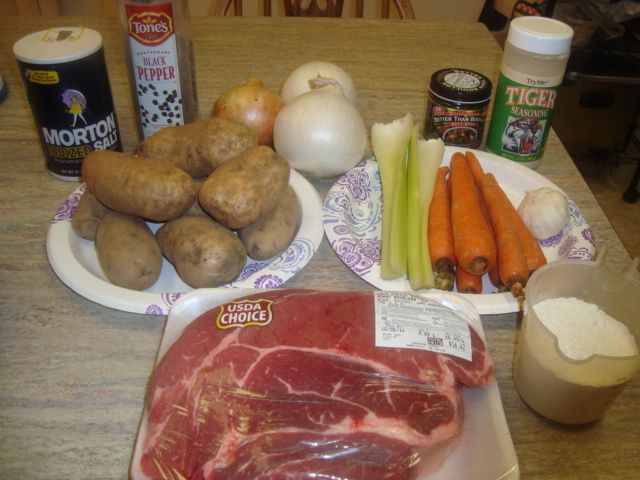
The ingredients are as follows:
2-4 pound chuck roast
7-8 small potatoes
3 large onions
4 cloves chopped garlic
6 medium carrots
2 stalks of celery
steak seasoning
1 cup flour
salt and pepper
Better than Beef concentrate
3 TBL veg oil
My 12” Lodge camp oven
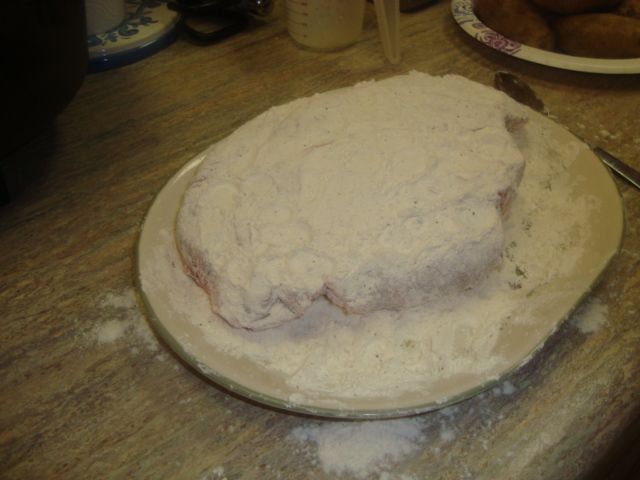
I mixed up the flour, steak seasoning, and salt and pepper and rolled my roast around in it until I had it covered well. I also sliced up one of the large onions into 1/4” slices. I made up about 3 tsp of the Better than Beef concentrate with about 16 oz of hot water for my roast. This is the broth that will be used in my cook.
Was a cold Fall morning with the temperature at 38 degrees and it looked like rain and was very windy so I got an early start with this cook.
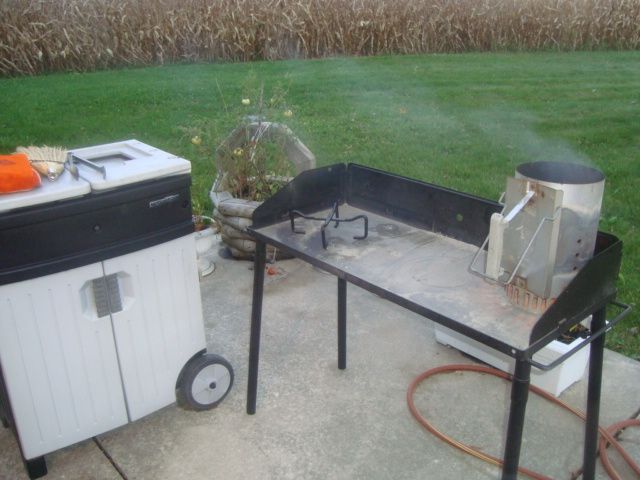
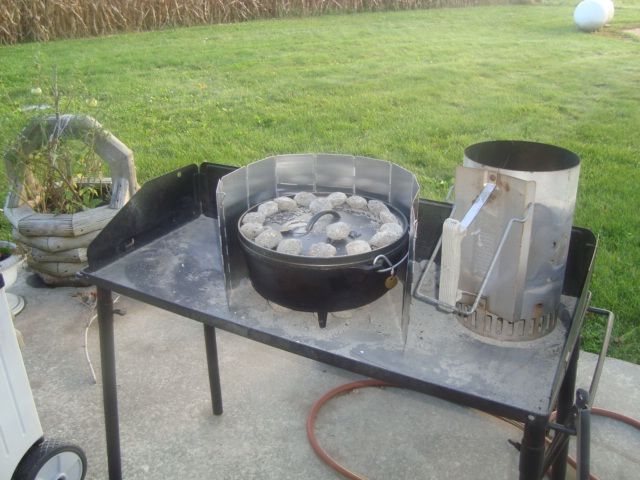
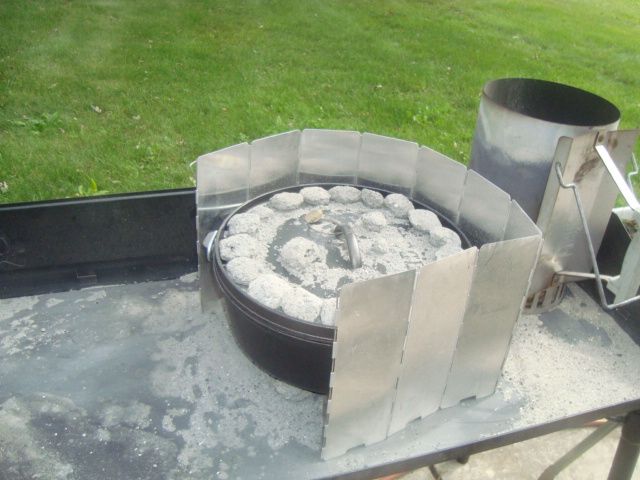
I started about 30 coals in a Weber chimney to be used to sear my roast.
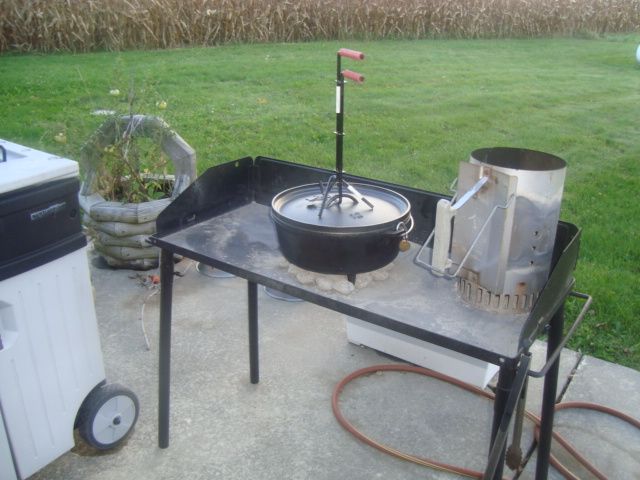
Laid a bed of coals down on the table and placed the camp oven on these coals and then added the vegetable oil for my sear. I let the pot warm up well and seared both sides of my meat.
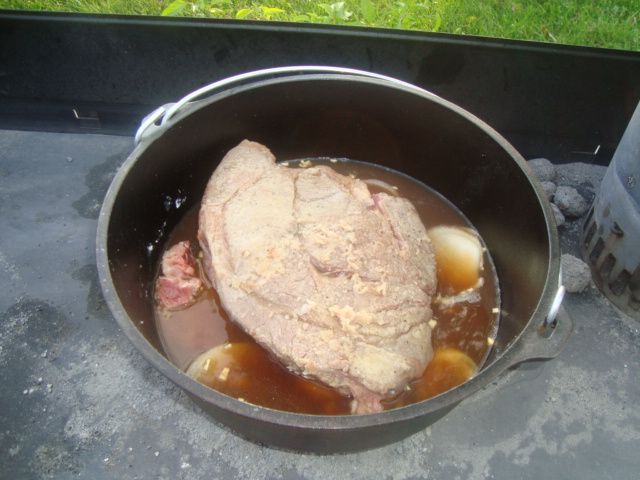
Took the pot off of the fire and then took the meat out of the pot. I then added the onion slices and garlic to the bottom of the camp oven and then placed the meat back on top of the onions. Next step was to add the 16 oz of broth to the pot.
I used about 9-10 coals under the pot and about 17-19 coals on top (350 degrees) and had to re-fire this cooker about every 40 minutes due to the cold and windy weather. Cooked the meat this way for about 2 -1/2 hours until the meat was starting to get tender. I wanted it so I could pull it apart with a fork when finished.
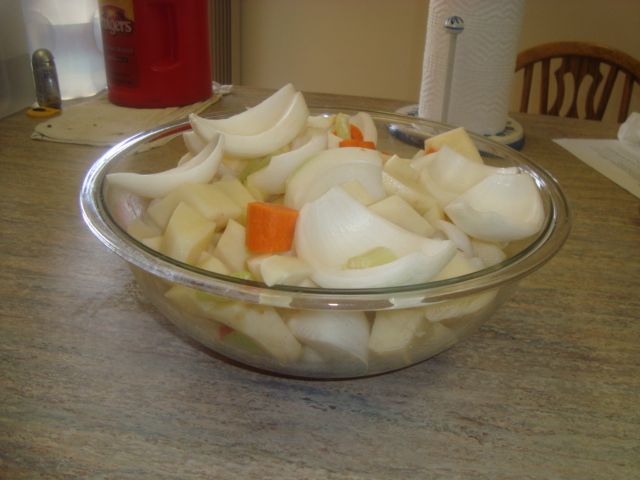
While the meat was cooking, I peeled and cut the potatoes into bite sized chunks, quartered the onions, peeled and sliced the carrots, and sliced the celery into bite sized chunks.
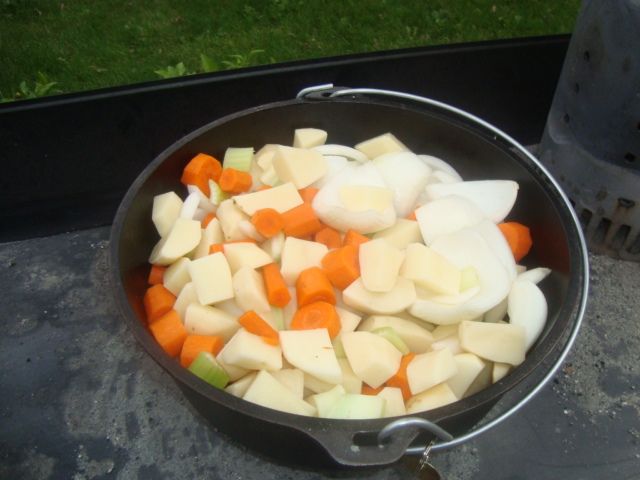
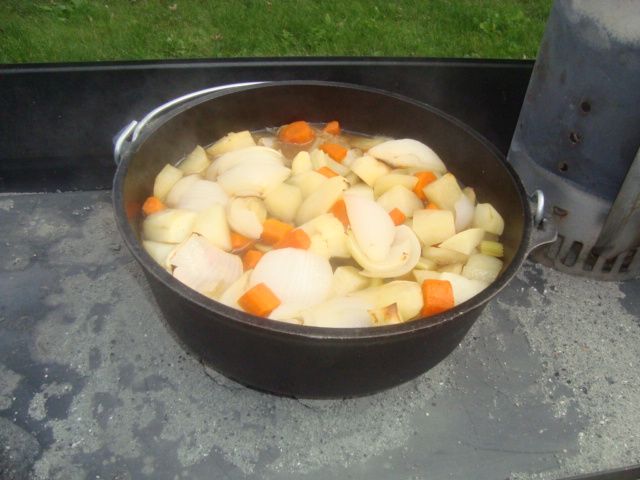
At the 2-1/2 hour mark into the cook, I poured the veggies on top of the meat.
Cooked both the veggies and the meat about an additional 75 minutes until done.
Just before I took the camp oven off of the fire.
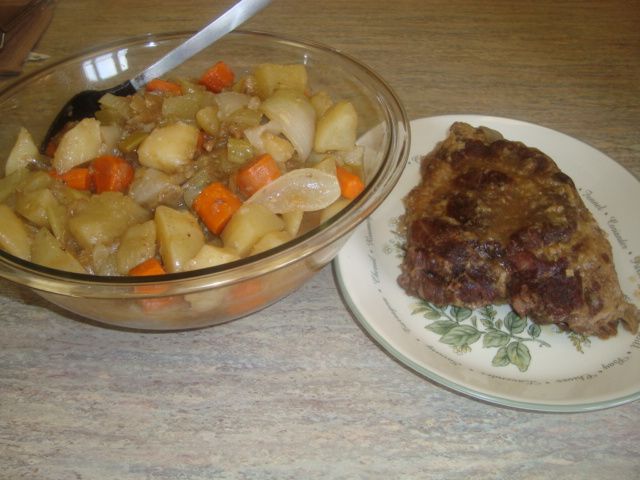
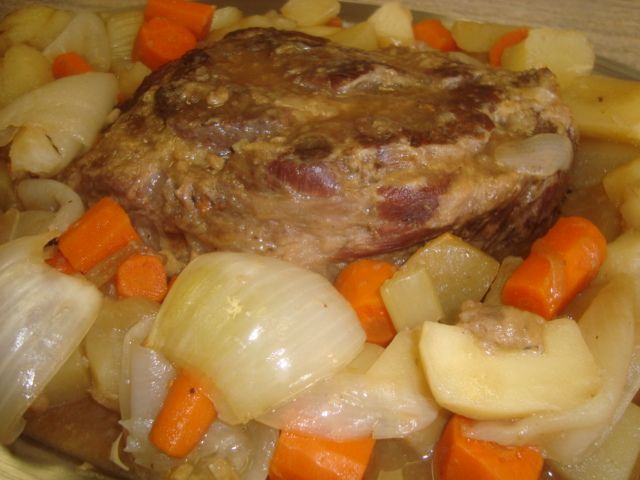
The veggies and meat dished and plated up.
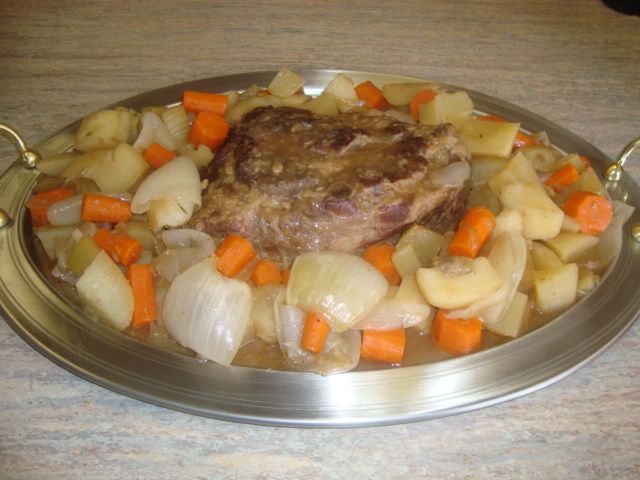
As served.
The ingredients are as follows:
2-4 pound chuck roast
7-8 small potatoes
3 large onions
4 cloves chopped garlic
6 medium carrots
2 stalks of celery
steak seasoning
1 cup flour
salt and pepper
Better than Beef concentrate
3 TBL veg oil
My 12” Lodge camp oven
I mixed up the flour, steak seasoning, and salt and pepper and rolled my roast around in it until I had it covered well. I also sliced up one of the large onions into 1/4” slices. I made up about 3 tsp of the Better than Beef concentrate with about 16 oz of hot water for my roast. This is the broth that will be used in my cook.
Was a cold Fall morning with the temperature at 38 degrees and it looked like rain and was very windy so I got an early start with this cook.
I started about 30 coals in a Weber chimney to be used to sear my roast.
Laid a bed of coals down on the table and placed the camp oven on these coals and then added the vegetable oil for my sear. I let the pot warm up well and seared both sides of my meat.
Took the pot off of the fire and then took the meat out of the pot. I then added the onion slices and garlic to the bottom of the camp oven and then placed the meat back on top of the onions. Next step was to add the 16 oz of broth to the pot.
I used about 9-10 coals under the pot and about 17-19 coals on top (350 degrees) and had to re-fire this cooker about every 40 minutes due to the cold and windy weather. Cooked the meat this way for about 2 -1/2 hours until the meat was starting to get tender. I wanted it so I could pull it apart with a fork when finished.
While the meat was cooking, I peeled and cut the potatoes into bite sized chunks, quartered the onions, peeled and sliced the carrots, and sliced the celery into bite sized chunks.
At the 2-1/2 hour mark into the cook, I poured the veggies on top of the meat.
Cooked both the veggies and the meat about an additional 75 minutes until done.
Just before I took the camp oven off of the fire.
The veggies and meat dished and plated up.
As served.
Bronto Spare Ribs and Rib Tips
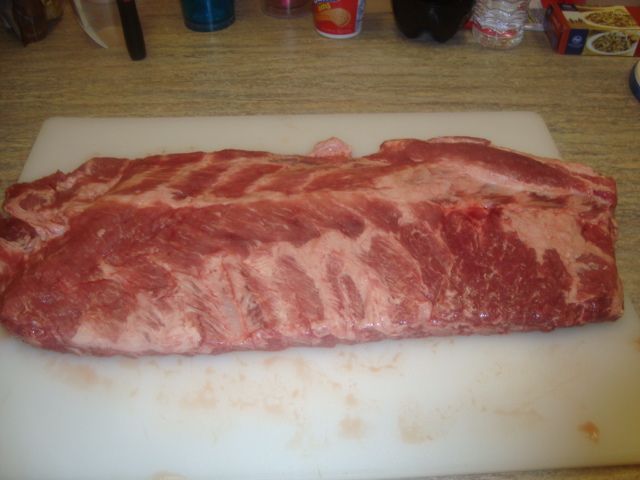
Our local Kroger has these very large Bronto Spares on sale several times each year at a low of $1.47 to $1.87 a pound and although they are injected with salt water, I get sucked into purchasing a few slabs each time they run the sale.
Jan found a couple of slabs that only weighed around 5-1/2 pounds each so I decided to cook one up yesterday. I also needed to do some pit beans for a an upcoming event so this cook worked out great for me.
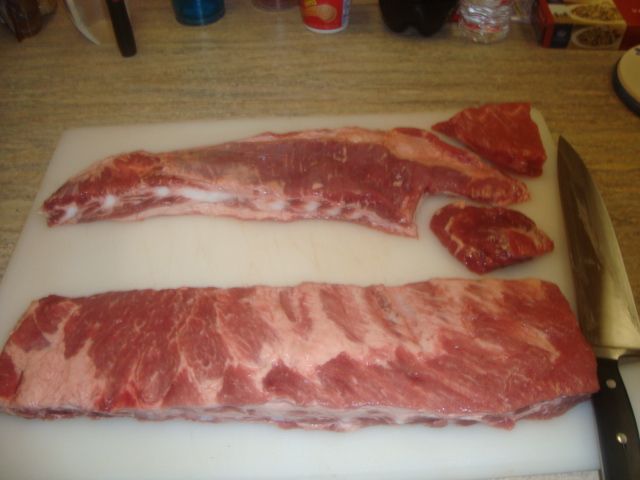
I start by cutting out a slab of St. Louis first and then taking the remaining rib tips and cutting out some of the fat, cartilage, and bones so they will be ready for the grill.
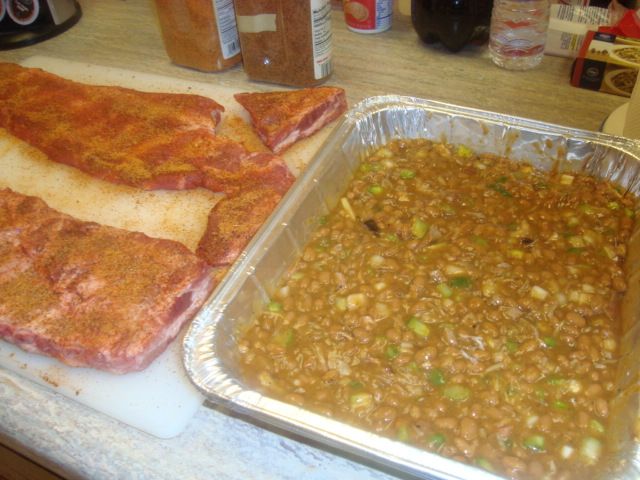
I then got my pit beans ready as I planned to cook them under the ribs so the drippings would go into the beans for some additional flavor.
I put the pit beans on my little Davy Crockett tailgater pellet grill and then placed the ribs over the beans on a raised grid.
Later into the cook, I pulled both the slab of spares and the rib tips for some additional cutting and saucing and then placed them back on the cooker with the rib tips in my pan.
I glazed the sauce on the slab of spares and pulled them and waited for the tips to get done.
Tips cooked about 30 minutes more and I pulled them.
Beans, spares, and tips look good coming off of the grill.
We made a meal out of the rib tips along with some of the pit beans.
The beans were then frozen to will be used for one of the treats I will prepare for the folks at the Gathering in a few days.
Tavern Tenderloin in a Black Iron Skillet
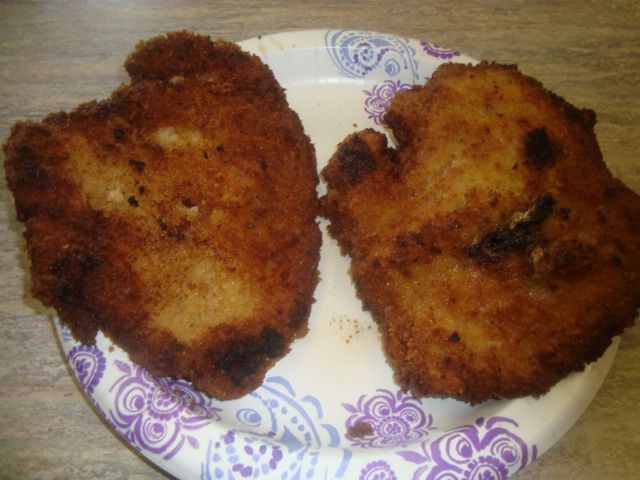
I have enjoyed this old Midwest treat for many years and fried up a couple more today in a black iron skillet.
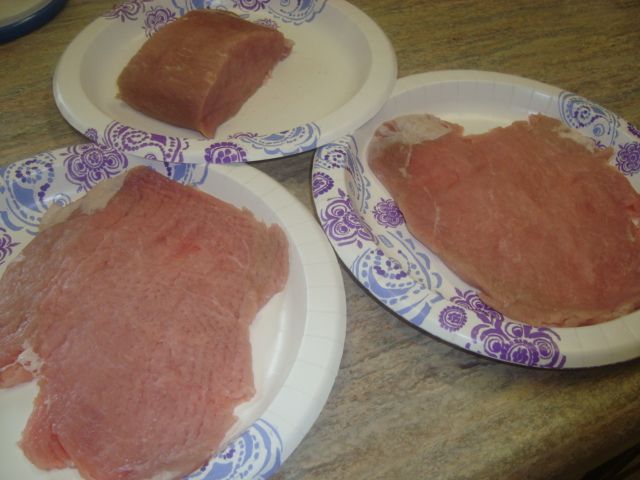
I start with some whole pork loin and cut each piece about 1-1/2 to 1-3/4 inch wide. I then place it in a gallon Zip-Lock bag and pound out each piece until it’s about the size of a plate.
I run it thru an egg wash and then place it into my breading which consists of flour, Panko Crispy bread crumbs, and salt and pepper.
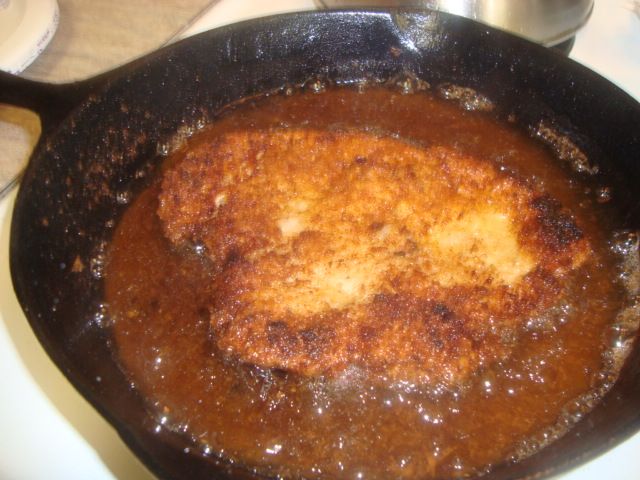
Use enough lard or Crisco in a black iron skillet or Dutch oven to fill it about 3/4” deep and bring the temp up to just over 350 degrees and fry the tenderloins until done turning once. It just takes a few minutes a side.
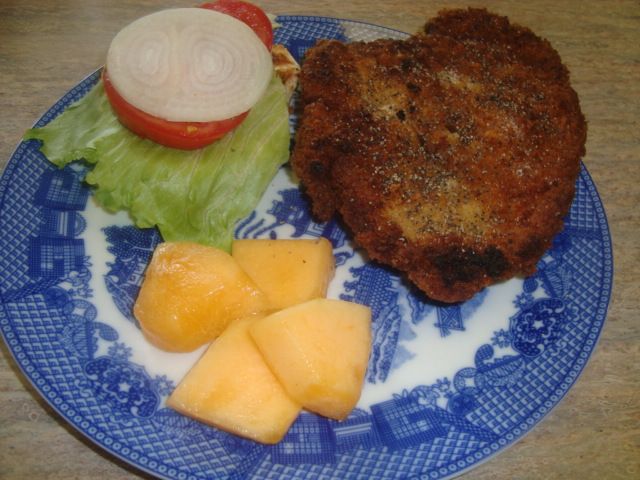
Ready for the sandwiches.
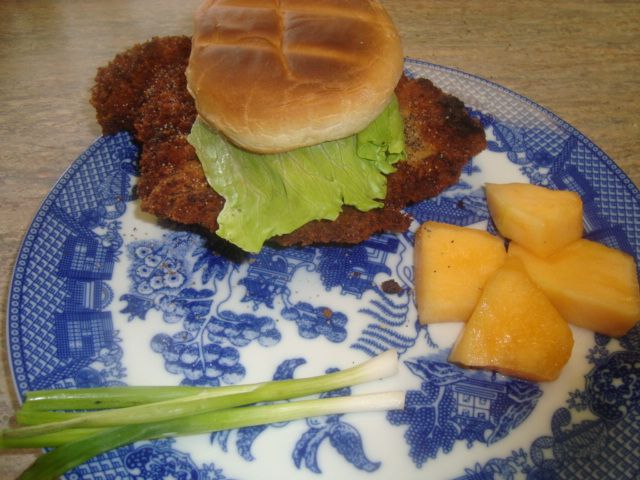
I like to toast my bun and then add the tenderloin, some lettuce, tomato, and a slice of onion along with some mayo or horsey sauce and close it up.
Wow!! Just like I would get from the tavern or local greasy spoon restaurant. Love it!
Hot-n-Spicey BBQ Beef in a Camp Oven
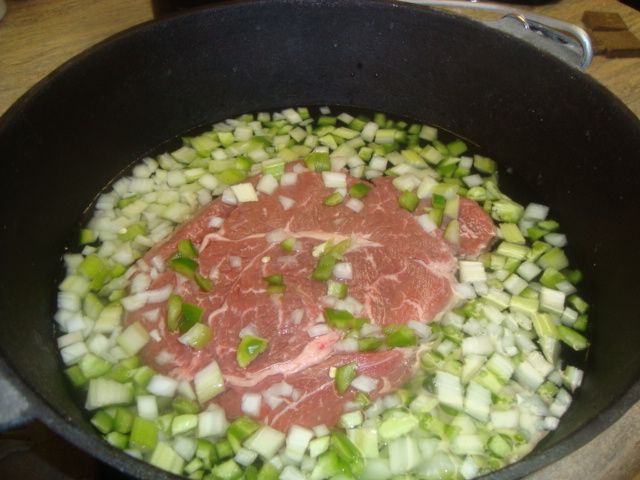
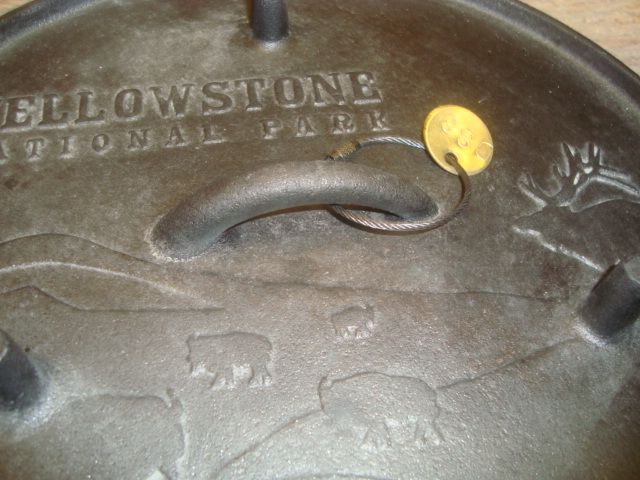
I did this cook in my Camp Chef Yellowstone National Park 12 inch in diameter deep camp oven.
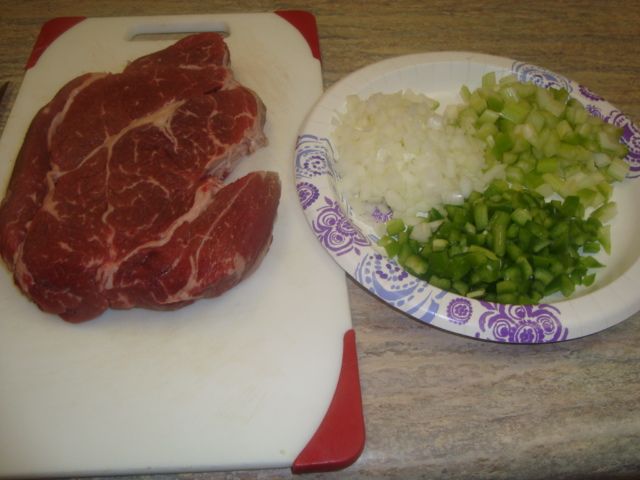
I started with a 2.45 pound USDA Choice Angus Chuck Roast. I trimmed some of the extra fat off of the roast and then got my veggies ready. The veggies consisted of a 1/2 cup each of chopped celery, chopped onions, and chopped bell pepper.
I placed the meat and veggies into the pot and added about one quart of water and got the level up to about where it just barely covered the roast.
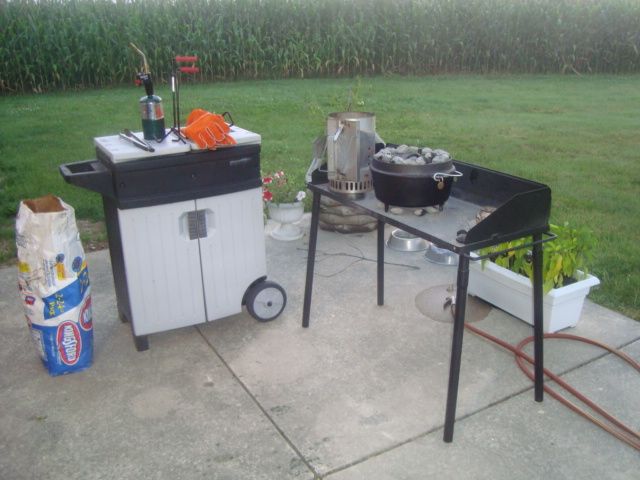
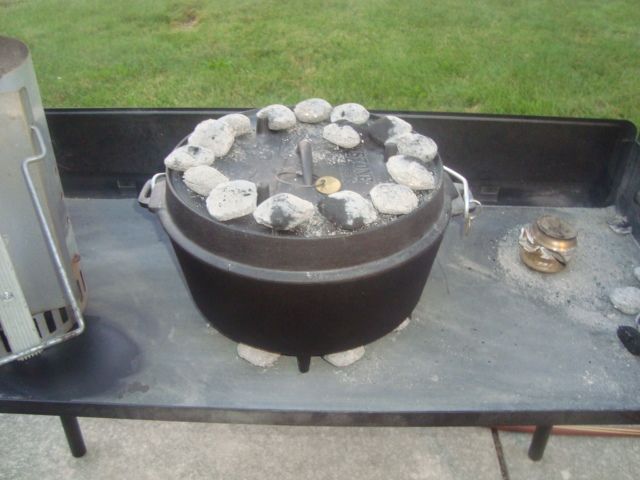
Placed the lid on the pot and carried it out to my table and set it on about 11 hot brickettes.
I then added about 19 more brickettes to the top of the oven and got the cook started. This should give me about 375 degrees in the oven if I were cooking something solid but with all the liquid inside on this cook, it can’t get much over boiling temp which is about 212 degrees.
This amount of charcoal will last about 45 minutes and will need to be replaced with all new charcoal each 45 minutes thereafter. So I just kept track of my time and at each 35 minute into a charcoal load, I started another 30 brickettes in my charcoal chimney as it takes about 10 minutes to get them ashed over and ready. It took a total of 4 chimneys of fuel and about 3 hours and 15 minutes to get the meat tender or done enough to pull like a pork butt.
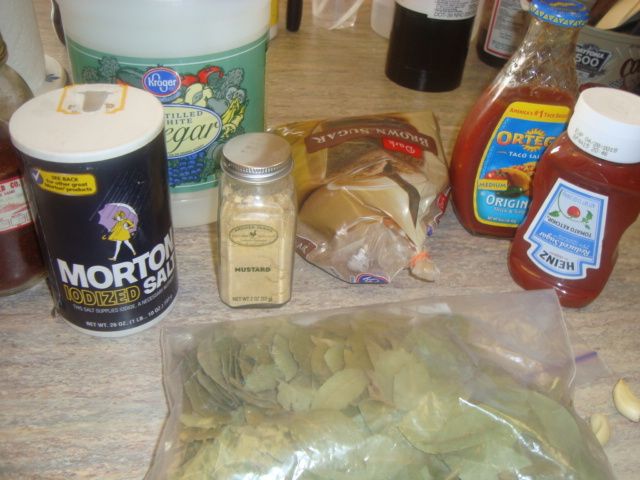
While the first part of the cook was finishing up, I mixed up my sauce for the beef. The ingredients were as follows:
1-1/2 cups of ketchup
3 tbl taco sauce
2 tbl brown sugar
2 tbl vinegar
1 tsp minced garlic
1 tsp salt
1 tsp dry mustard
1 tsp chili powder
1 bay leaf
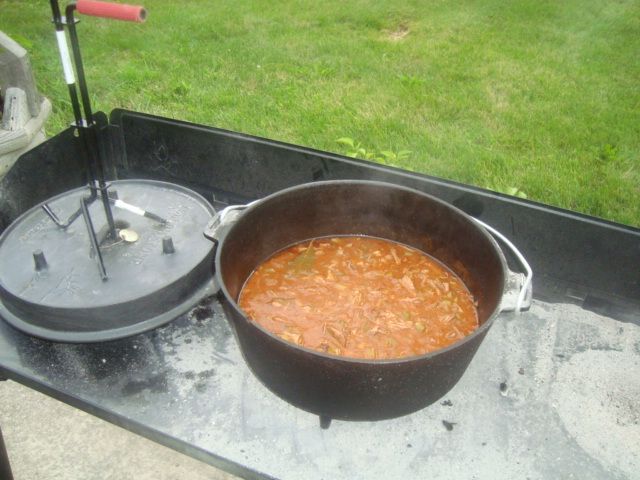
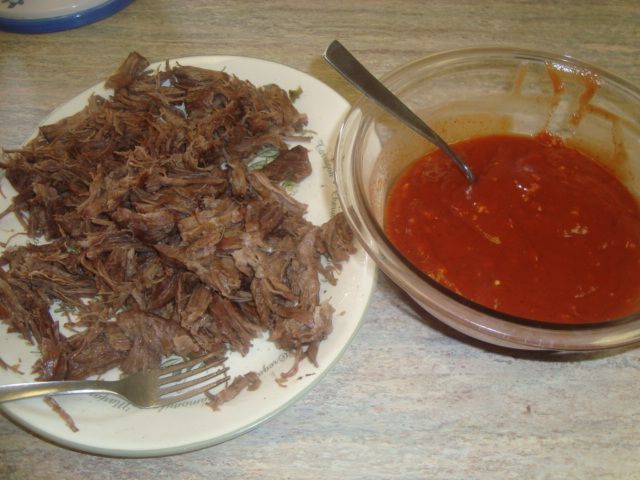
I took the beef out of the liquid in the camp oven and shredded it up.
I then added the shredded beef and sauce back into the liquid left in the camp oven and fired it up again for one more 45 minute run to finish my cook.
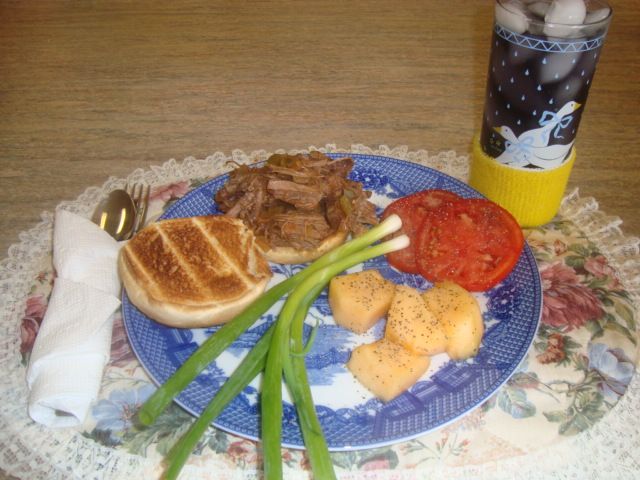
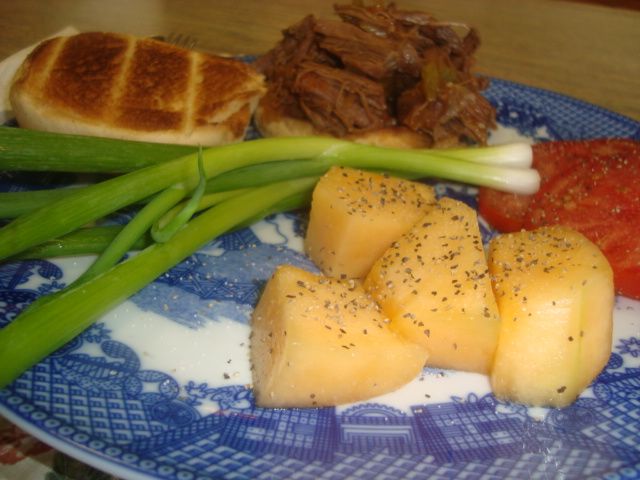
I toasted my bun and added a generous amount of the beef on top. Added some fruit and veggies and it was a great meal.
I’ll do this one again!!