Showing posts with label Camp Oven. Show all posts

Saturday, October 11, 2014

Pot Roast & Veggies in a Lodge Camp Oven

This is a chuck or pot roast with veggies cooked in a standard 12” Lodge camp oven over a charcoal fire.

 photo DSC02548.jpg

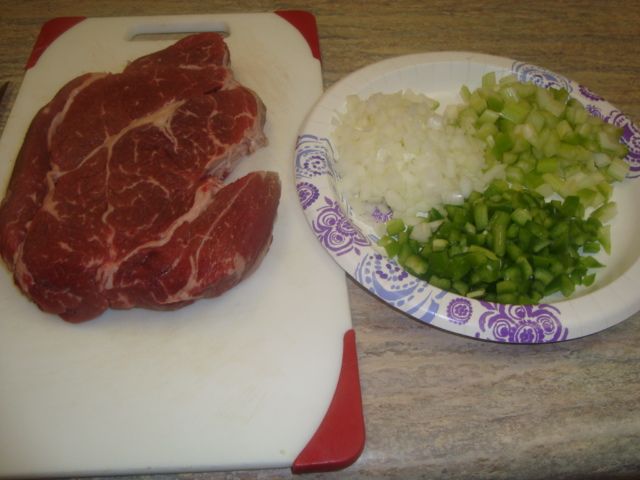
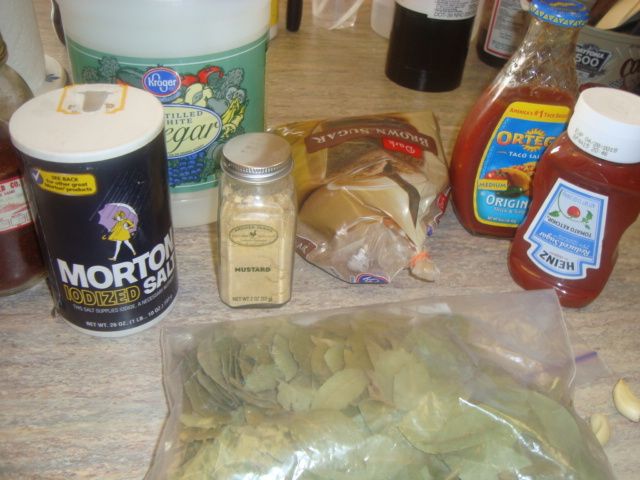
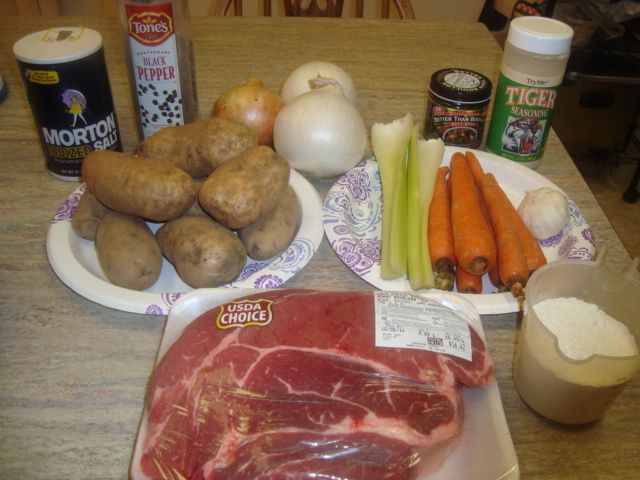
The ingredients are as follows:

2-4 pound chuck roast
7-8 small potatoes
3 large onions
4 cloves chopped garlic
6 medium carrots
2 stalks of celery
steak seasoning
1 cup flour
salt and pepper
Better than Beef concentrate
3 TBL veg oil


 photo DSC02549.jpg

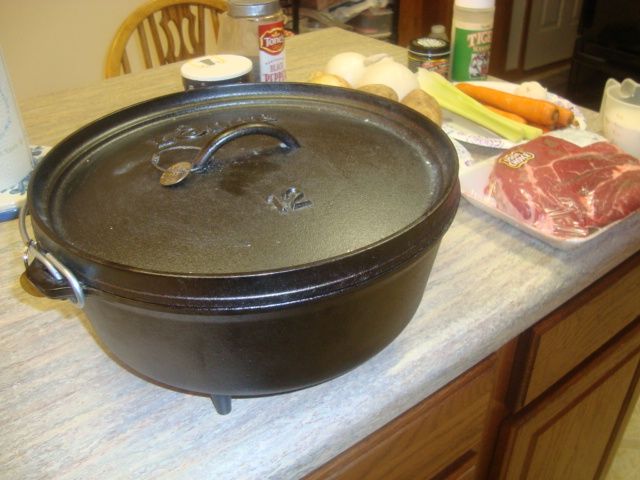
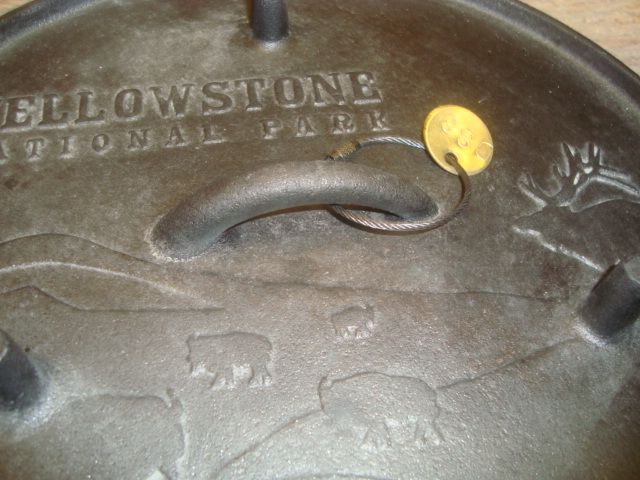
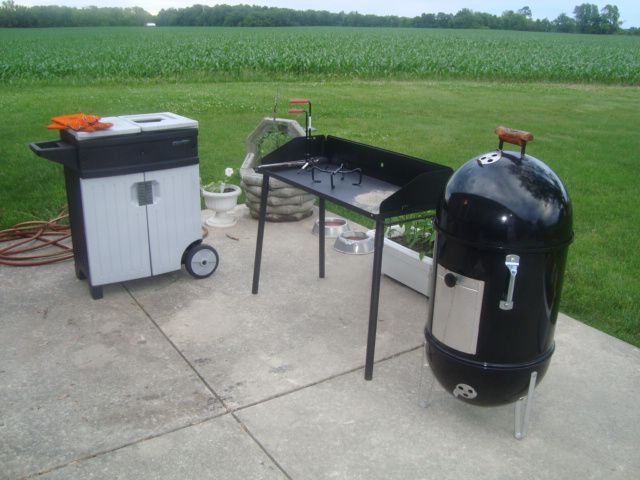
My 12” Lodge camp oven

 photo DSC02550.jpg

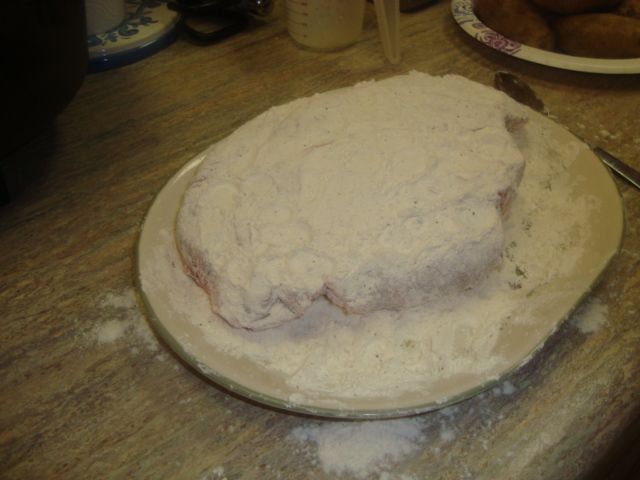
I mixed up the flour, steak seasoning, and salt and pepper and rolled my roast around in it until I had it covered well. I also sliced up one of the large onions into 1/4” slices. I made up about 3 tsp of the Better than Beef concentrate with about 16 oz of hot water for my roast. This is the broth that will be used in my cook.

 photo DSC02551.jpg

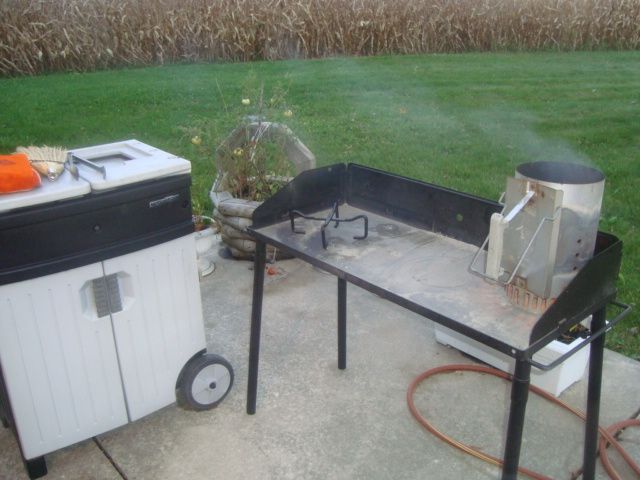
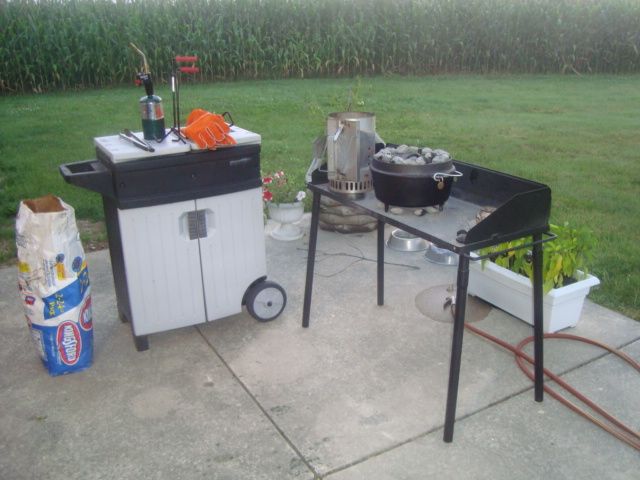
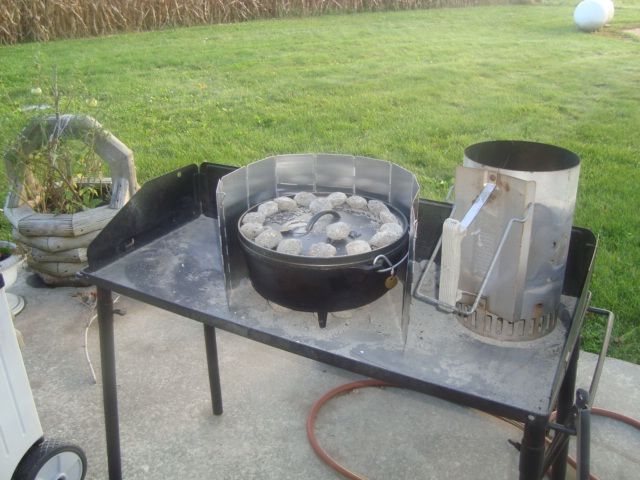
Was a cold Fall morning with the temperature at 38 degrees and it looked like rain and was very windy so I got an early start with this cook. 

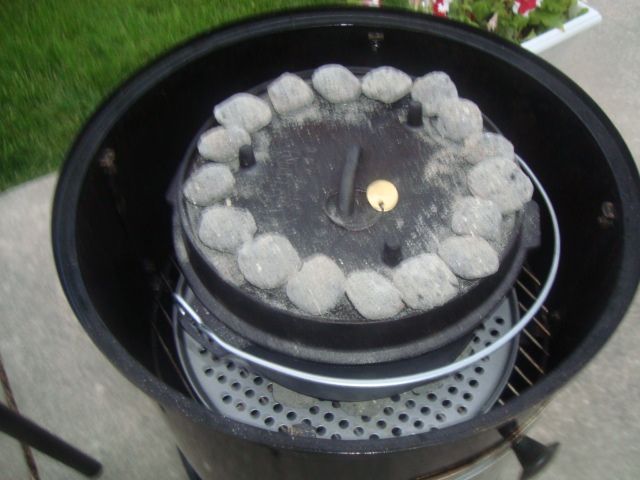
I started about 30 coals in a Weber chimney to be used to sear my roast. 

 photo DSC02552.jpg

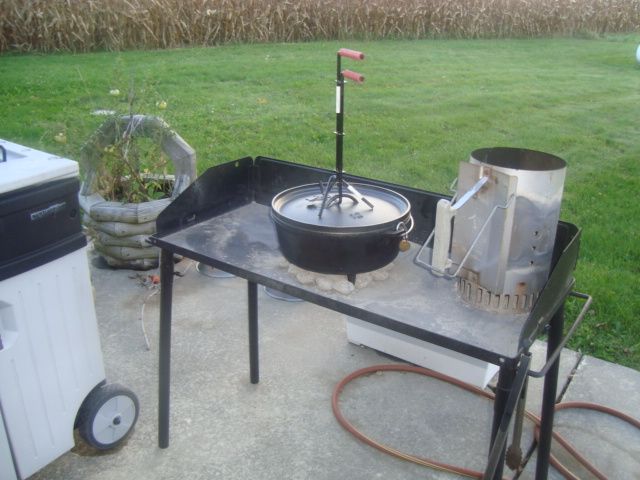
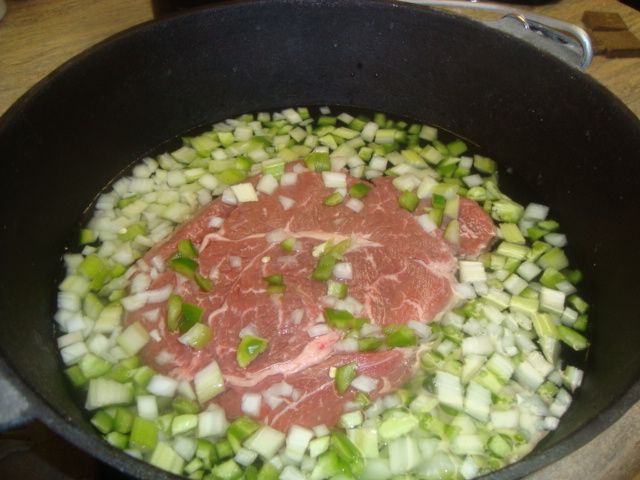
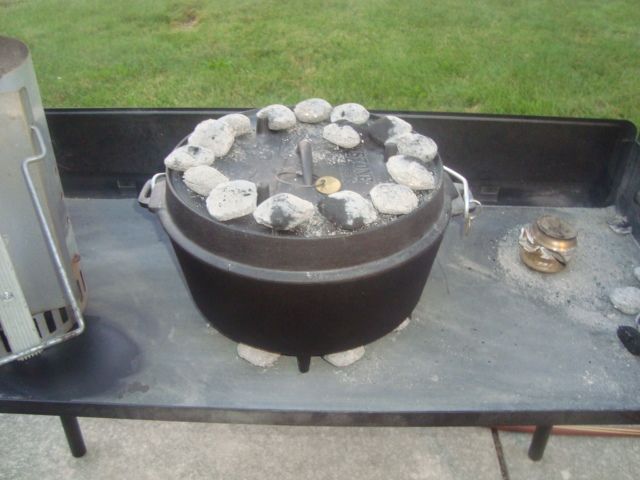
Laid a bed of coals down on the table and placed the camp oven on these coals and then added the vegetable oil for my sear. I let the pot warm up well and seared both sides of my meat.

 photo DSC02553.jpg

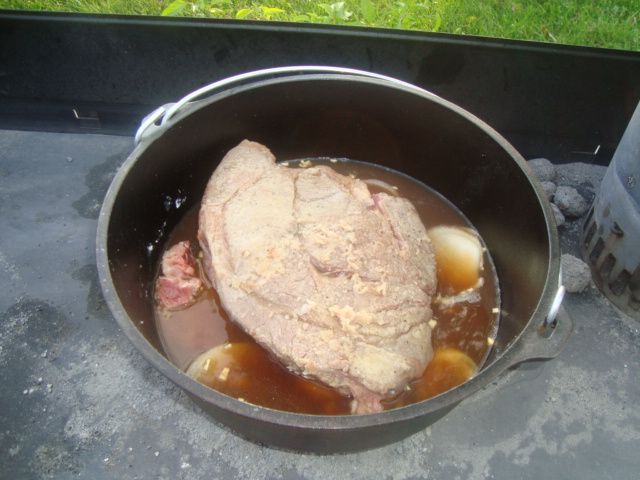
Took the pot off of the fire and then took the meat out of the pot. I then added the onion slices and garlic to the bottom of the camp oven and then placed the meat back on top of the onions. Next step was to add the 16 oz of broth to the pot.

 photo DSC02554.jpg

I used about 9-10 coals under the pot and about 17-19 coals on top (350 degrees) and had to re-fire this cooker about every 40 minutes due to the cold and windy weather. Cooked the meat this way for about 2 -1/2 hours until the meat was starting to get tender. I wanted it so I could pull it apart with a fork when finished. 

 photo DSC02555.jpg

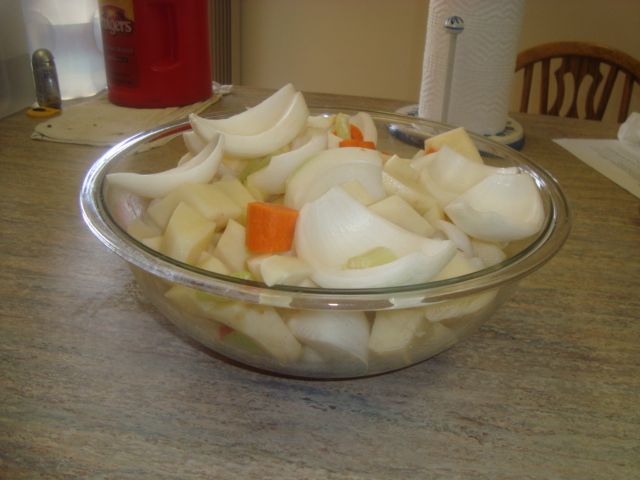
While the meat was cooking, I peeled and cut the potatoes into bite sized chunks, quartered the onions, peeled and sliced the carrots, and sliced the celery into bite sized chunks. 

 photo DSC02556.jpg

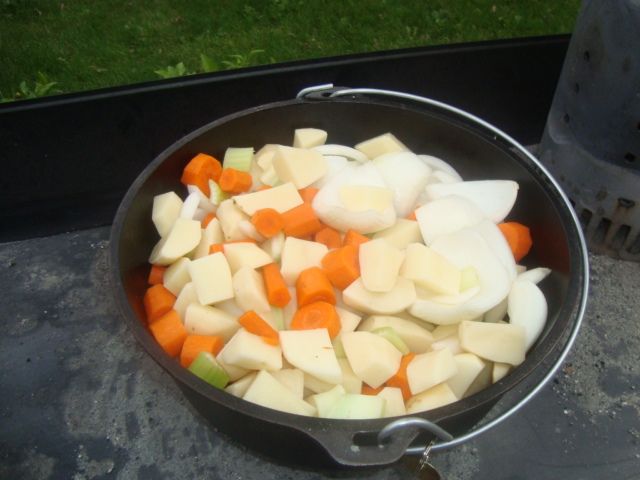
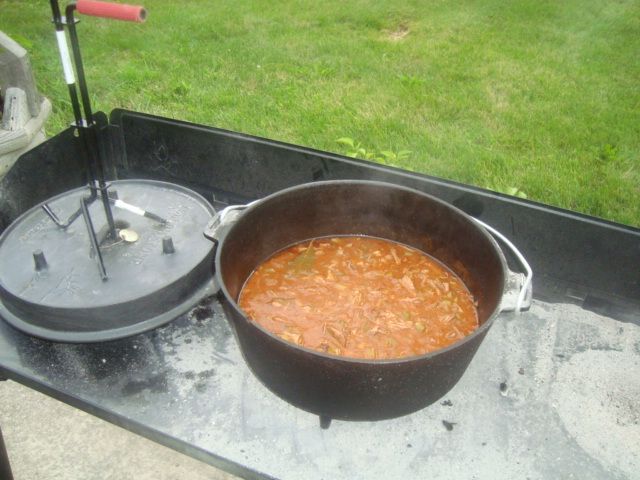
At the 2-1/2 hour mark into the cook, I poured the veggies on top of the meat.

 photo DSC02557.jpg

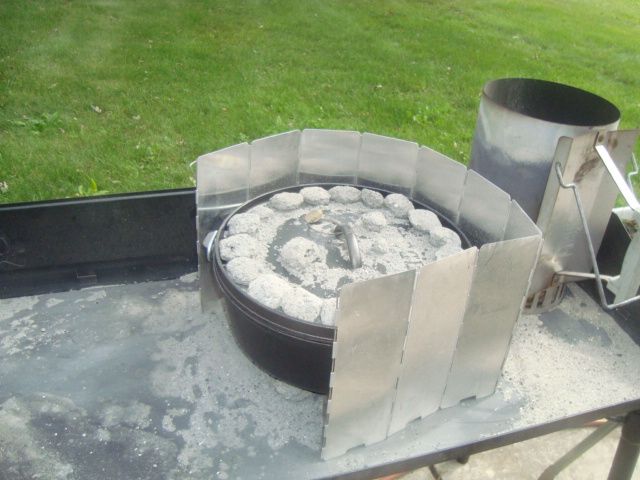
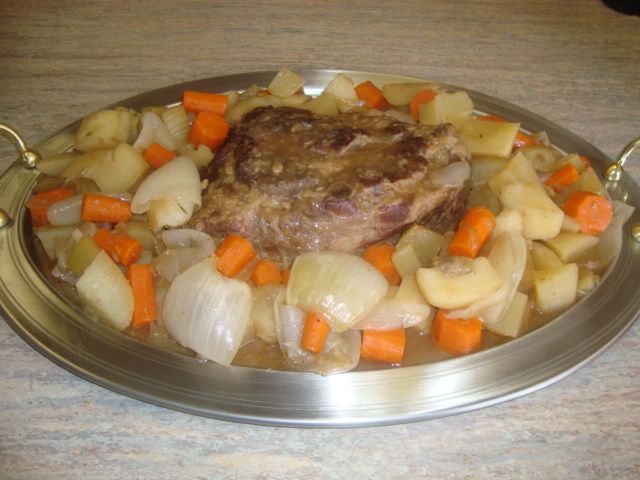
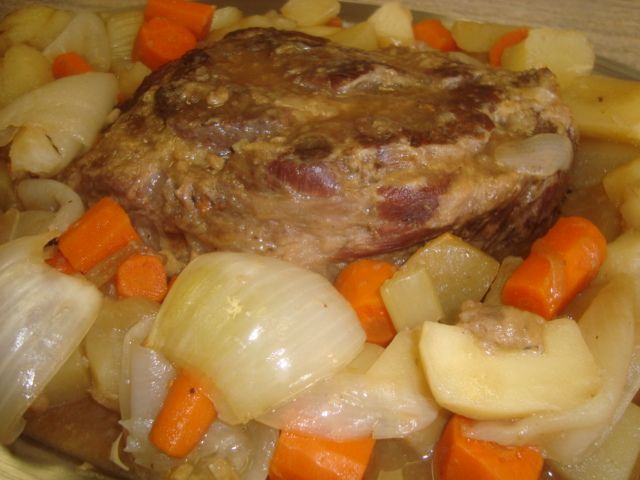
Cooked both the veggies and the meat about an additional 75 minutes until done.

 photo DSC02558.jpg

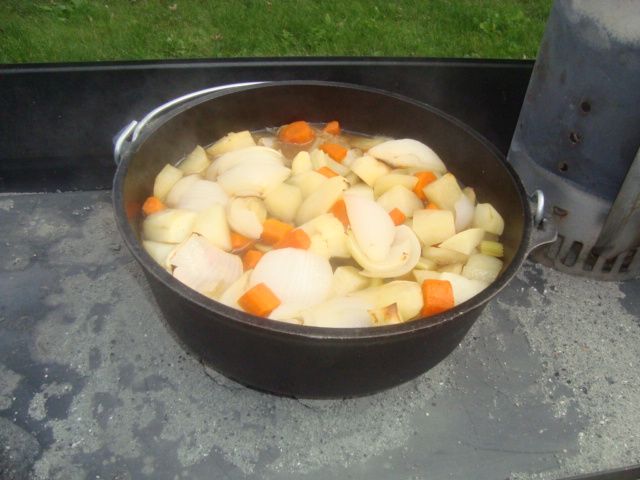
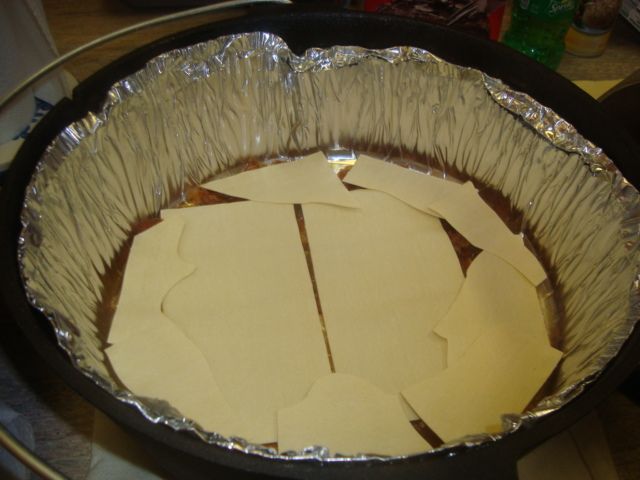
Just before I took the camp oven off of the fire.

 photo DSC02561.jpg

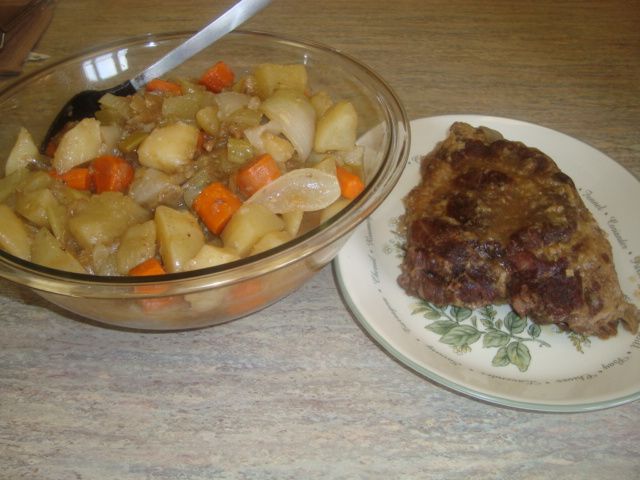
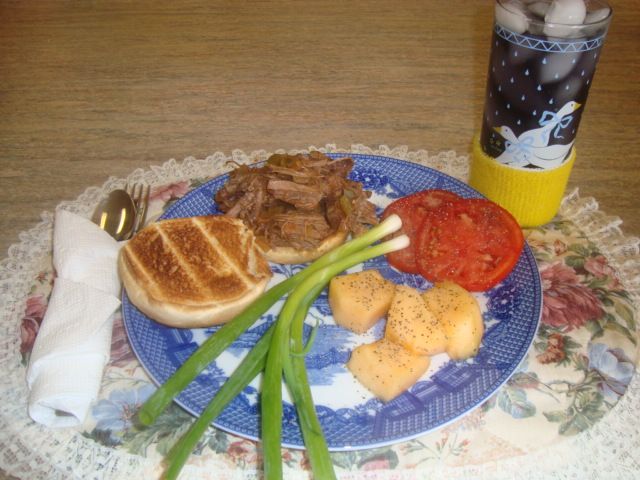
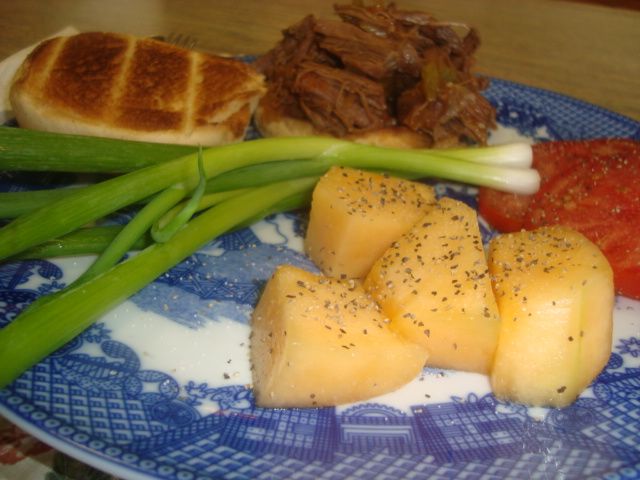
The veggies and meat dished and plated up.

 photo DSC02559.jpg

 photo DSC02560.jpg

As served.


Hot-n-Spicey BBQ Beef in a Camp Oven

I did this cook in my Camp Chef Yellowstone National Park 12 inch in diameter deep camp oven.

 photo DSC02466.jpg

I started with a 2.45 pound USDA Choice Angus Chuck Roast. I trimmed some of the extra fat off of the roast and then got my veggies ready. The veggies consisted of a 1/2 cup each of chopped celery, chopped onions, and chopped bell pepper. 

 photo DSC02467.jpg

I placed the meat and veggies into the pot and added about one quart of water and got the level up to about  where it just barely covered the roast. 

 photo DSC02468.jpg

Placed the lid on the pot and carried it out to my table and set it on about 11 hot brickettes. 

 photo DSC02469.jpg

I then added about 19 more brickettes to the top of the oven and got the cook started. This should give me about 375 degrees in the oven if I were cooking something solid but with all the liquid inside on this cook, it can’t get much over boiling temp which is about 212 degrees. 

 photo DSC02470.jpg

This amount of charcoal will last about 45 minutes and will need to be replaced with all new charcoal each 45 minutes thereafter. So I just kept track of my time and at each 35 minute into a charcoal load, I started another 30 brickettes in my charcoal chimney as it takes about 10 minutes to get them ashed over and ready. It took a total of 4 chimneys of fuel and about 3 hours and 15 minutes to get the meat tender or done enough to pull like a pork butt. 

 photo DSC02471.jpg

While the first part of the cook was finishing up, I mixed up my sauce for the beef. The ingredients were as follows:

1-1/2 cups of ketchup
3 tbl taco sauce
2 tbl brown sugar
2 tbl vinegar
1 tsp minced garlic
1 tsp salt
1 tsp dry mustard
1 tsp chili powder
1 bay leaf


 photo DSC02473.jpg

I took the beef out of the liquid in the camp oven and shredded it up. 

 photo DSC02475.jpg

I then added the shredded beef and sauce back into the liquid left in the camp oven and fired it up again for one more 45 minute run to finish my cook. 

 photo DSC02477.jpg

I toasted my bun and added a generous amount of the beef on top. Added some fruit and veggies and it was a great meal. 

 photo DSC02478.jpg

I’ll do this one again!!

Friday, October 10, 2014

Dutch Oven Lasagna and Dessert

I did this cook using the new “oven ready” lasagna noodles and it was also my first cook in my new camp style dutch oven that I received from my children for my birthday. 

Nice thing about these noodles is that they don’t have to be cooked first as you just layer them uncooked into the DO along with your other ingredients. I did change my recipe by adding more sauce to help with the final product.

 photo DSC02379.jpg

I started with a little sauce on the bottom and then my first layer of the noodles. I then added 3 more layers consisting of my meat (a mixture of my homemade and super spicy Italian sausage and some 72% burger along with my sauce and spices), my wet cheese mixture, shredded cheese, and more noodles.

I did use some shredded cheddar for color on the last layer of ingredients. 

 photo DSC02382.jpg

Was a cooler morning with intermittent showers so I setup my cooking area with my WSM which I sometimes use for DO cooking in bad weather to shield my oven from the elements. 

 photo DSC02381.jpg

I cooked my lasagna until it was done at about 375 degrees and I did have to use the lid of the WSM a couple of times to avoid the rain showers. 

 photo DSC02384.jpg

Just before it came off of the fire. 

 photo DSC02385.jpg

I started some more charcoal and then made up my dessert which was a cherry chocolate cake in another DO. 

 photo DSC02386.jpg

I figured the rain was done so I did this short cook on my table. 

 photo DSC02387.jpg

Just before it came off of the fire. 

 photo DSC02391.jpg

 photo DSC02392.jpg

 photo DSC02393.jpg

The results of my cook.

Now, as plated.


 photo DSC02388.jpg

 photo DSC02389.jpg

 photo DSC02390.jpg

I did add a scoop of ice cream to my dessert.

The felt the cook was still a little short on sauce so I will add more on the next cook and I sure like the “oven ready” noodles as they save me a step on the cooking process especially for camping.