Monday, May 21, 2018

The Ultimate Smoked Bloody Mary / Cobb Supreme

 photo IMG_1506.jpg

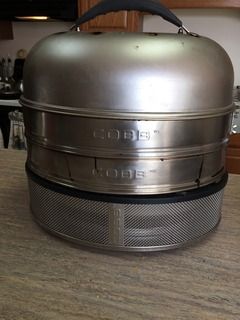
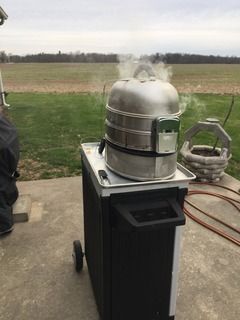
This was a fun cook to put together and was done in two phases on the Cobb Supreme charcoal grill.

 photo IMG_1508.jpg

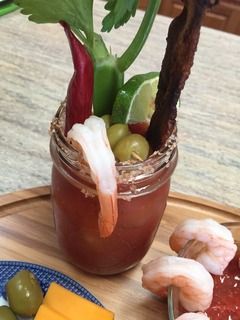
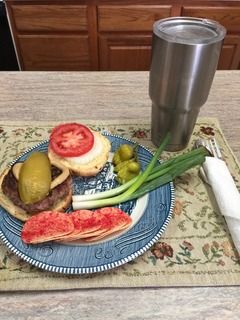
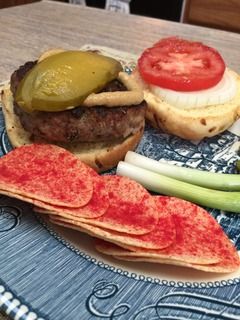
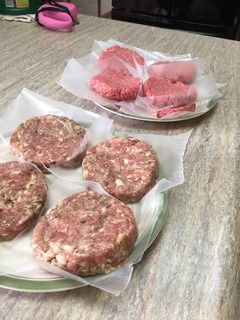
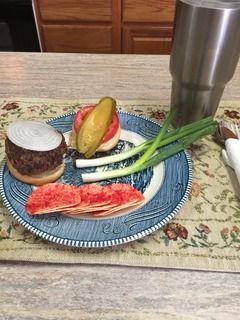
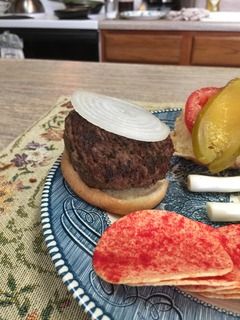
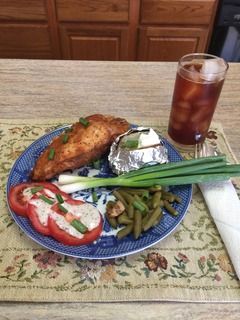
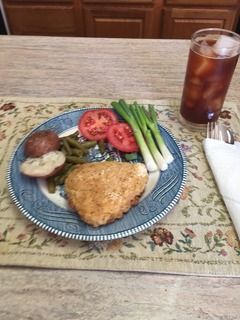
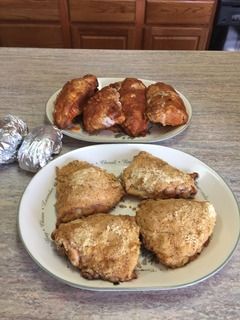
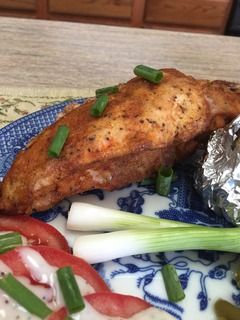
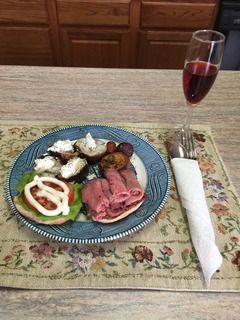
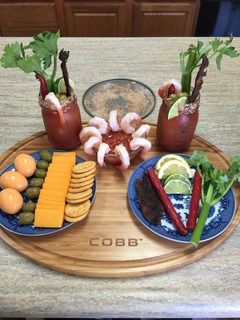
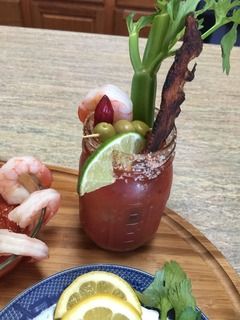
Sure makes a nice presentation.

 photo IMG_1509.jpg

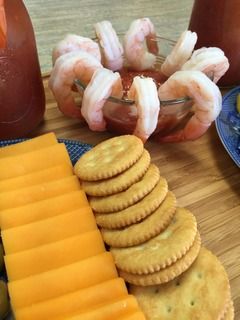
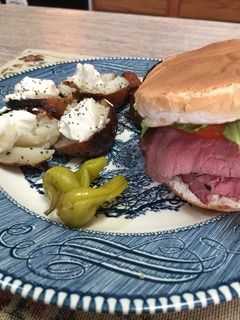
A fellow needs a little snack or two to go with his drink.

 photo IMG_1507.jpg

I always make some extra bacon for these drinks.

 photo S2EDSC00062.jpg

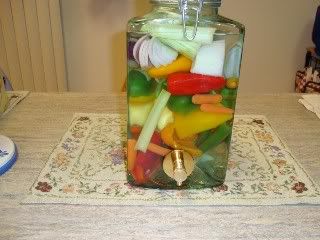
How I infuse the Vodka that is used in my Smoked Bloody Mary drinks.

 photo IMG_1484.jpg

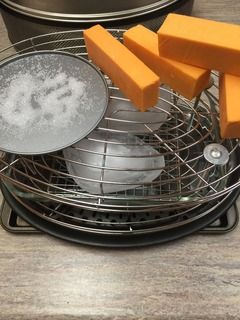
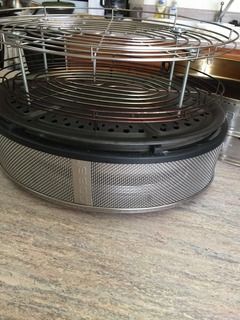
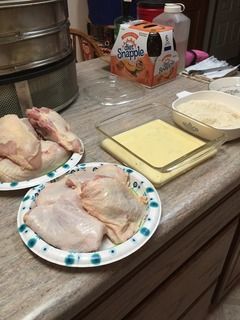
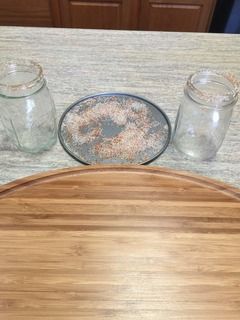
On the bottom is a 9X13 dish the is used to catch the smoked water from the ice which will be frozen again for the drinks. On top is the pan of salt and I also mixed in some rub and this is used on the rim of the glass. The cheese I will be smoking is sharp cheddar.

 photo IMG_1487.jpg

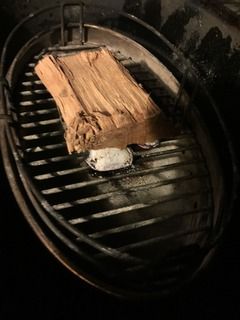
I used 3 all hardwood briquets and a chunk of hickory for this first phase of the smoke. I must keep the temperature inside the cooker under 90F degrees and a small fire is a must along with the ice which will also help with the temperature.

 photo IMG_1489.jpg

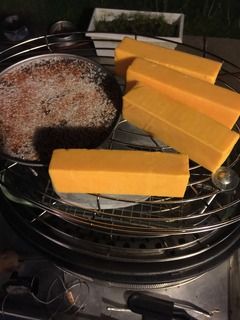
The cheese, smoked ice, and the smoked salt and rub starting out early this morning.

 photo IMG_1492.jpg

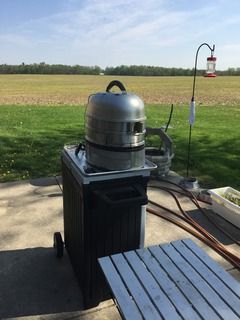
I started the cook very early in the morning when the ambient temperature is the lowest for the day.

 photo IMG_1493.jpg

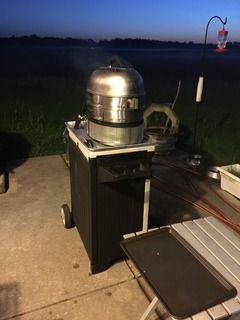
The first phase of the cook about done.

 photo IMG_1497.jpg

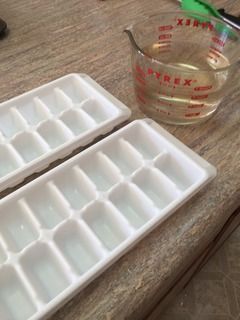
As soon as my first phase was done, I poured my smoked water into ice cube trays for my drinks and put them into the freezer.

 photo IMG_1494.jpg

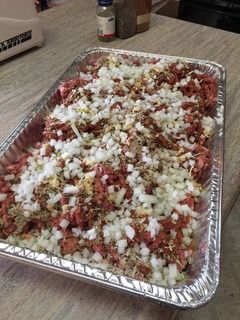
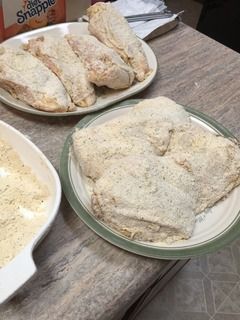
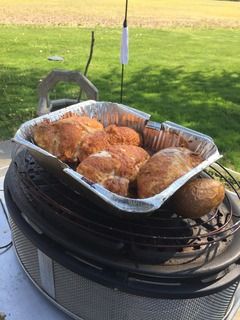
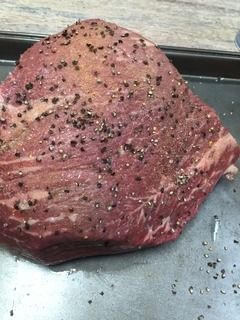
I cut my large Roma tomatoes into 4 pieces each. I then sprinkled on my rub and some salt and pepper.

 photo IMG_1496.jpg

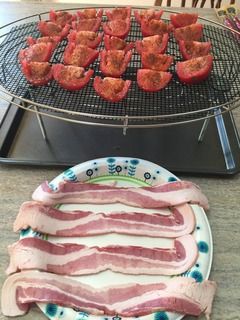
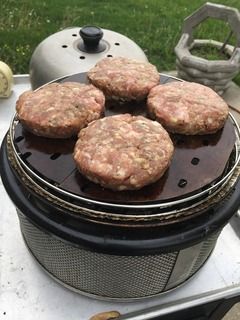
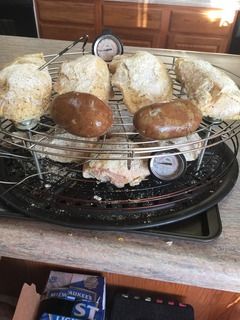
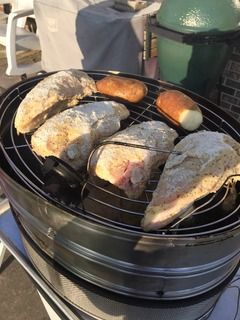
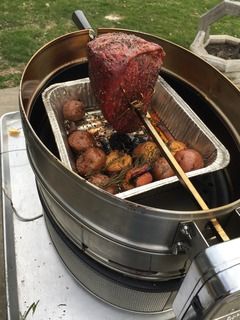
Along with my tomatoes, I used some country style thick cut bacon. Ready to carry it outside and place it on my hot Cobb Supreme.

 photo IMG_1500.jpg

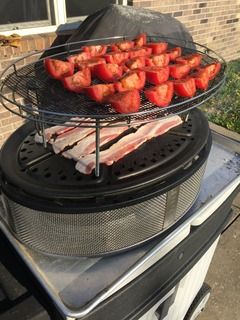
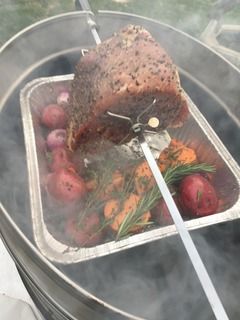
I refired the cooker with about 14 all hardwood briquets and added some smoke wood and my second phase was on the way.

 photo IMG_1501.jpg

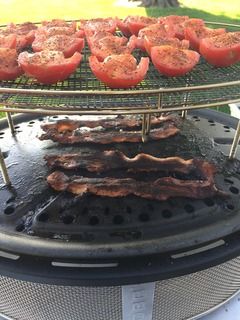
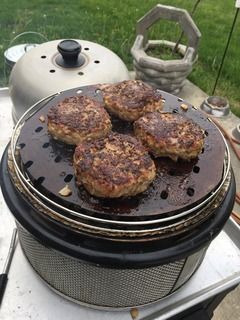
My bacon is done but the tomatoes need a little more time.

 photo IMG_1503.jpg

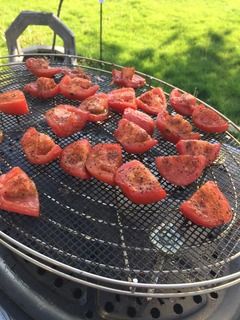
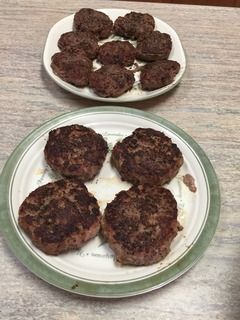
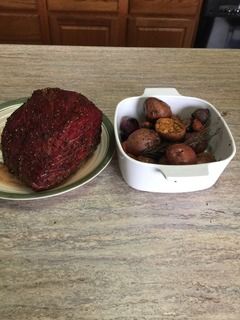
Tomatoes done on the Cobb Supreme.

 photo IMG_1504.jpg

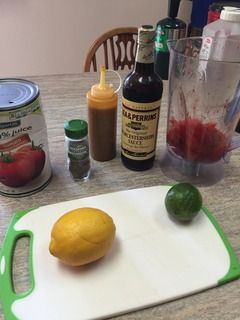
I removed the skin and the core out of the tomatoes and placed them into the blender. I then added the balance of my recipe to the blender which included tomato juice, celery seed, Worcestershire sauce, hot sauce, and lemon juice. Pulsed the blender a few time and then put the drinks together.

 photo IMG_1505.jpg

I refroze my infused smoked water in a couple of ice trays a few hours before I made up my treat. I started by using some lemon juice on the rim of the glass and the dipping the rim in my salt and rub mixture.


Sure was a fine drink and a great appetizer.


Porkburgers

This cook was done on my Cobb Premier Grill and is probably the best burger that I have ever tasted. You’ll want to throw rocks at a standard hamburger after trying this one. 

 photo IMG_1527.jpg

I like my pork burger on an onion bun and then dressed with a slice of onion, a tomato slice, a pickle slice, and some deli mustard.

 photo IMG_1528.jpg

I don’t like to cut back much on the meat so I made my pork burgers into 6 oz. patties for this treat. Makes a fine sandwich with this much meat.

 photo IMG_1510.jpg

The Ingredients for my Porkburgers:

2 pork butts weighing about 16-1/4 pound total
4 pkgs of Lipton dry onion soup
2 cups of finely chopped onions
10 cloves of garlic thru my Suzy
4 TBL dried basil
3 TBL pork rub
2 TBL butcher cut black pepper
3/4 cup Worcestershire sauce
2 tsp ground cayenne pepper (optional)

 photo IMG_1511.jpg

I cut the fat cap off of my butts and deboned them and then sliced them up into pieces that will fit my grinder.

 photo IMG_1513.jpg

Put the meat thru the grinder.

 photo IMG_1515.jpg

Added all my spices and veggies and then mixed it all up and covered it and placed it into the fridge for about 24 hours so my burger would have some time to meld together before I cooked or processed it.

 photo IMG_1517.jpg

Coming out of the fridge on cooking day.

 photo IMG_1520.jpg

I made up four 6 oz pork patties along with eight 1/4 pound beef burgers for this cook.

 photo IMG_1521.jpg

I used the larger charcoal basket out of the Cobb BBQ Kit and filled it with 19 hot all hardwood briquets out of a charcoal chimney for this cook. I needed enough time and heat for 3 rounds of burger cooking. 

 photo IMG_1522.jpg

I cooked the porkburgers on the back side of my Grill Grates and used a temperature of about 550F degrees measured on the surface of the Grill Grates. These big 6 oz burgers took about 12 minutes to cook.

 photo IMG_1523.jpg

 photo IMG_1522.jpg

Along with the Porkburgers, I did some 1/4 pound beef slider burgers on this cook. 

 photo IMG_1525.jpg

Both of the finished burgers just off of the Cobb Premier grill.

 photo IMG_1529.jpg

 photo IMG_1530.jpg


This big one inch thick 1/4 pound slider is a great sandwich but just doesn’t compare to the porkburger. 

Buffalo Chicken Breasts & Spicy Chicken Thighs

This cook was done on my Cobb Supreme using my two new proto-type dome extensions from the good folks at Cobb International and my new raised second cooking grid setup. 

 photo IMG_1479.jpg

My meal was this blazing hot Buffalo chicken breast with one of the baked potatoes, green beans, and some salad stuff.

 photo IMG_1481.jpg

The Wife's meal was one of the spicy breaded and crunchy chicken thighs. Served with some new potatoes and green beans and some salad stuff.

 photo IMG_1460.jpg

I built this second raised grid with an additional Supreme roasting rack, some carriage bolts, fender washers, lock washers and nuts. 

This will work for large pieces of meat like maybe a pork butt at about 9 pounds on the bottom layer and then another pork butt or maybe a brisket on the top layer. I can see in excess of 20 pounds in one cook on the Supreme with this new setup. 

 photo IMG_1455.jpg

The cooker assembled and ready to be carried out to my cooking patio. 

 photo IMG_1461.jpg

The first job was to trim the meat. For the breading, I made an egg wash with eggs and milk, and then made up my breading using flour, cornmeal, onion powder, garlic powder, black pepper, white pepper, and some cayenne pepper.

 photo IMG_1462.jpg

After the chicken was breaded, I placed it into the fridge for about 90 minutes to help set the breading on the chicken. Total weight of this cook was slightly over 8 pounds.

 photo IMG_1466.jpg

As with all my setups, I like to be able to load them all up in the kitchen and then carry them out to my hot cooker. I have some extra thermometers on this cook as it was my first cook with the setup and need to know what to expect with the two layer cooking.

 photo IMG_1468.jpg

I used a full load of all hardwood briquets for this cook. I also added 7-8 more briquets during the cook. Total cooking time was a little over two hours.

 photo IMG_1470.jpg

Food just going on my hot Cobb Supreme.

 photo IMG_1473.jpg

Just one beautiful morning for cooking outside with the ambient at about 55F degrees and the sun a shining.

 photo IMG_1475.jpg

At 55 minutes into the cook, the thighs which were on the bottom layer were done and removed from the cooker. I removed the top grid and finished up my Buffalo breasts on the bottom layer in a pan to make for easy cleanup. At this point, they were glazed with a super hot and spicy sauce that had much more cayenne pepper in it.

 photo IMG_1476.jpg

Just off of the Cobb Supreme. The large breasts averaged about 1.30 pounds each and the thighs averaged 3/4 pound each.

 photo IMG_1480.jpg

This was the largest breast half and it weighed about a pound and a half. Way too much to eat at one meal but I did the best I could!

 photo IMG_1482.jpg


Anxious to try the thighs I made for the wife..sure looks good.

Wednesday, May 2, 2018

First Rotisserie Cook on the Cobb Supreme

I “cobbed” together a rotisserie setup using my two new Cobb Proto-Type Dome Extensions and some rotisserie parts that I use for other cookers and did my first rotisserie cook consisting of a Beef Bottom Round Roast over a pan of Root Vegetables on my Cobb Supreme.

 photo IMG_1438.jpg

I made a roast beef sandwich with a generous amount of the bottom round roast beef, lettuce, tomato, and some horsey sauce on a bun. My sides were a few pieces of my baked new red potatoes, sweet potatoes, carrots, and some pearl onions. Added some sour cream to the potatoes.

 photo IMG_1425.jpg

I prepped my 3.92 pound bottom round roast by trimming off most of the fat. Added a little olive oil for a sticker and then sprinkled on some SPG for my rub.

 photo IMG_1426.jpg

Ready to go on the rotisserie spit rod.

 photo IMG_1427.jpg

My root veggies were some new red potatoes, some sweet potatoes, carrots, and some pearl onions. I salted and peppered the veggies and added a little garlic, some fresh rosemary and thyme.

 photo IMG_1430.jpg

My cook just going on the Cobb Supreme with a rotisserie setup.

 photo IMG_1432.jpg

I used both of my proto-type dome grid extenders for this cook. Along with my heavy duty rotisserie setup, I have a nice cooker for all my rotisserie cooks.

 photo IMG_1435.jpg

My cook is done and ready to be removed from the Cobb Supreme. It took a little under two hours and I took the meat off at 130F degrees internal.

 photo IMG_1436.jpg

My roast beef and veggies just off of the cooker.

 photo IMG_1437.jpg

My roast beef just thru the slicer.

 photo IMG_1438.jpg

Made a nice lunch.

 photo IMG_1440.jpg

Love the potatoes fixed this way.


I think the first rotisserie cook on the Cobb Supreme came out quite well and will make for some additional tasty meals.  Beef Manhattan is up next.