Sunday, April 19, 2015

Pork Burnt Ends

This is my method for cooking pork burnt ends and I feel is much better than any other method I have tried. I have done them with a whole pork butt, I have done them using pork steaks that I have sliced about 1-1/4” thick, and I have done them by cutting up a pork butt in 4-5 big slices. The problem with these three methods is that the best a person can do is to get smoke on just two sides of the meat. Cooking a whole butt will not give you much smoke flavor in most of the chunks or pieces. Next, these methods are just as bad with producing bark on your pieces. Best you are gonna get is a couple of sides with a good bark. 

 photo DSC02823.jpg

 photo DSC02824.jpg

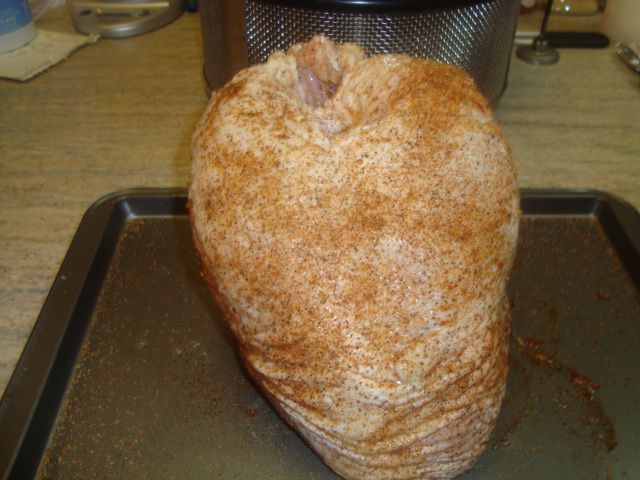
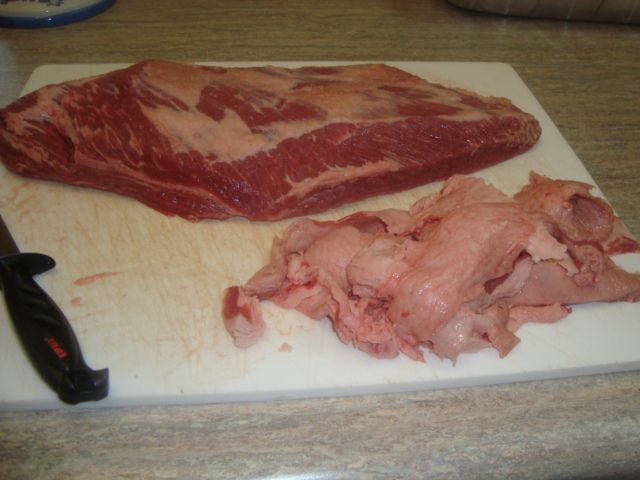
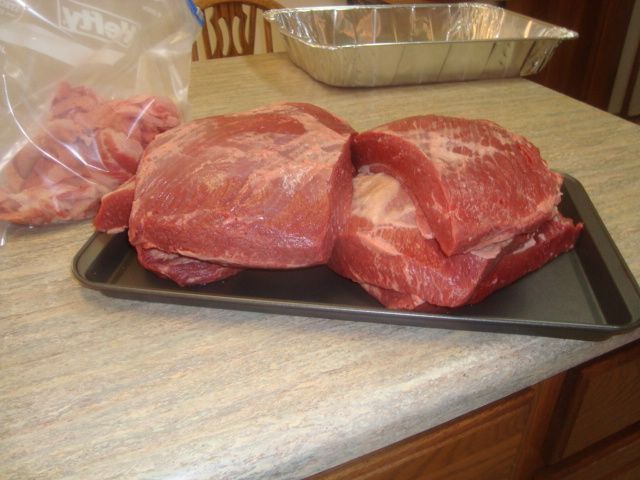
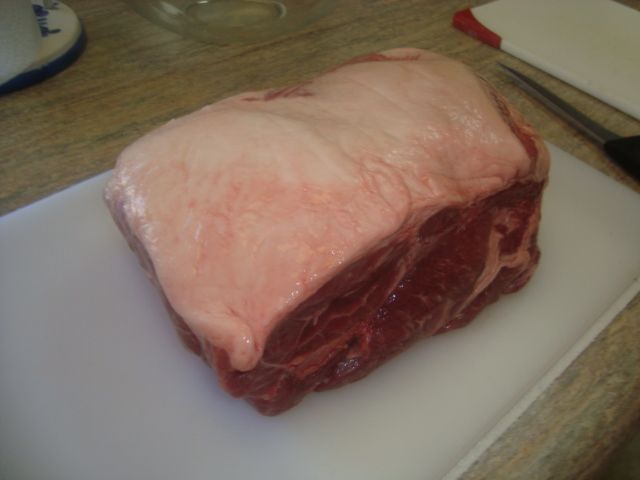
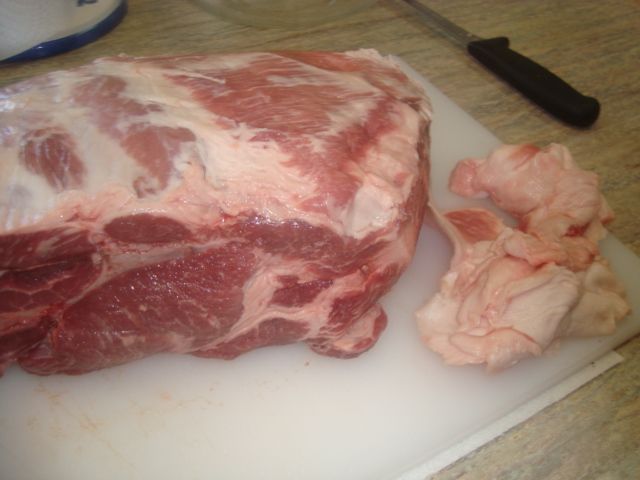
Ok, I start with a whole butt and this one weighed about 7-1/2 pounds. I trim off the fat cap and any other fat that is easy to get to.

 photo DSC02825.jpg

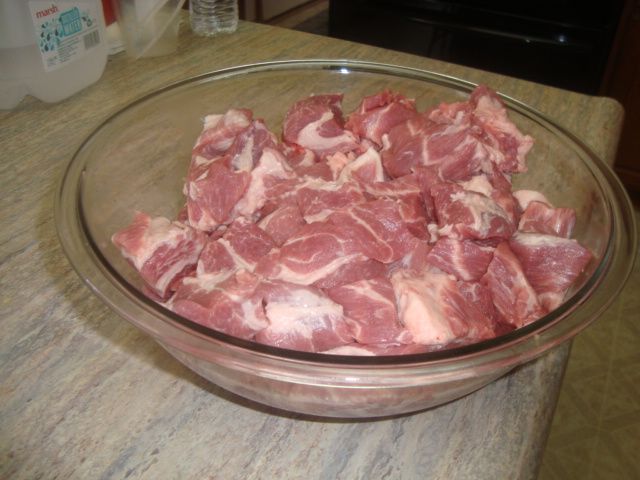
I then cut my butt up into about 1-1/4 to 1-1/2” cubes.  They will shrink in cooking.

 photo DSC02826.jpg

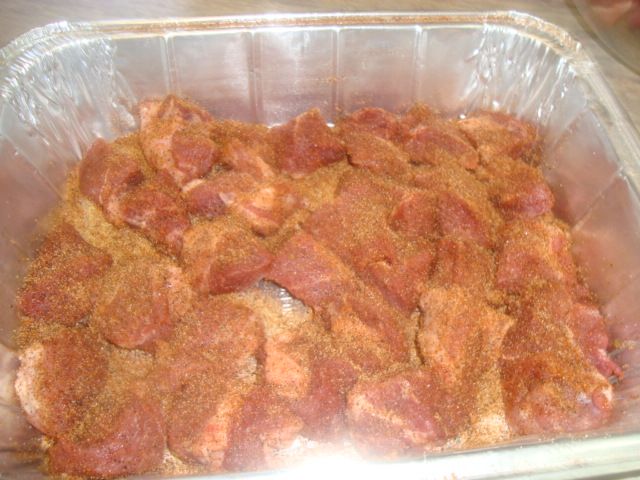
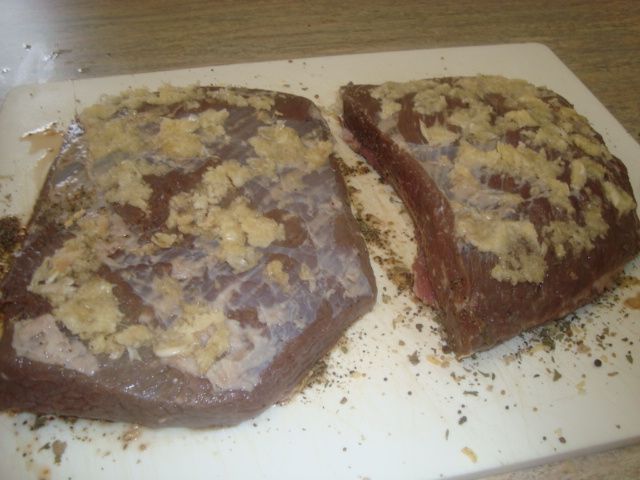
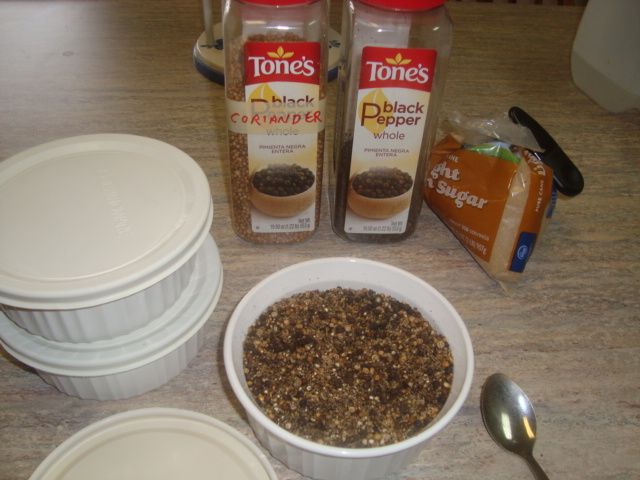
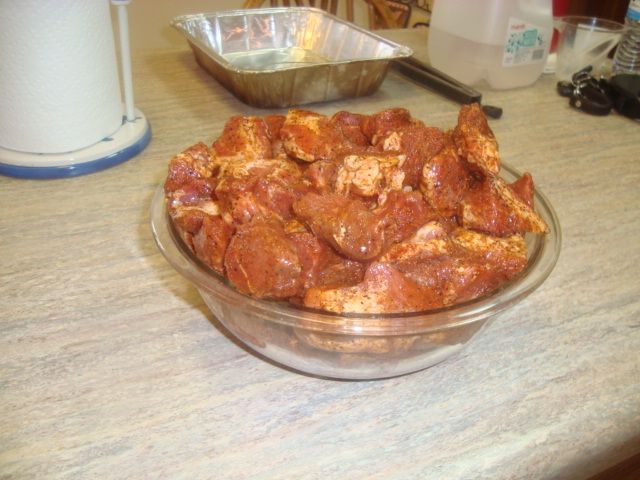
My cubes were rubbed with a mixture of Smokin’ Guns Hot and  Cimarron Doc’s rub.

 photo DSC02827.jpg

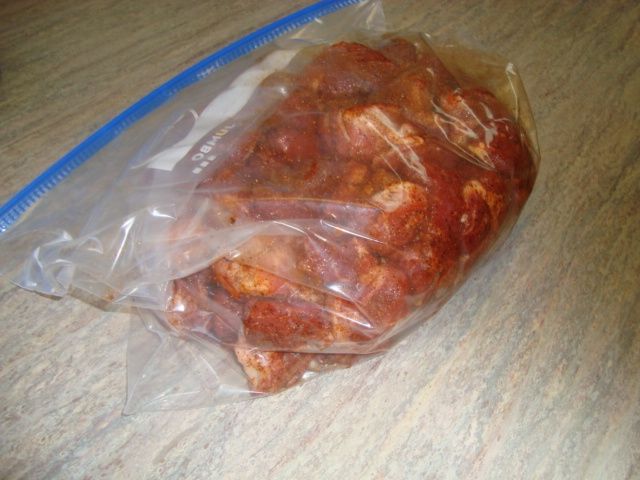
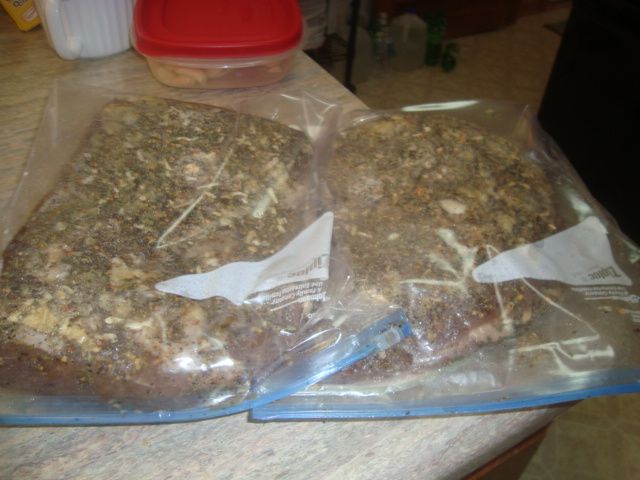
I placed the pork cubes into a Zip-Lock bag and put them into the fridge for an overnight stay.

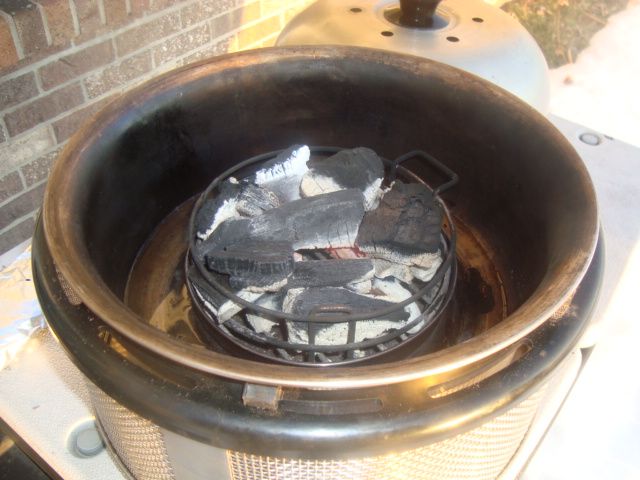
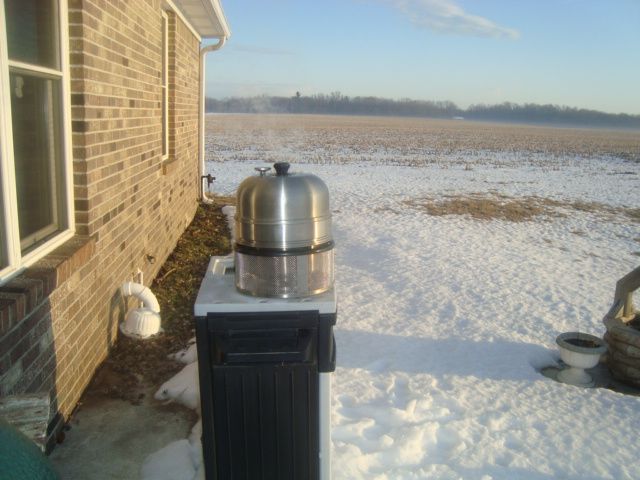
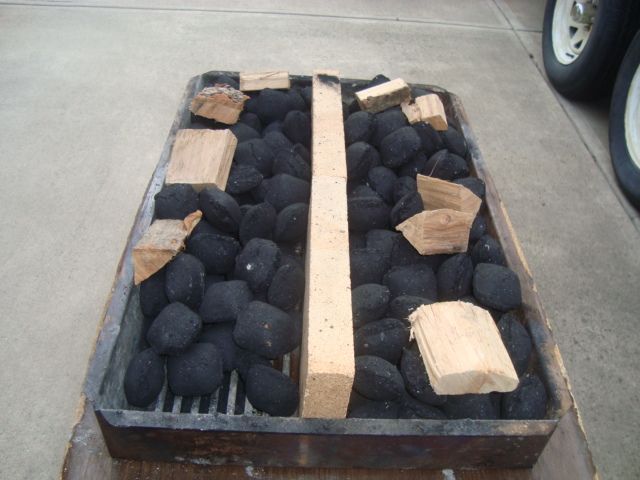
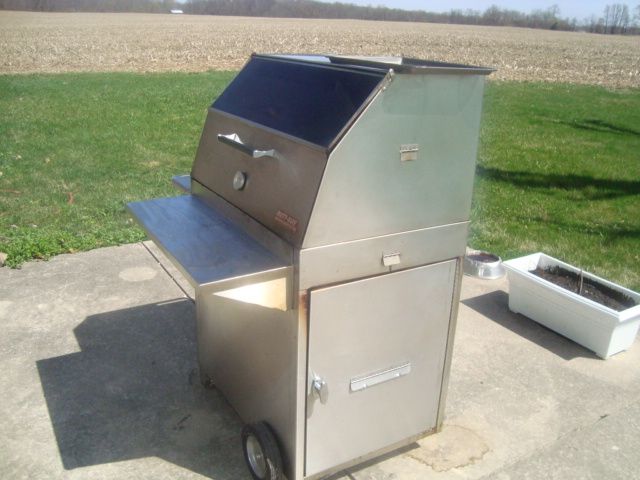
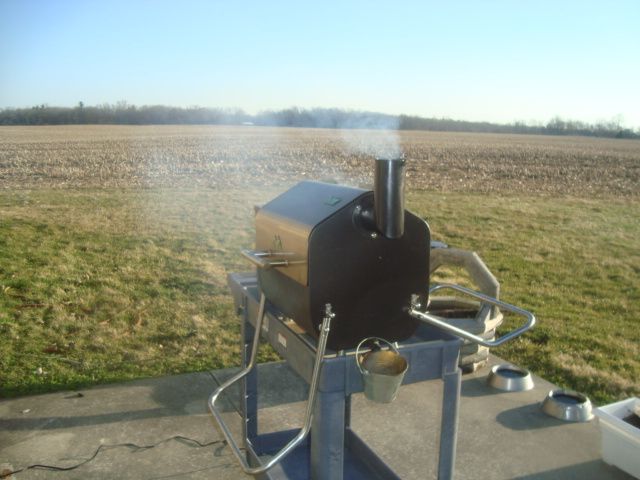
Early this morning, I got the Green Mountain Davy Crockett out of the garage and rolled it around to my cooking patio. Fired it up and set the temp for 150 degrees so I would get mucho extra smoke for the first hour of the cook. 


 photo DSC02828.jpg

 photo DSC02829.jpg

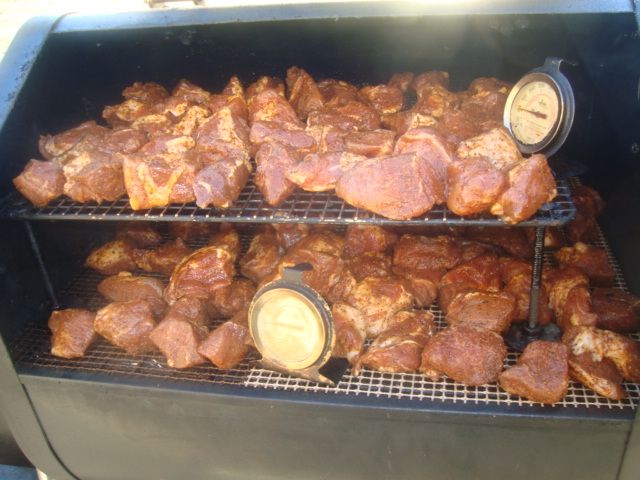
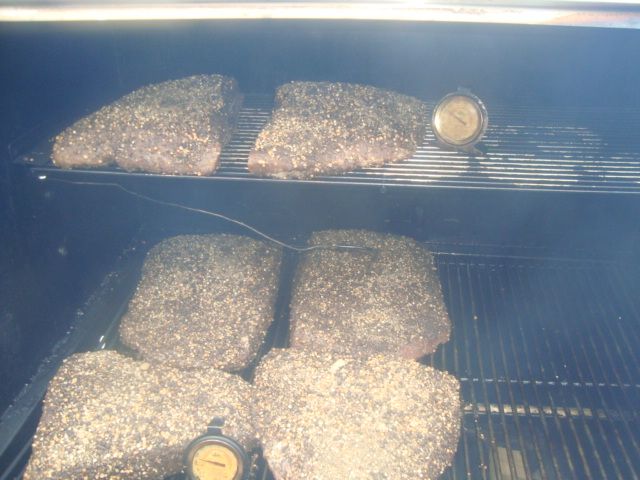
Got the pork cubes out of the fridge and loaded them into the Davy Crockett cooker.

This is the secret to this treat. Cutting the pork butt into uncooked cubes and cooking it in this manner gives me smoke on all 6 sides of each cube. I also get good bark on all 6 sides of each cube. Of course there will much better flavor on all 6 sides of each cube from the rubs.


 photo DSC02830.jpg

I run the first hour with pretty heavy smoke. After the first hour I raised the temp up to about 230 degrees measure on the lower cooking grid. 

 photo DSC02832.jpg

 photo DSC02833.jpg

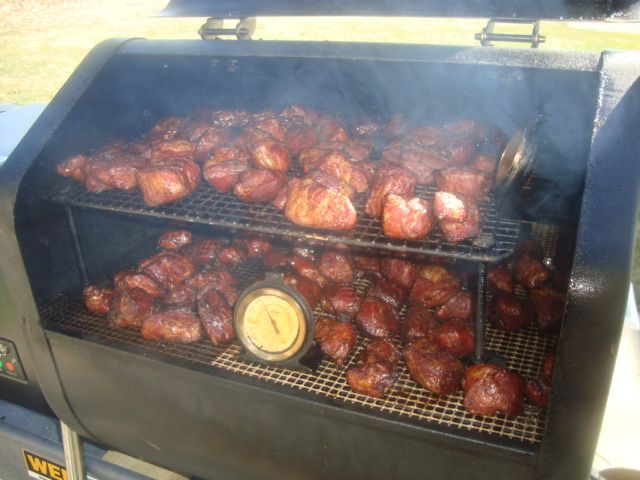
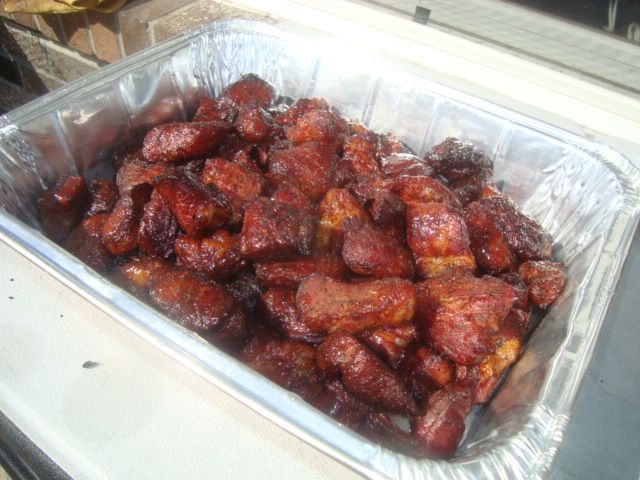
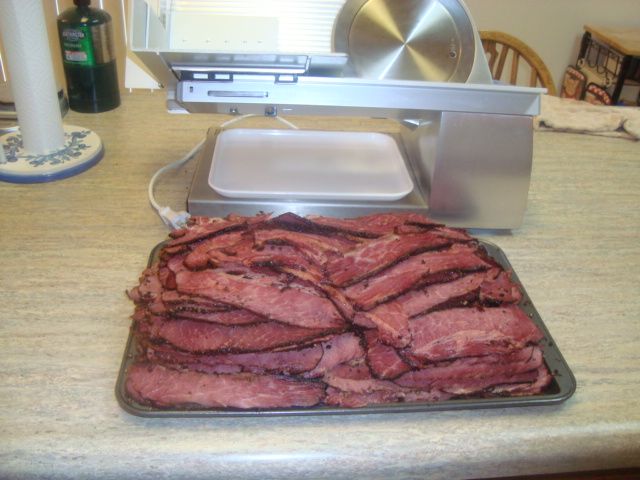
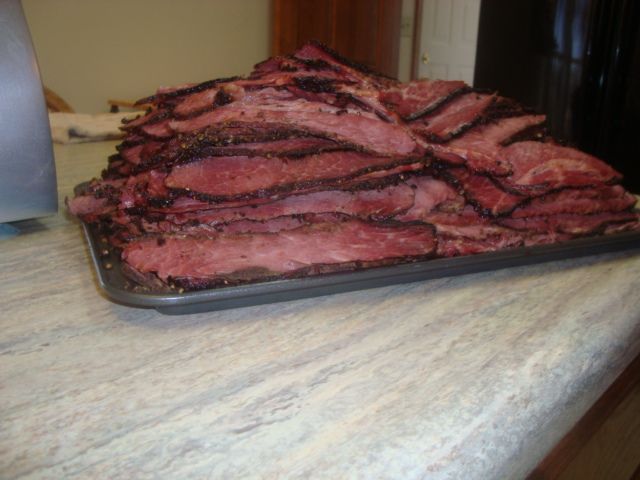
I cooked the pork cubes to around 180 to 190 internal and then placed them into a pan. I couldn’t get them all off at once as my upper grid wasn’t running as hot as the lower grid. This was a little extra work but well worth it!

I then poured a mixture of Blues Hog regular, Blues Hog Tennessee Red, and a little honey over my cubes. Next step was to add more rub. Last step was to sprinkle on some brown sugar. I did this in both of my pans of meat.


 photo DSC02838.jpg

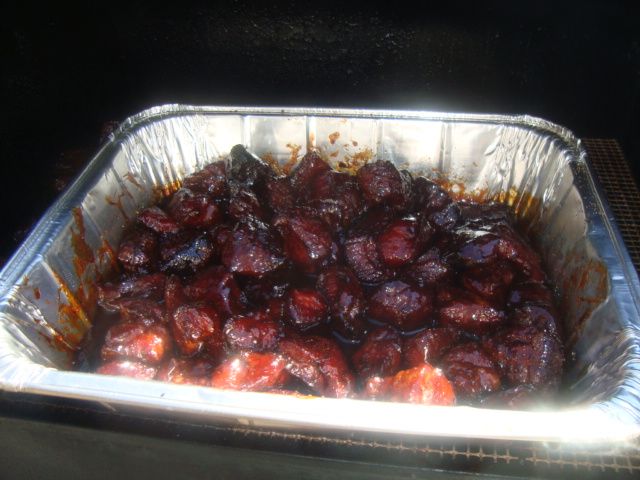
My pork went back on the cooker for about another hour and I pulled the meat. My total cooking time was 5 hours. 

 photo DSC02842.jpg

 photo DSC02840.jpg

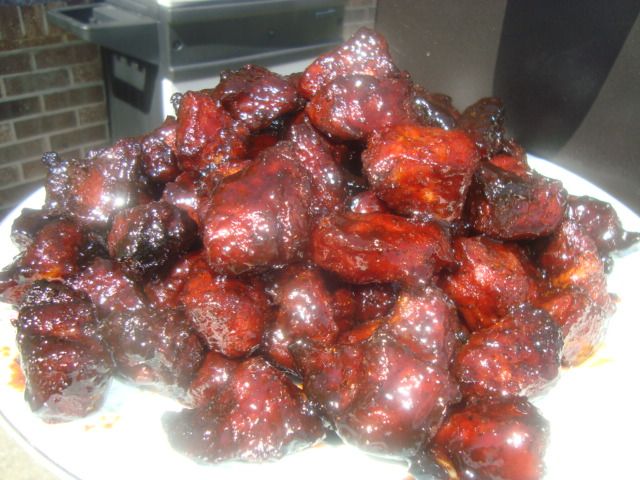
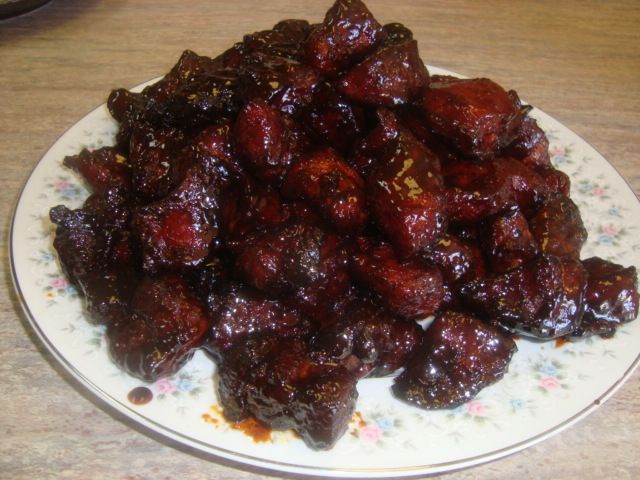
They sure looked great coming off the cooker. 

 photo DSC02843.jpg

 photo DSC02844.jpg

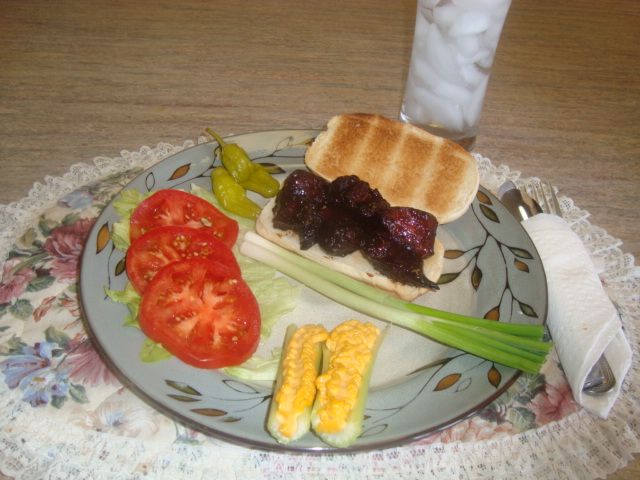
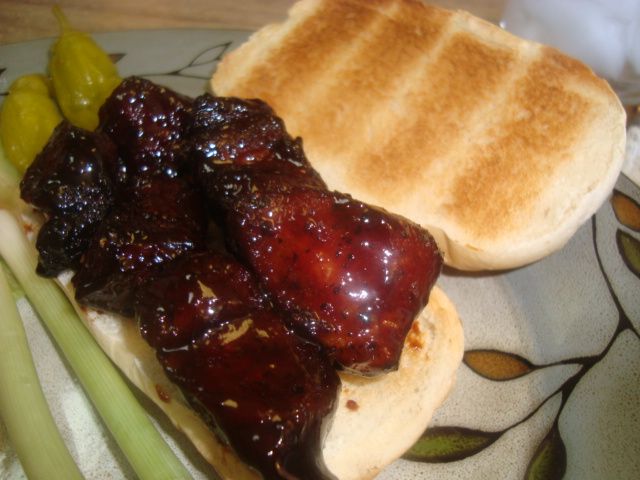
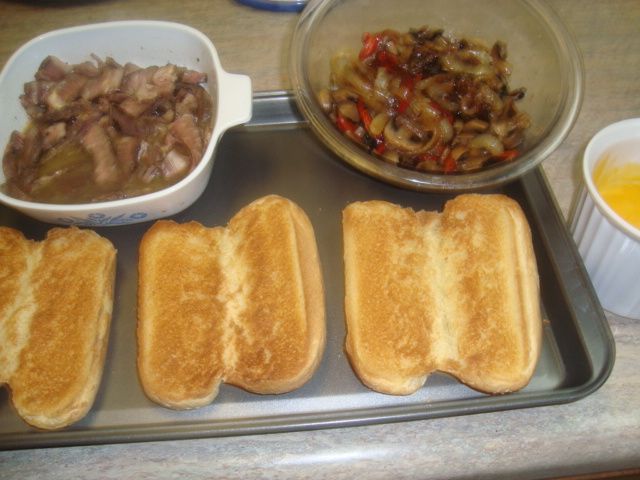
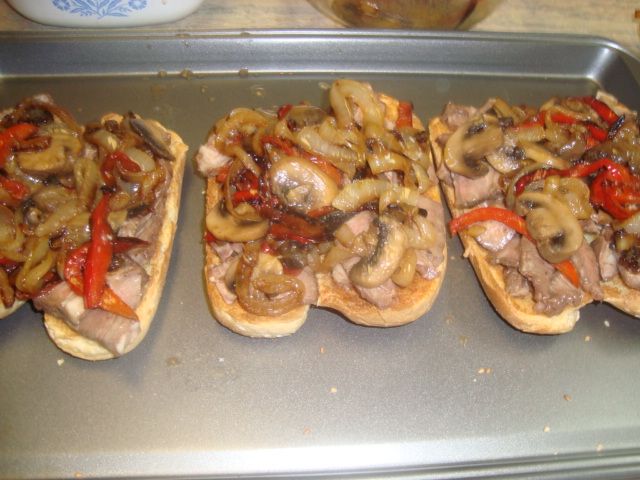
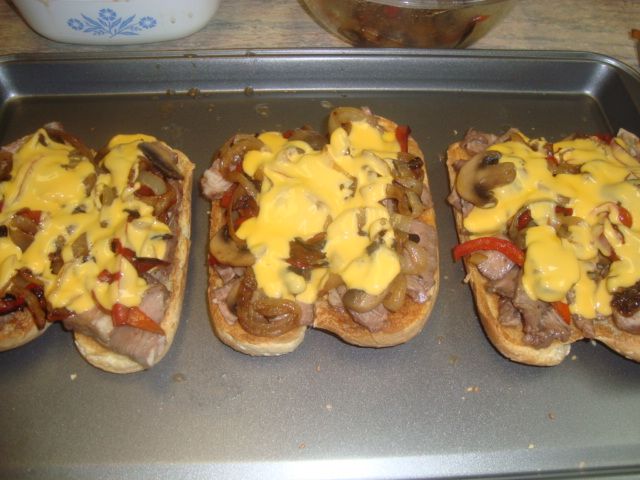
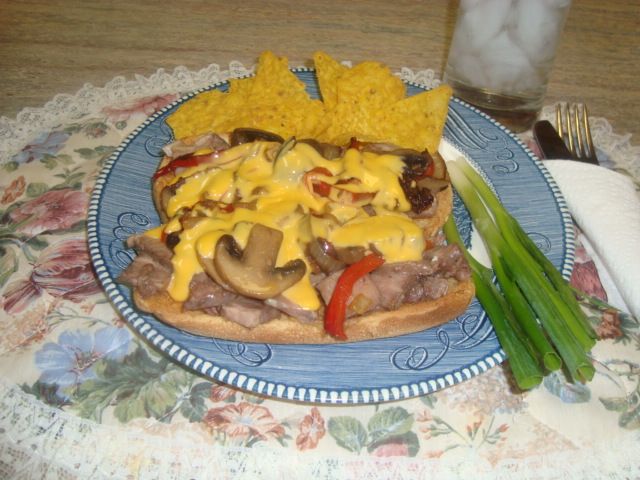
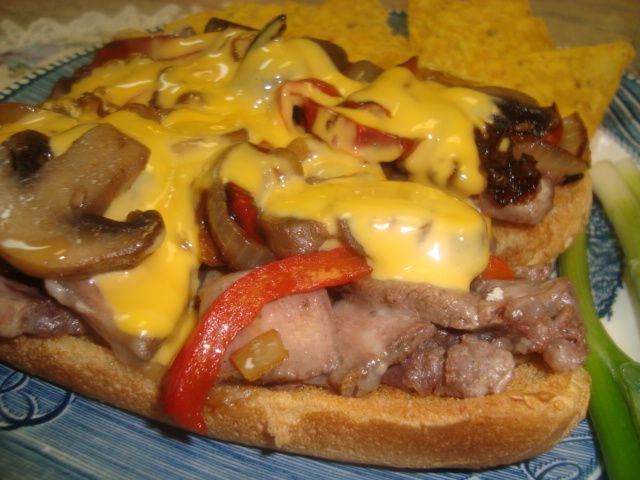
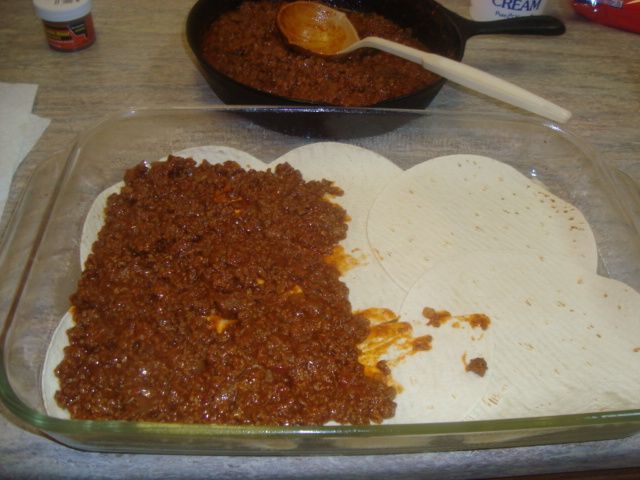
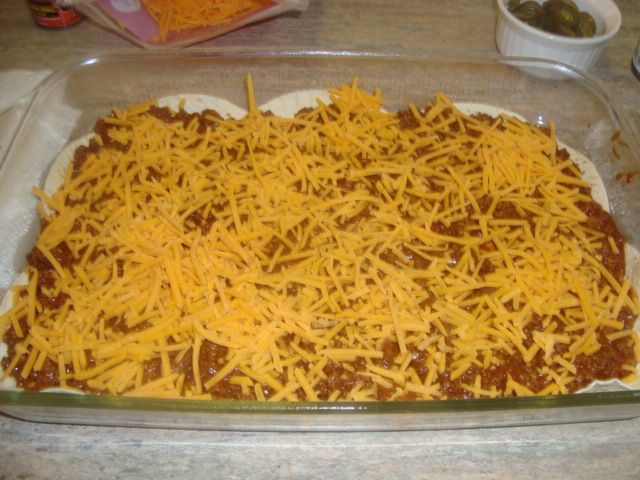
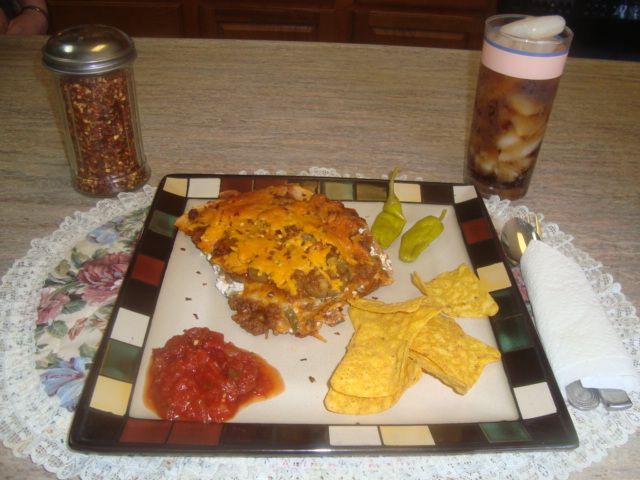
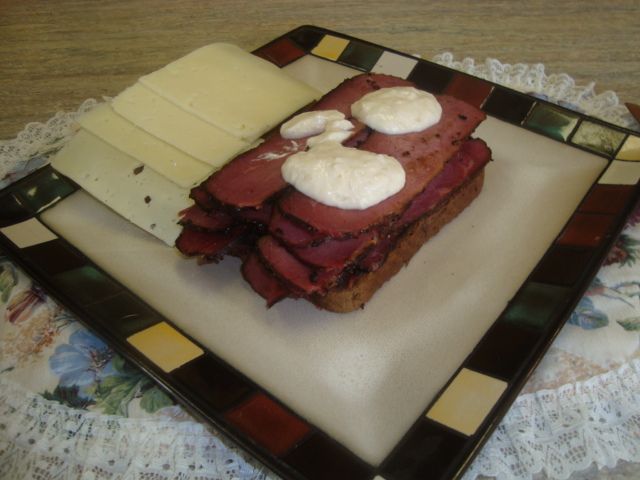
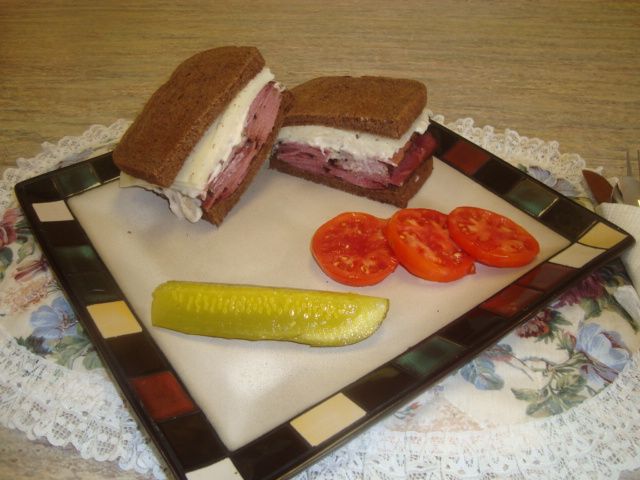
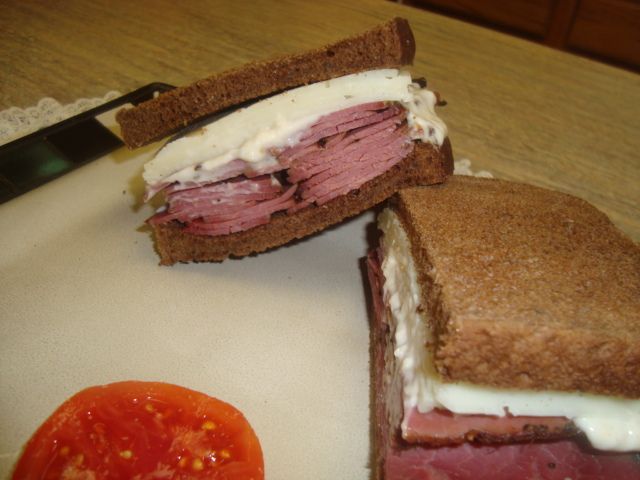
Our first treat with this meat was a Pork Burnt Ends Hoagie Sandwich.

While I love beef burnt ends made with chuck roast, I think this pork is better!

Old Dave's Steak Hoagies


 photo DSC02788.jpg

Old Dave’s not yet famous Coatesville Steak Hoagies are made using these two nice ribeye steaks that I cooked on the Cobb grill a few days ago. 

 photo DSC02799.jpg

I like to start by grilling or browning my hoagie buns. Next step is to slice up and carmelize some onions and peppers. I then add some sliced up mushrooms to the mixture when it’s about done. Next step is to make the soppie and for this I use Better than Beef concentrate along with some butter and water. I slice the steak into thin slices and place it into about 1/2 of my soppie. The onions, peppers, and mushrooms go into that balance of the soppie. Both of these are heated up for my sandwiches.  Final step is to melt the cheese for the treat.

 photo DSC02800.jpg

 photo DSC02801.jpg

 photo DSC02802.jpg

I just layer all the ingredients on my buns and they are ready to serve.

 photo DSC02803.jpg

 photo DSC02804.jpg

Sure makes a fine lunch.


Old Dave's Tijuana Surprise

This is a great casserole dish that can be done on a cooker/smoker or even in your oven but I think it is best in an outside cooker with a clean burning fire for that great light smoked flavor. Since everything is cooked that goes into this casserole, it can be cooked from a low of about 250 degrees to a high of 375 degrees so it will work in about any type of equipment.

 photo DSC02805.jpg

 photo DSC02806.jpg

Here are the ingredients and this dish is an "artery slammer".

2-16oz packages of ground beef
1-med white onion finely chopped
2-envelope taco seasoning mix
1-1/4-cup water
1-16oz jar taco sauce (medium heat)
12-18 six inch flour tortillas
4-5 cups cheddar cheese
1-31oz can refried beans
24 oz sour cream
1-cup green onions
2-2oz cans of sliced black olives
Jalapeno slices

You can adjust the heat in the recipe by using the hot taco sauce and also by the addition of some cayenne pepper if you wish.

In skillet, add a little oil and then the finely chopped onion and cook for a few minutes. Then add the ground beef and cook until is is all browned up a little, and drain off the grease. Stir in the taco seasoning, any type of heat (cayenne pepper) that you want and water. Then add the taco sauce and simmer for 7-10 minutes or until it is slightly thickened.


 photo DSC02807.jpg

Spray Pam on the bottom of either a 14X10 or 13X9 oven dish and then cover the bottom with 4-6 (6") tortillas tearing them into pieces if necessary. Add about half of the meat mixture on top of the tortillas and spread it around.

 photo DSC02808.jpg

Then sprinkle on about one cup of the cheese. Layer with 4-6 more tortillas and spread the refried beans out as even as you can get them.

 photo DSC02809.jpg

 photo DSC02810.jpg

Then add the sour cream on top of that evenly. Sprinkle with the green onions and also the drained black olives.

 photo DSC02811.jpg

Layer another round of tortillas on top. Cover with the remaining meat mixture.

 photo DSC02812.jpg

Add a layer of jalapeno slices.

 photo DSC02813.jpg

Finish up with the balance of the cheese and it is ready for the fire.

 photo DSC02814.jpg

I fired up the Green Mountain Daniel Boone grill and brought the temp up to about 325 measured at the cooking grid and let it warm up for about 10 minutes to be sure it was running clean.

 photo DSC02815.jpg

I placed this casserole in the smoker and cooked it to an internal of about 140-150 degrees and then let it cool for about 10-15 minutes before cutting and serving. The cooking time was about 75 minutes. This recipe will serve about 12 folks or 6 hungry men.

 photo DSC02817.jpg

If using a kitchen oven, use a temp of about 375 degrees and it should take about 40 minutes but if you can, check the internal and pull at about 140-150 degrees.

 photo DSC02820.jpg

Let the casserole cool for a short period before cutting it up.

 photo DSC02821.jpg

 photo DSC02822.jpg

Serve and enjoy.

Turkey Breast on the Cobb Grill

I prepped the turkey breast by injecting it with Shake’s Honey Brine and then I put it into a large zip-lock bag and poured a bottle of Wishbone salad dressing over the meat. I then placed the bag into the fridge for an overnight stay. This gives me both a brine and marinade at the same time during this overnight period. 

 photo DSC02747.jpg

The next morning, I took the turkey breast out of the bag and then added a medium dose of SGH rub to the meat and it was ready for the fire. 

 photo DSC02748.jpg

I set the Cobb Grill up with some of that great Ozark Oak lump charcoal and lit it off. As soon as my fire was ready, I added a big foil pack of wild cherry wood chips right on top of the charcoal. 

 photo DSC02749.jpg

Placed the turkey breast on the grill and due to the height of the meat, I had to add the 3-1/2” extension on top of the base. I then added the lid and got the cook started. 

 photo DSC02750.jpg

Nice morning with a temp of about 33 degrees at the start of the cook. With the cooler weather and the lump charcoal, I was getting temperatures between 220 to about 280 degrees which should be fine for this cook. I did have to add more charcoal once.

 photo DSC02753.jpg

After my rub set up, I started mopping the turkey breast with the “Roadside Chicken Mop” about every 20 minutes until it was done.

I pulled the turkey breast off the cooker when the internal reached about 160 degrees and then covered it in foil for about 30 minutes. The cook took about 3-1/2 hours. 


 photo DSC02755.jpg

Took my foil cover off and found one very juicy looking turkey breast! 

 photo DSC02756.jpg

 photo DSC02757.jpg

I cut the bone out and then sliced up the meat. 

 photo DSC02759.jpg

 photo DSC02760.jpg

Came out well with a good flavor and the meat was very moist.

Gotta love a Cobb Grill.

Corned and Pastramied Beef Brisket

We like to keep this meat on hand and did use up the last of what we had frozen a few week ago so it was time to do up another few pounds. 

 photo DSC02845.jpg

I started with 3 choice brisket flats that weighed slightly over 21 pounds total. I also made up my first round of spices and seasonings. I also got about 150 cloves of garlic ready for my treat. I made up the curing brine that will be injected into the meat.

 photo DSC02846.jpg

 photo DSC02847.jpg

I trimmed up each brisket flat and then cut each one in half.

 photo DSC02848.jpg

I injected the brine into each piece of meat.

 photo DSC02851.jpg

I put the garlic thru my Suzy and packed a generous amount on each piece of meat. 

 photo DSC02850.jpg

 photo DSC02852.jpg

I packed on the spices and herbs and placed each piece of meat into a Zip-Lock bag. The meat went into the fridge for 4 days and was turned over about two times a day during this curing period. 

 photo DSC02857.jpg

 photo DSC02859.jpg

I took the meat out of the fridge and washed all the spices and seasonings off under running water at the sink and placed the meat into a pan of water for about an hour.  I then toweled the meat off and let it air dry for about 30 minutes.

 photo DSC02853.jpg

Made up the second round of spices for the smoking process and packed them onto the brisket pieces and they were ready for the smoker.

Decided to use the Hasty-Bake for this smoke and rolled it around to my cooking patio.

 photo DSC01982.jpg

I figured I would need about an seven hour smoke time so I setup a fuse burn for about an eight hour cook to be sure I had enough to finish my treat. I placed a couple of firebricks in the charcoal pan and then added 13 pounds of Wicked Good charcoal  briquettes. I then added some hickory chunks for my smoke. 

 photo DSC02860.jpg

I fired the cooker up and brought it up to temp and loaded my 6 pieces of meat. 

 photo DSC02863.jpg

A beautiful morning but a little chilly at 41 degrees and windy.

 photo DSC02862.jpg

The meat got done a little quicker than I expected and I got the first piece off at about 4 hours and the last piece off at about 5-1/2 hours into the smoke. The meat was smoked to an internal of about 185 degrees.

 photo DSC02864.jpg

 photo DSC02865.jpg

Put the meat thru the slicer and it sure looked great. It will be packed into one pound vacuum bags and frozen for future use or....

 photo DSC02133.jpg

 photo DSC02134.jpg

 photo DSC02135.jpg

A fellow might take about 1/2 pound of this meat and put it on some big slices rye bread and then slop on a few dollops of horsey sauce. He might add 3-4 slices of Swiss cheese and fold this sandwich up and serve it with a dill pickle. OH MY!!  It just don’t get any better than this.