Sunday, August 14, 2016

Pizza Bites / Weber Performer Gen1

I saw this appetizer or snack recipe on the web a few days ago and it just looked great to me so I gave it a try in my Weber Performer.

 photo DSC03684.jpg

There really wasn’t many measurements of the ingredients so I kinda winged it for this first attempt of this treat. 

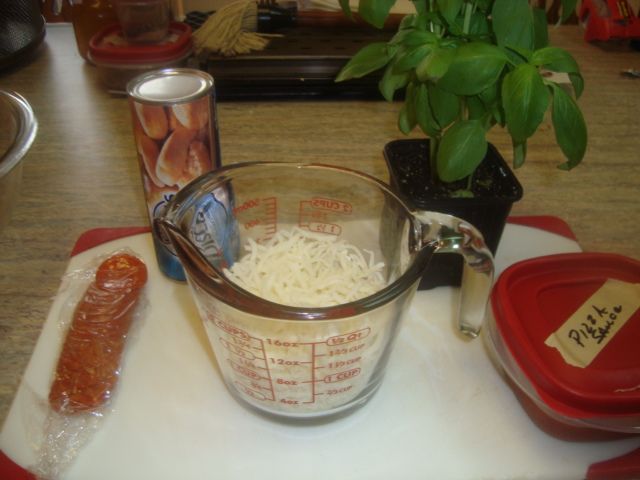
A bunch of pepperoni cut into small pieces (quartered)
A handful of fresh basil cut into small pieces.
About 1-1/8 cup of mozzarella cheese
About 7-8 oz of pizza sauce
Can of biscuits with each cut into quarters
More mozzarella to sprinkle on the top of the bites. 

 photo DSC03685.jpg

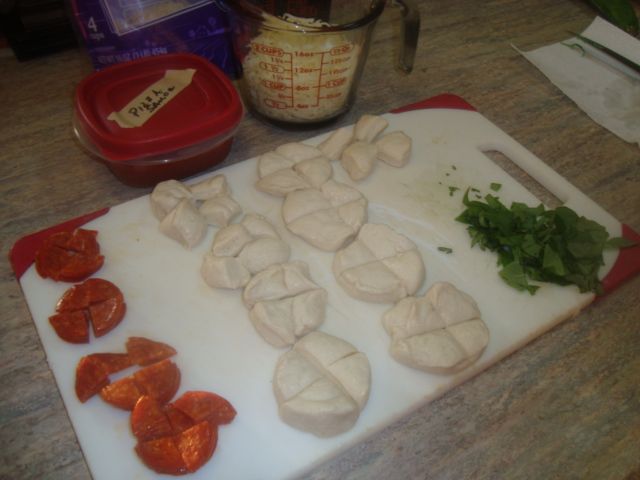
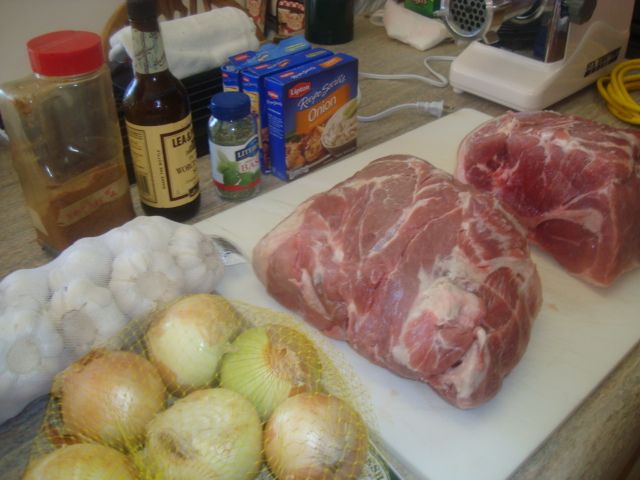
The ingredients prepped for the bites. 

 photo DSC03686.jpg

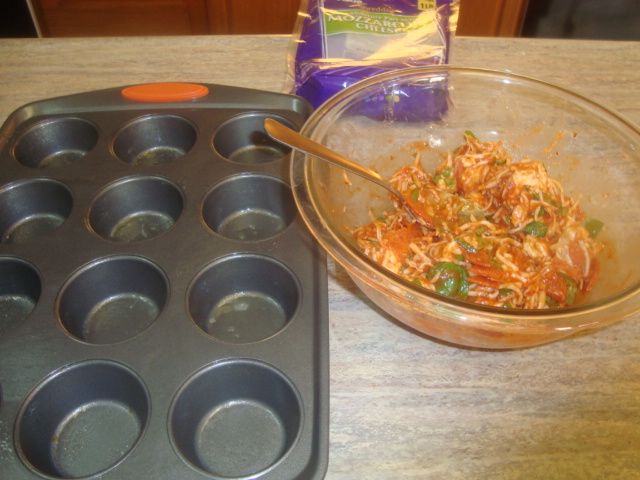
Mix the first five ingredients together in a bowl. 

 photo DSC03687.jpg

Pammed up a muffin pan and divided the ingredients into the pan. 

 photo DSC03688.jpg

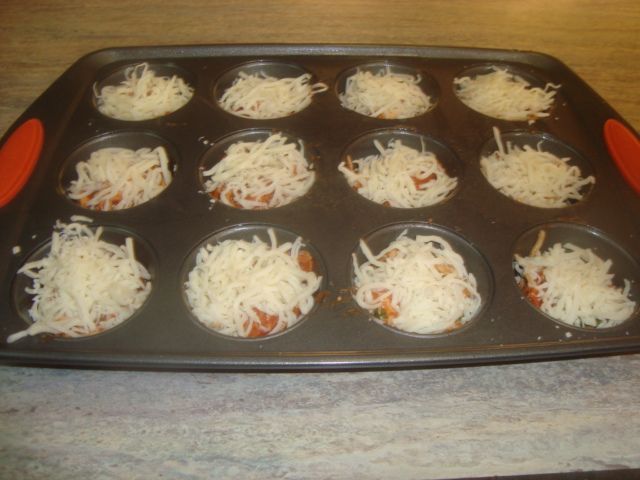
Added some more cheese to the top of the treats. 

 photo DSC03690.jpg

Filled the two Weber charcoal pans full of lump and brought the kettle up to about 350 degrees for my pizza bites. 

 photo DSC03691.jpg

 photo DSC03692.jpg

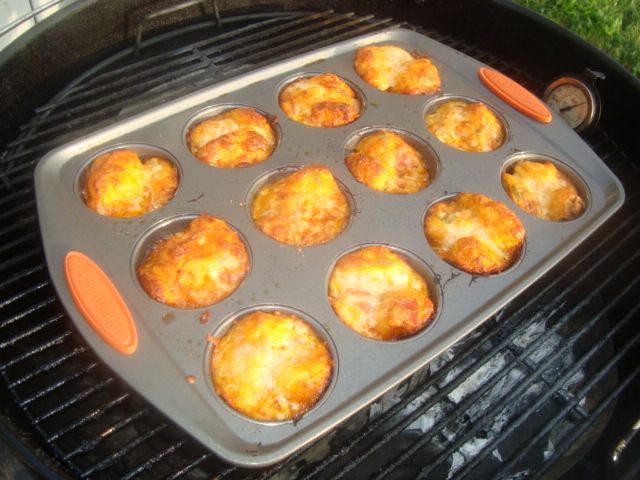
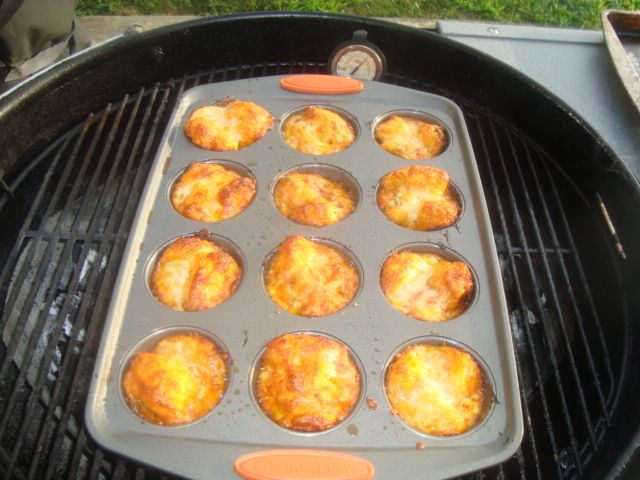
I baked the pizza bites at about 350 degrees for about 15-17 minutes. 

 photo DSC03693.jpg

 photo DSC03694.jpg

 photo DSC03695.jpg


Wow!!! These things are great. Prepped them in about 10 minutes and then baked for about 15 minute and they are ready to eat. Very nice 25 minute appetizer. 

Rotisserie Turkey Breast / Cobb Grill

My 6-1/2 pound turkey breast was injected with 4oz on each side of the breast with Shake’s Honey brine and then it went into a one gallon Zip-Lock bag and I poured a full bottle of Wishbone Robusto salad dressing over the top and into the fridge for an overnight stay to allow it to both brine and marinate at the same time. 

 photo DSC03651.jpg

I turned it over a few times during this period and it came out ready for the cook. 

 photo DSC03653.jpg

Got it mounted into my rotisserie and then just turned the motor on and sprinkled on my rub as it turned and it was now ready to be carried out to the warmed up grill and start the cook.

 photo DSC03654.jpg

 photo DSC03657.jpg

I made up a couple of hickory chips foil packs and started the cook with one of these packets on top of my fire for smoke. I also had to use my balance weight to balance up the rotisserie for this cook. 

 photo DSC03661.jpg

The breast was mopped twice with the Roadside Chicken Sauce during the cook and the total time for the breast was about 2-1/4 hours to an internal of about 160 degrees. 

 photo DSC03662.jpg

Looked good coming off of the little cooker. I foiled it and let it rest about 45 minutes and then cut it up for serving.

 photo DSC03663.jpg

Made a nice plate of meat. 

 photo DSC03664.jpg


Mommy wanted a Turkey Manhattan for the first meal with this treat.

Hot 'N Fast Pork Butts / Weber Performer

This cook was done on my Gen 2 Weber Performer running the Slow ‘N Sear charcoal accessory. The temperature used was about 325-340 degrees measured on the cooking grid. 

 photo DSC03666.jpg

 photo DSC03668.jpg

The two  butts were pretty large and weighed a total of19.4 pounds. I trimmed the fat off of the fat side and then cut each butt into two pieces. This will give me about 25% more surface area for bark and also cut the cooking time down as the pieces are smaller. 
The butts were then injected with Chris Lilly’s 6 time World Champion pork injection and then rubbed with SGH rub. 

 photo DSC03670.jpg

Ready to go on the kettle

 photo DSC03671.jpg

 photo DSC03672.jpg

I believe I had a full load on the Performer!

 photo DSC03673.jpg

Got this cook started about daylight this morning and hoping to get the cook done by about noon before it gets too hot.

 photo DSC03676.jpg

Cooked the butts for about 2hours and 45 minutes and then wrapped them with some Stubb’s Pork Marinade and placed them back on the grill. 

 photo DSC03677.jpg

After a little over three more hours, I started getting the butts off of the cooker. The total cooking time was 6.2 hours.

 photo DSC03679.jpg

After a rest period, I unwrapped the meat and got it ready to pull. 

 photo DSC03680.jpg

 photo DSC03681.jpg

 photo DSC03682.jpg


The results of my cook...

Beef Ribs / Weber Rotisserie

This is my first rotisserie cook in my new to me Weber Stainless Steel Performer and also using the Slow ‘N Sear to control the cook. 

 photo DSC03622.jpg

 photo DSC03623.jpg

The short ribs came from Wally-World and looked pretty good with quite a bit of meat on them. 

 photo DSC03625.jpg

Prepped them with some rub and black pepper and got them mounted into my rotisserie basket. 

 photo DSC03626.jpg

I also prepped some root crops to go under my ribs. They included some new potatoes, sweet potatoes, and onions. Along with some salt and black pepper, I used some rosemary and thyme for additional flavor for my veggies. 

 photo DSC03629.jpg

 photo DSC03628.jpg

Fired up the Slow ‘N Sear and then loaded my treats. 

 photo DSC03630.jpg

Was a very moist morning with a very heavy dew and I am sure about 100 percent humidity...everything was wet and sticky. 

 photo DSC03631.jpg

Cooked the ribs to about 200 degrees internal or until the bones started falling out and took them off of the cooker. 

 photo DSC03632.jpg

 photo DSC03635.jpg

 photo DSC03634.jpg

Removed the remaining bones and got the food ready for the table.

 photo DSC03636.jpg

 photo DSC03637.jpg


Wife liked her ribs straight up and I put a little sauce on one of mine. They were good either way!

Making State Fair Pork-Burgers

I don’t usually measure very close for this great treat as I don’t think you can screw it up. However, I did measure a little closer on this last batch so I could post my recipe.

 photo DSC03600.jpg

Ingredients:

2 pork butts ( The two I did yesterday weighed 15.85 pounds)
4 packages of dry Lipton Onion Soup
10 cloves of garlic
3 cups of finely chopped onion
4 TBL dried basil
3 TBL your favorite pork rub
2 TBL butcher cut black pepper or other black pepper
3/4 cup Worcestershire Sauce

 photo DSC03601.jpg

First step is to cut the meat off of the bones into pieces that will fit your grinder.
Many stores that sell pork butts with do this for you to save you some work and the cost of a grinder.

 photo DSC03602.jpg

Next step is to run it thru your grinder.

 photo DSC03603.jpg

Sprinkle the balance of the ingredients into the pan or bowl and with your hands, mix it up well to be sure the ingredients are well blended.

 photo DSC03604.jpg

Cover the pan of pork and place it into the fridge for at least overnight to give it time for the flavors to meld into the treat.

 photo DSC03608.jpg

I like to put it up into one pound packages for the freezer.

 photo DSC03617.jpg

Get ready to throw rocks at all the burgers you have ever tasted as this burger is about as good as it gets. Cook only to about 160 degrees internal for the best results.