Showing posts with label St Louis Spares and Other Treats. Show all posts

Saturday, October 11, 2014

Daniel Boone and the Rib-O-Lator

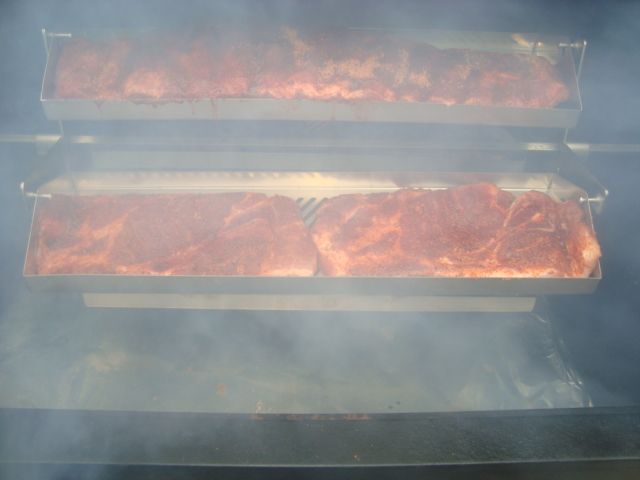
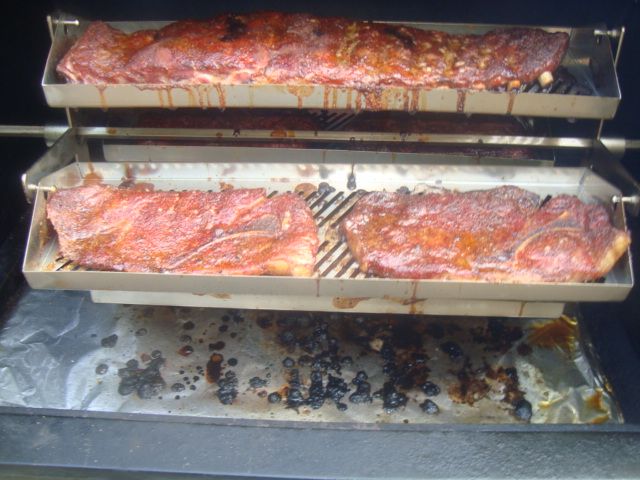
This cook was done on my GMG Daniel Boone running a Rib-O-Lator rotisserie setup. It was also my first cook on this setup. I wanted to cook a full load of spare ribs but just didn't need them at this time so I decided to do a mixed cook to see how this modification would work. 

The cook consisted of the following meats.

Slab of St Louis cut Spare Ribs
Rib Tips from the slab of spares
Three Pork Steaks
Two Chuck Steaks
Ham Steak
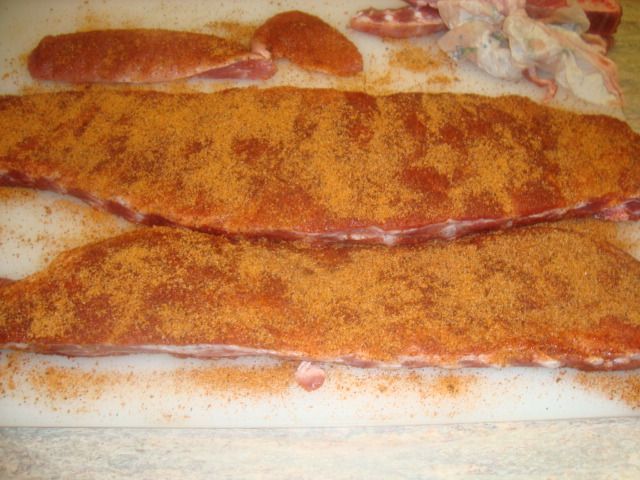
 photo DSC02526.jpg

I prepped the meat by cutting the spare ribs up into a slab of St. Louis cut spare ribs and then I had the rib tips to cook as well. I applied a rub to both the tips and the spares.
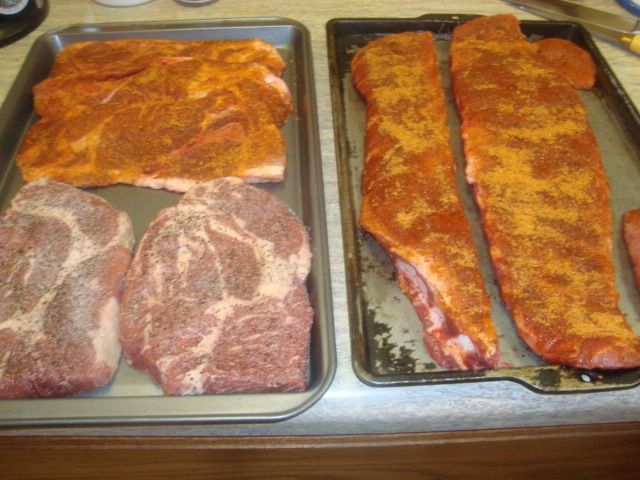
 photo DSC02527.jpg

I prepped the pork steaks by just giving them a good rub.
I prepped the chuck steaks by sprinkling on a medium coat of garlic salt and then a generous dose of black pepper.
I did nothing to prep the ham steak.

To keep this rotisserie in balance, I planned to load the ribs on one tray and then the tips on the tray opposite the ribs. Then I would load 2 of the pork steaks on one tray and the two chuck steaks on the last tray. 
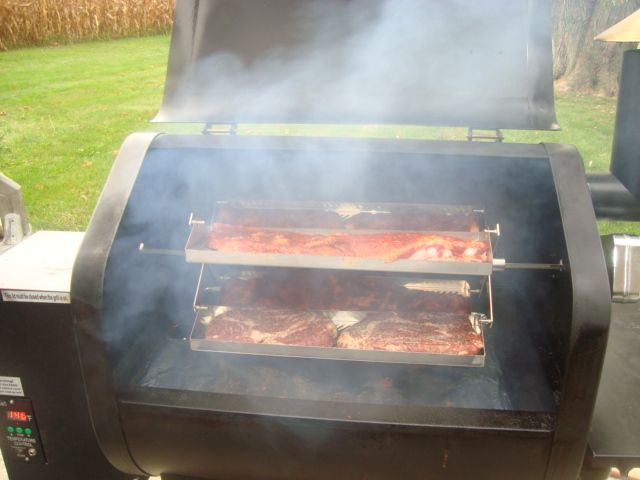

 photo DSC02533.jpg

I was running hickory pellets and set the cooker at 150 degrees for the first hour to get some additional smoke into my product.
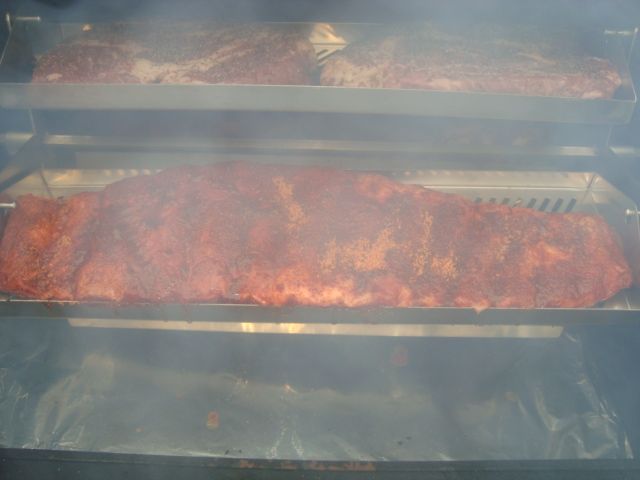
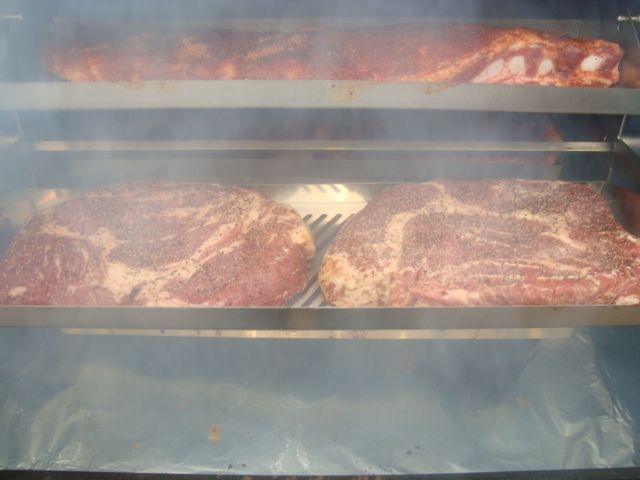
 photo DSC02532.jpg

 photo DSC02531.jpg

 photo DSC02529.jpg

I got all but the ham steak loaded into the cooker and it did balance out quite well and was rotating just fine. 
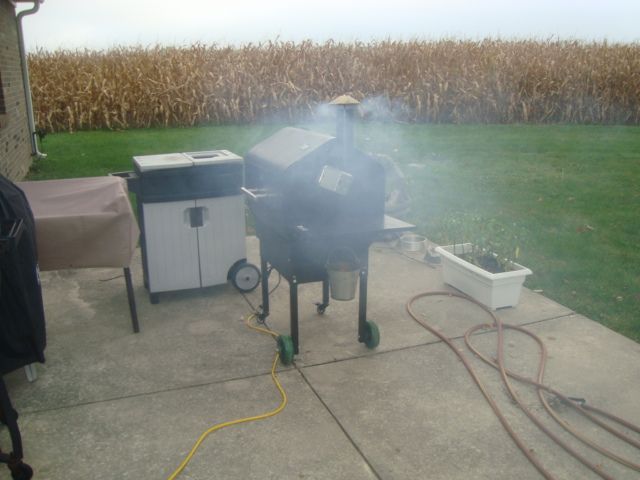
 photo DSC02528.jpg

After one hour at 150 degrees, I raised the temperature up 300 degrees for the balance of the cook. I ran at this temp until my chuck steak and pork steak was done and my ribs were ready to wrap.
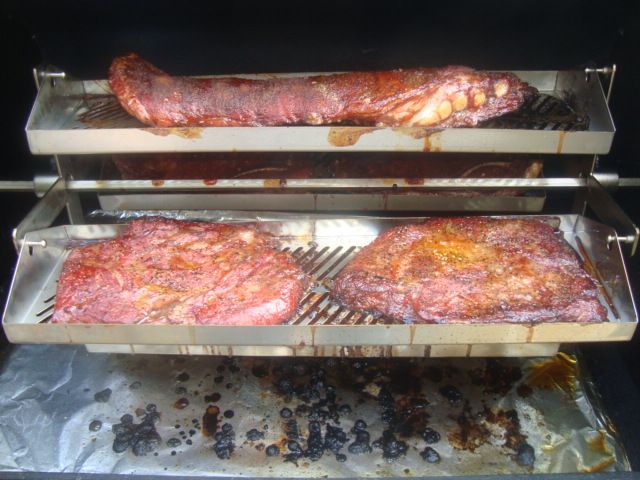
 photo DSC02536.jpg

Rib Tips and Chuck Steaks

 photo DSC02535.jpg

Ribs and Pork Steak

The food looked good at this point into the cook. I pulled the pork and chuck steaks and then wrapped the ribs and tips and placed them back on the cooker.
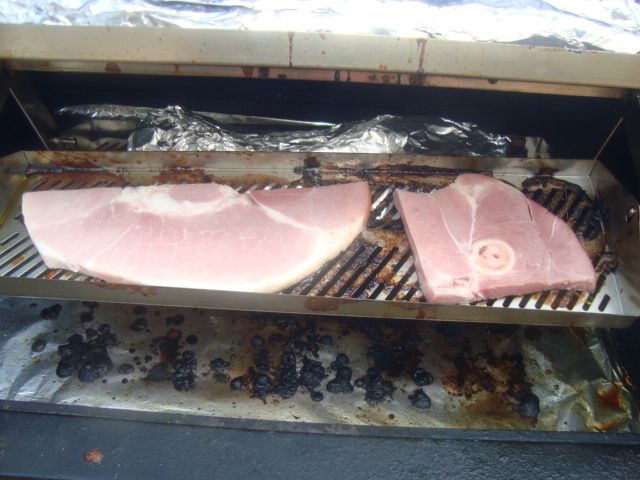
 photo DSC02541.jpg

I had to cut up my ham steak as it was too wide for the trays and then I loaded it on one of the empty trays and then placed my last pork steak on the other tray. 
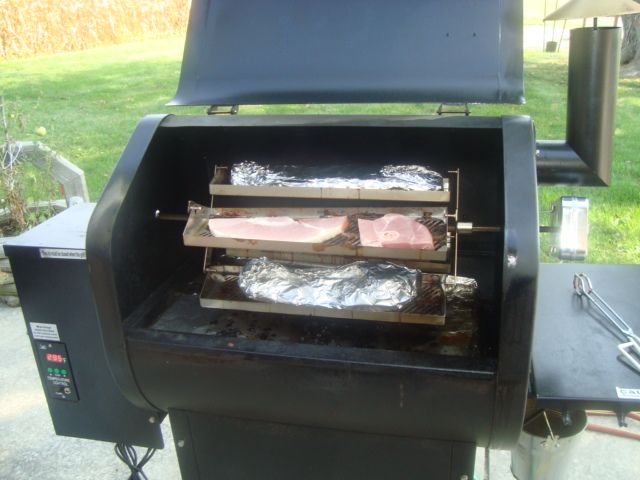
 photo DSC02543.jpg

Cooked about an additional hour until my ham and last pork steak was done. 
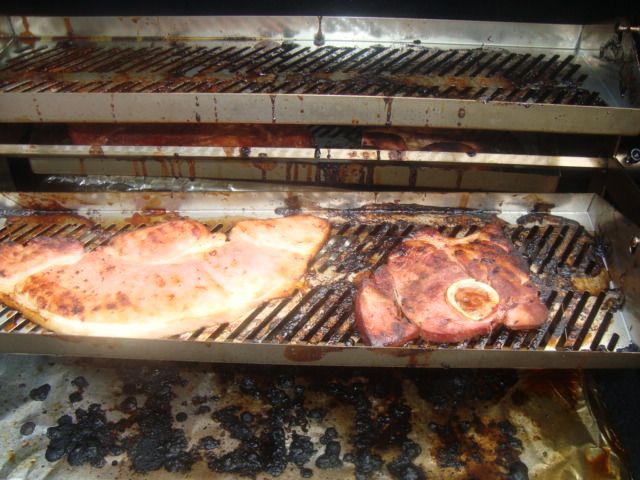
 photo DSC02545.jpg

The cook came out quite well for a first cook with this rig. 
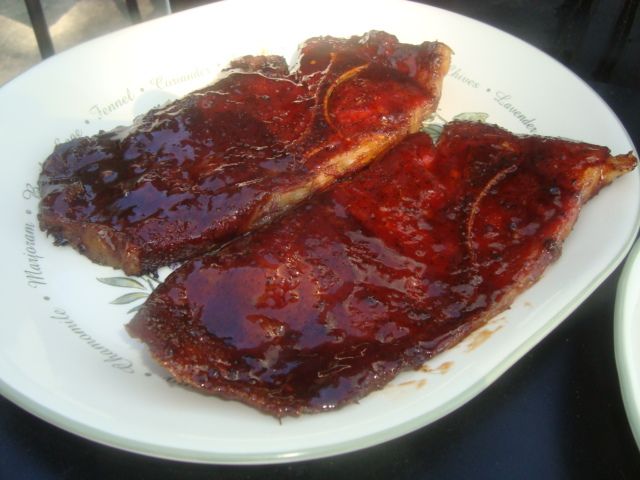
 photo DSC02540.jpg

 photo DSC02539.jpg

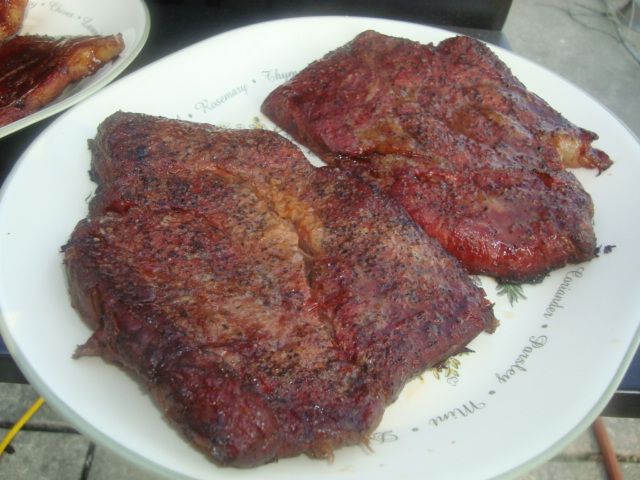
Pork Steak and Chuck Steak.

 photo DSC02544.jpg

 photo DSC02546.jpg

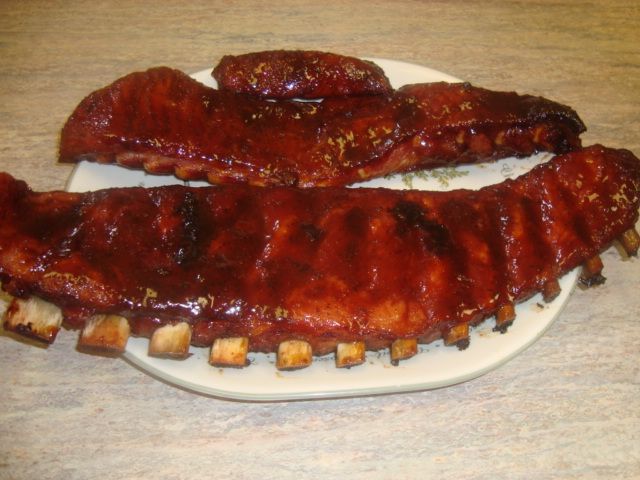
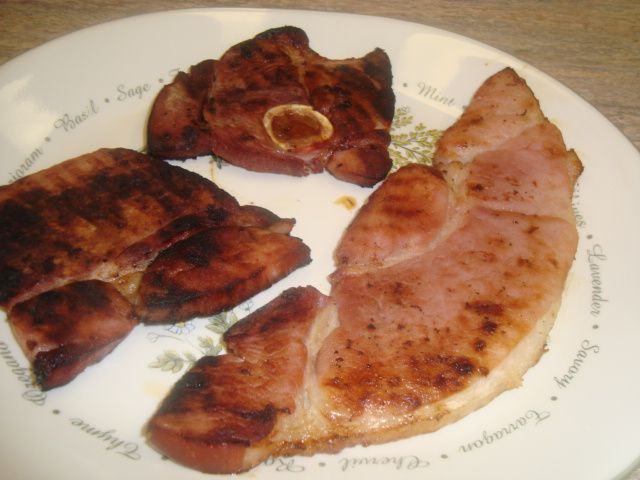
Ribs, Rib Tips, and Ham Steak

 photo DSC02547.jpg

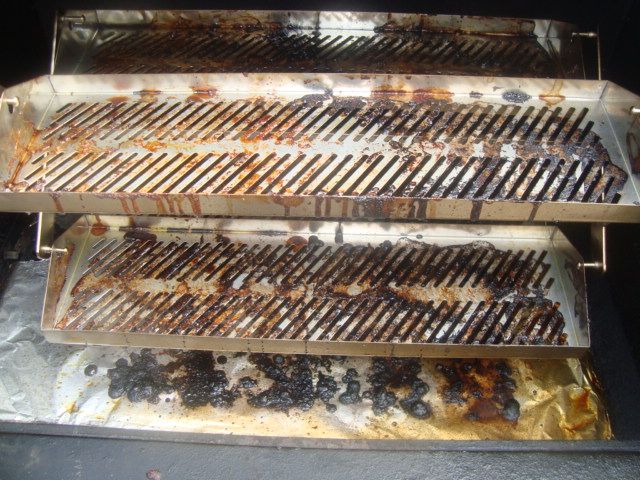
Not looking forward to the cleanup!!!

The Rib-O-Lator did a great job with the meats I tried on this first cook. Was very easy to keep in balance and will cook just fine even if it isn't in perfect balance. Looking forward to cooking a full load of ribs in this rotisserie setup. 
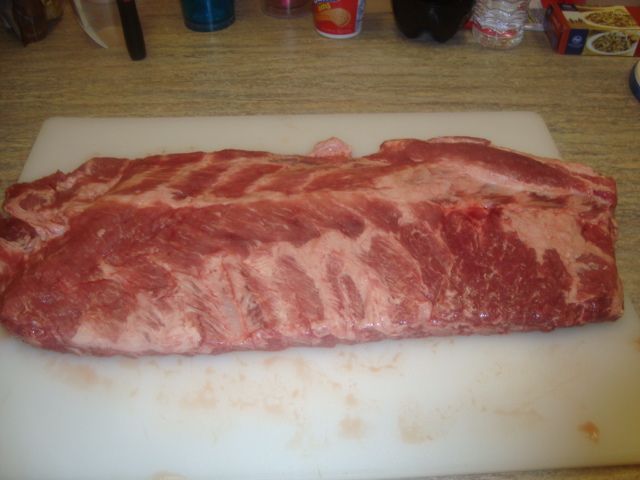
Bronto Spare Ribs and Rib Tips

Our local Kroger has these very large Bronto Spares on sale several times each year at a low of $1.47 to $1.87 a pound and although they are injected with salt water, I get sucked into purchasing a few slabs each time they run the sale. 

 photo DSC02489.jpg

Jan found a couple of slabs that only weighed around 5-1/2 pounds each so I decided to cook one up yesterday. I also needed to do some pit beans for a an upcoming event so this cook worked out great for me. 

 photo DSC02491.jpg

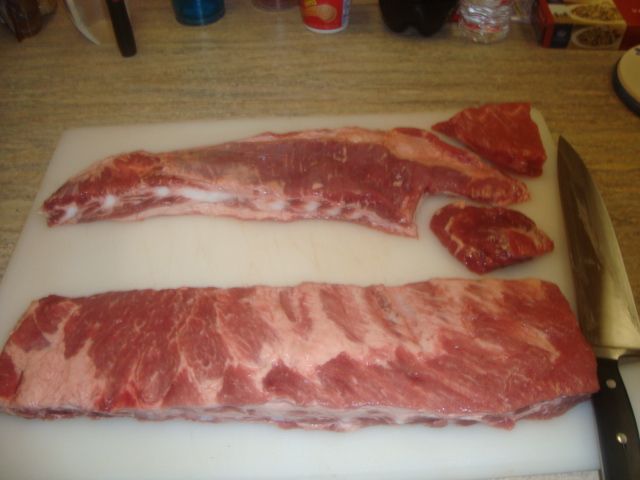
I start by cutting out a slab of St. Louis first and then taking the remaining rib tips and cutting out some of the fat, cartilage, and bones so they will be ready for the grill. 

 photo DSC02492.jpg

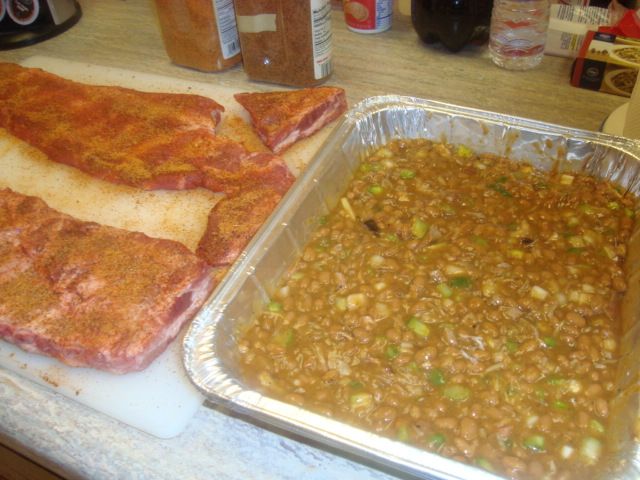
I then got my pit beans ready as I planned to cook them under the ribs so the drippings would go into the beans for some additional flavor.

 photo DSC02493.jpg

I put the pit beans on my little Davy Crockett tailgater pellet grill and then placed the ribs over the beans on a raised grid.

 photo DSC02494.jpg

Later into the cook, I pulled both the slab of spares and the rib tips for some additional cutting and saucing and then placed them back on the cooker with the rib tips in my pan.

 photo DSC02495.jpg

I glazed the sauce on the slab of spares and pulled them and waited for the tips to get done.

 photo DSC02498.jpg

Tips cooked about 30 minutes more and I pulled them.

 photo DSC02499.jpg

Beans, spares, and tips look good coming off of the grill.

 photo DSC02501.jpg

We made a meal out of the rib tips along with some of the pit beans.

The beans were then frozen to will be used for one of the treats I will prepare for the folks at the Gathering in a few days. 

Saturday, May 24, 2014

Spare Ribs in the Davy Crockett

This St. Louis spare rib cook was done to help determine the capacity and method of cooking in my little tailgate cooker.


 photo DSC02298.jpg

I started with 3 slabs of St. Louis cut spare ribs that still needed some clean up and trim work before placing on the grill.

 photo DSC02299.jpg

After the trim job, I gave them a generous coat of my favorite rib rub and then let them come to the sweat stage before placing them on the cooker. 

 photo DSC02297.jpg

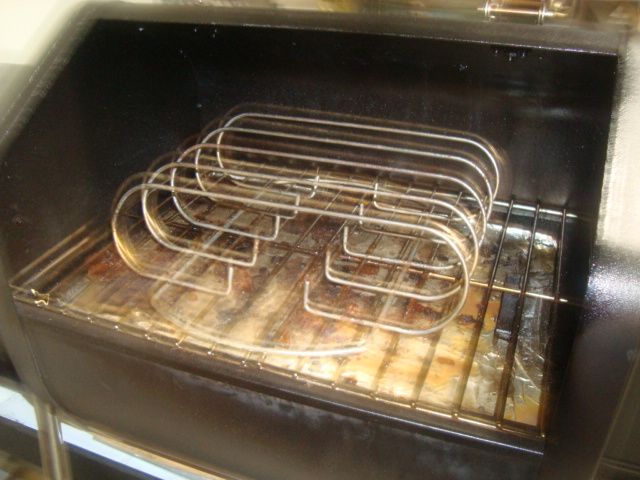
I rolled the Davy Crockett tailgater around to my cooking patio and added my Weber rib rack to the cooker and then brought it up to my smoking  temp of about 160 degrees. 

 photo DSC02302.jpg

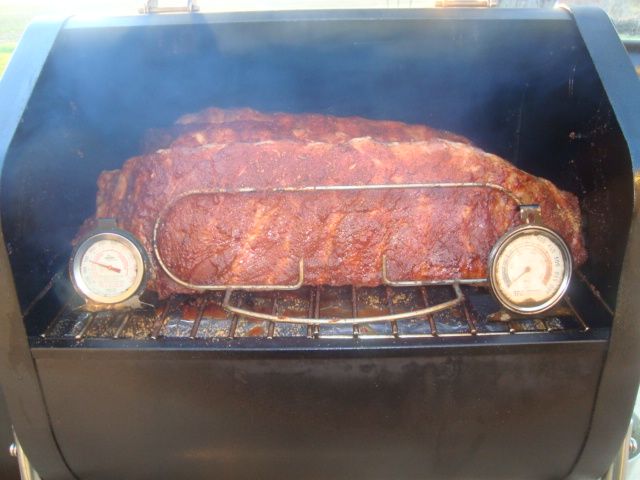
I added the 3 whole slabs of spare ribs and smoked them pretty heavy for the first hour. After the first hour, I raised the temp up to 270 degrees for the balance of the cook. I cooked the spares for an additional 3 hours which was a total of 4 hours and never moved or touched them. I then wrapped the ribs in foil. 

 photo DSC02304.jpg

 photo DSC02305.jpg

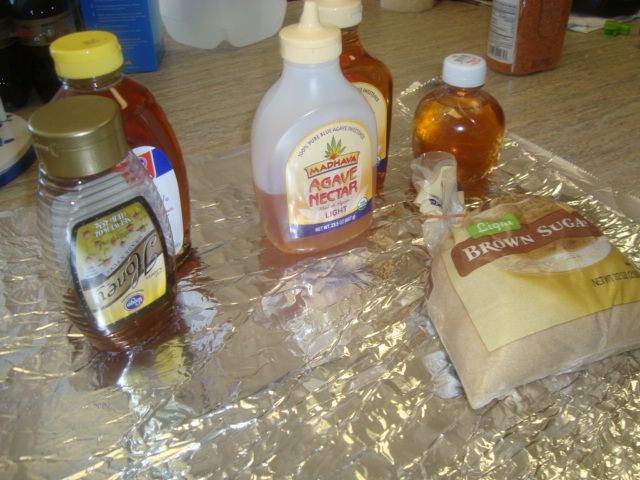
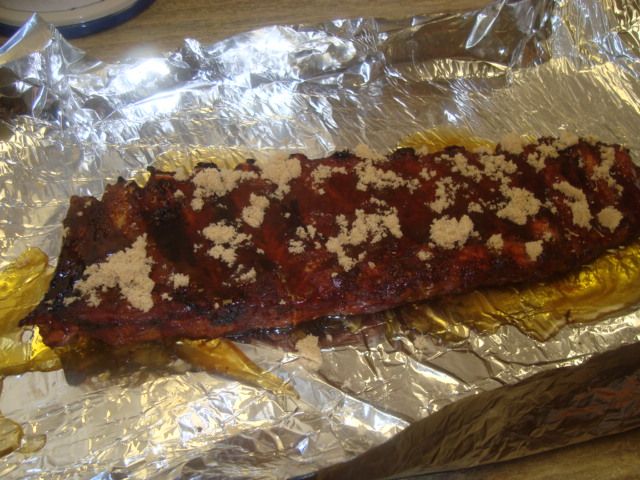
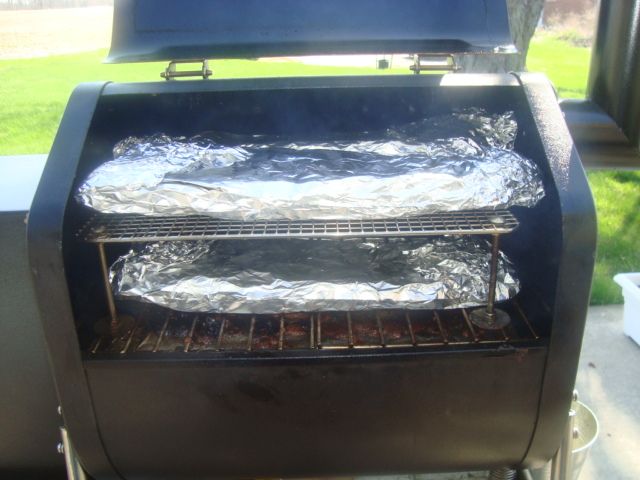
I used some apple juice, Agave syrup, honey, and brown sugar inside my foil packets. 

 photo DSC02306.jpg

The foiled spare ribs went back into the cooker and they were cooked an additional 75 minutes.

While the ribs were finishing up in the foil, I made up my favorite ribs sauce consisting of   three of the Blues Hog products along with some real maple syrup and honey.

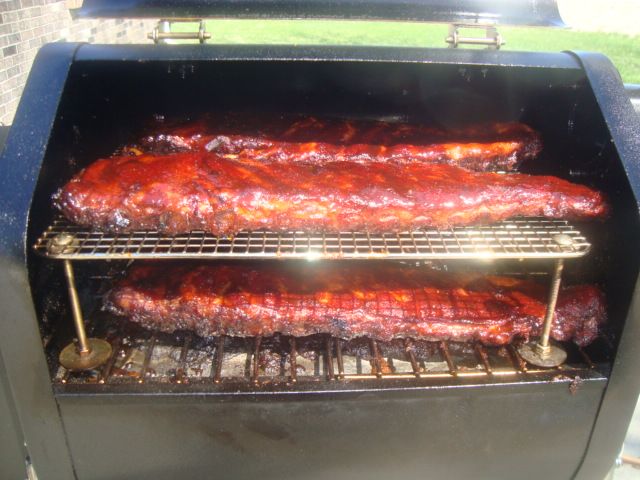
I then unwrapped the ribs and applied a heavy coat of my sauce and placed them back into the cooker for my glaze. 


 photo DSC02309.jpg

At this point, I took the rib rack out of the cooker and added my raised grid for the glaze to these 3 slabs but if I had cooked the full 5 slabs, I would have had to used the rib rack for the glaze. 

 photo DSC02311.jpg

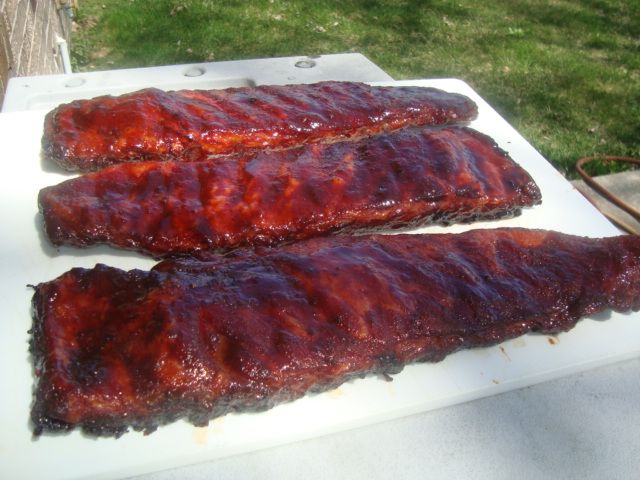
I let the ribs glaze for about 25 minutes and then removed them from the cooker. Really looked great and had a wonderful color. The total cooking time was a little under 5-1/2 hours. 

 photo DSC02317.jpg

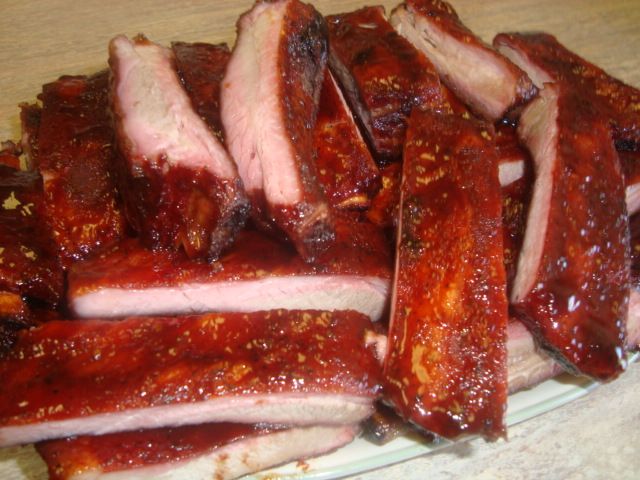
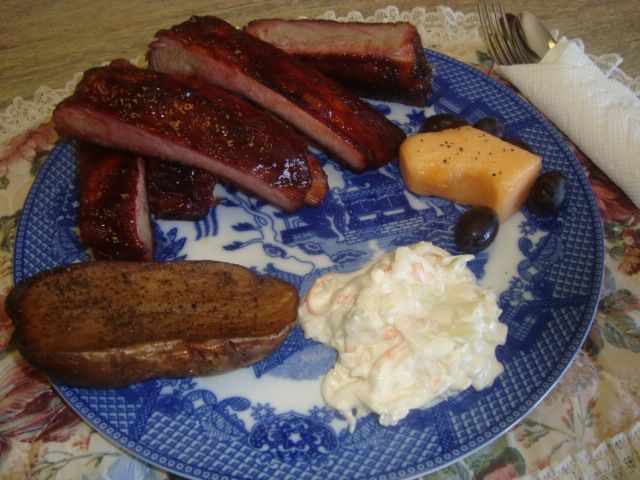
Cut the 3 slabs into individual pieces and then plated them for serving.

 photo DSC02319.jpg

Sure made for a nice meal.

Very happy with the cook as I feel the possibility of cooking 5 slabs of St. Louis cut  spare ribs ribs in this little Davy Crockett tailgate cooker will work well for me in the future. 

Friday, May 10, 2013

Spare Ribs on the Cobb Grill

 The spare ribs were another Kroger bargain that is hard for me to pass up even though they are injected with 13% salt water. The cost is $1.47 a pound and I do purchase them once in a while when they are on sale. 

 photo DSC01639.jpg

 photo DSC01640.jpg

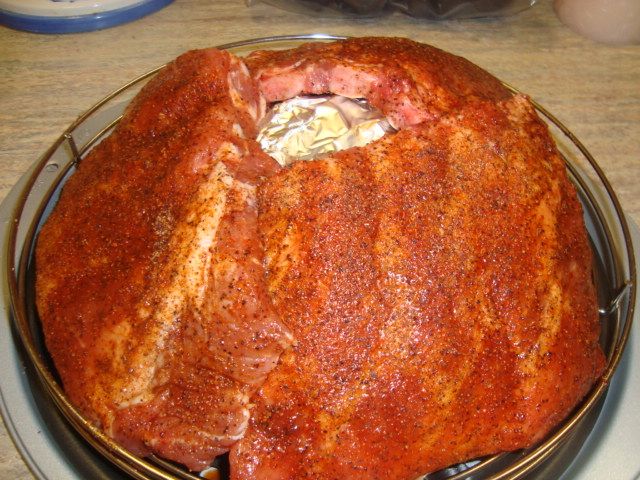
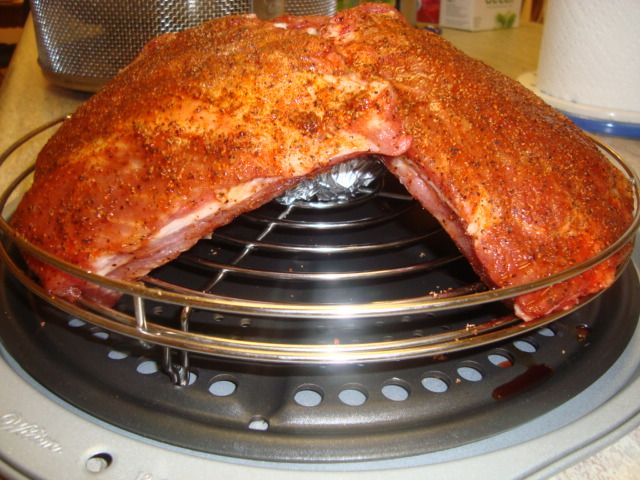
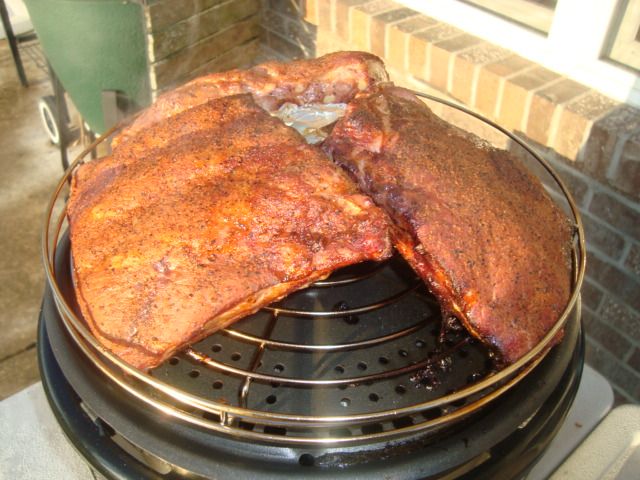
I cut the ribs into St. Louis style and removed the membrane. I had hoped to be able to roll them but they were about 3/4” too tall for that method of cooking in this little cooker. Anyway, I ended up by cutting them into thirds and setting them up like you see on the standard cooking grid with the roasting rack. They were still to big to just lay down on the cooking grid so I made up a tin foil ball and placed it on the middle of the cooking grid and then leaned the 3 pieces up against the foil ball.

 photo DSC01641.jpg

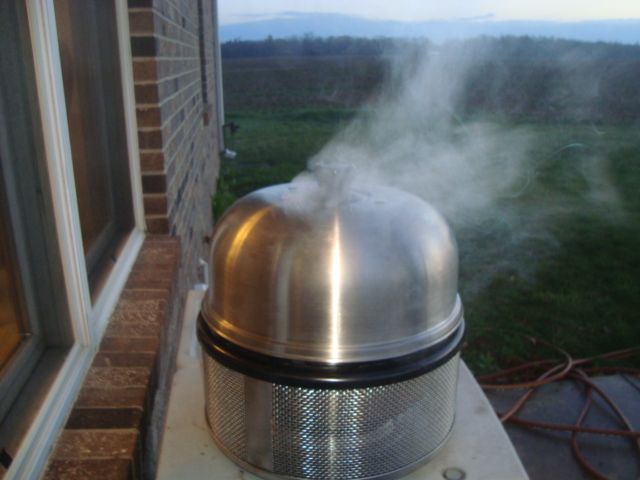
I figured this cook for about 4 hours so I started with 12 charcoal brickettes. I would add 4 more after the second hour and 5 more after the third hour. Was a cooler morning at about 39 degrees and I got the grill going about dawn. I used a foil pack of wild cherry chips for my extra smoke.

 photo DSC01642.jpg

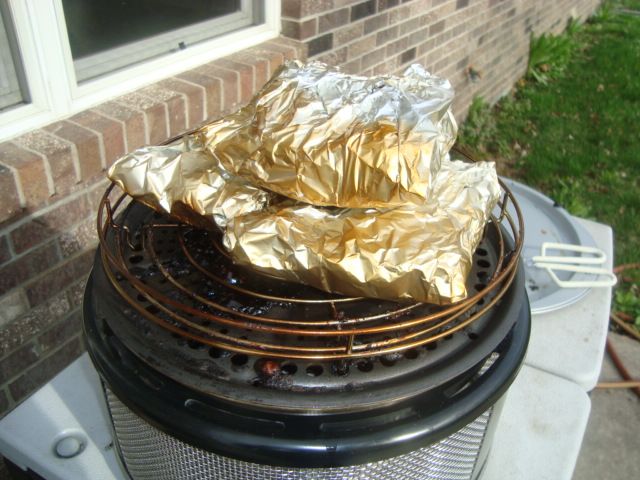
I cooked the ribs until the color looked right which was a little over 2 hours and then I wrapped them in foil. I used some apple juice, agave syrup, brown sugar, and honey inside the foil. 

 photo DSC01643.jpg

They went back into the cooker for about 2 more hours in the foil and I pulled them to prep for my glaze. 

 photo DSC01645.jpg

 photo DSC01644.jpg

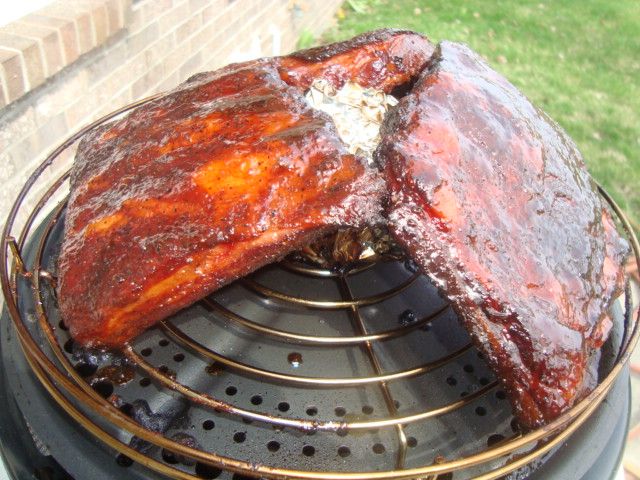
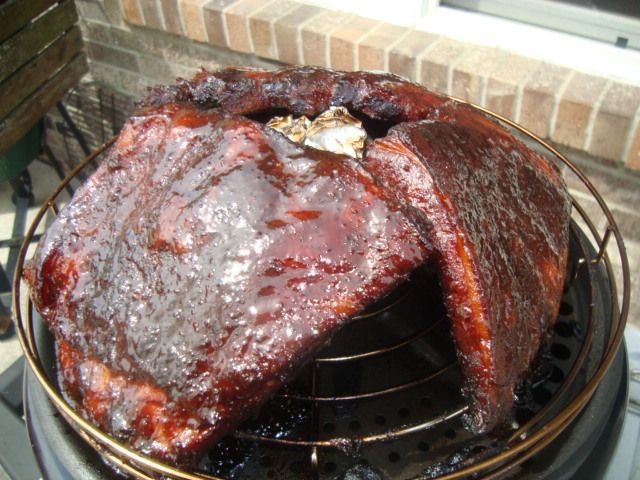
I set the ribs up again with my tin foil ball and glazed them with Blues Hog mixed with some clover honey. This took an additional 30 minutes and then they were ready to eat.

 photo DSC01647.jpg

Nice ribs.

I think I have just about got this little grill figured out...still need to try some bread or pizza baking and that is next. 

Wednesday, July 21, 2010

Rib Tips, St Louis Spares, and Other Treats

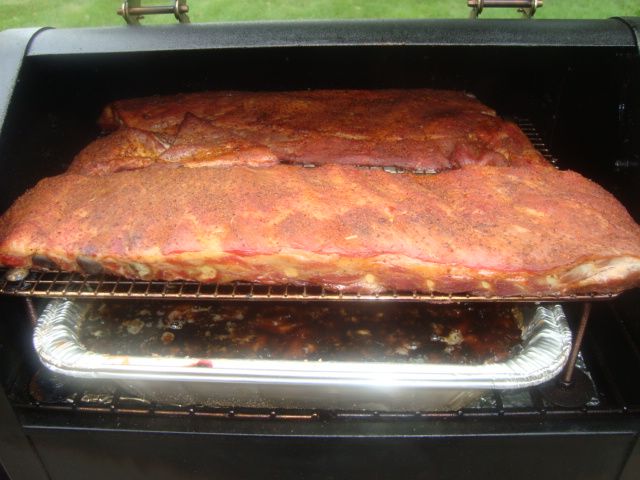
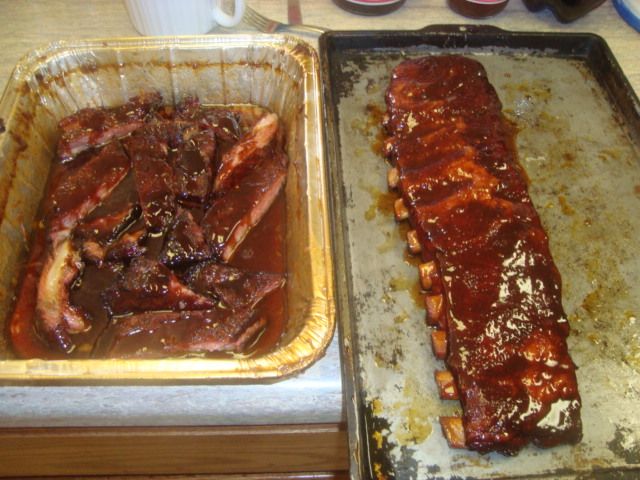
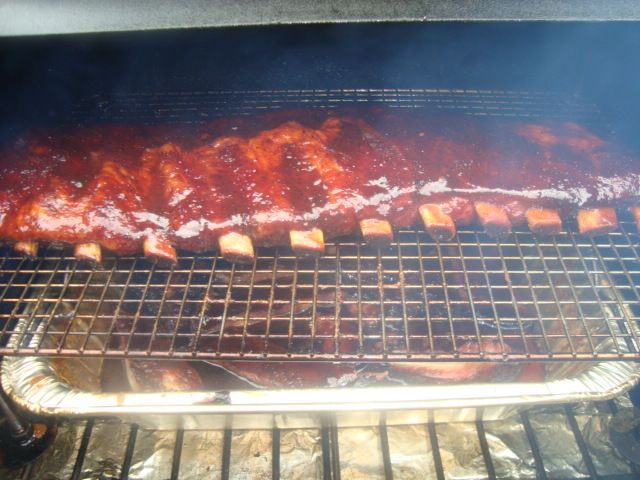
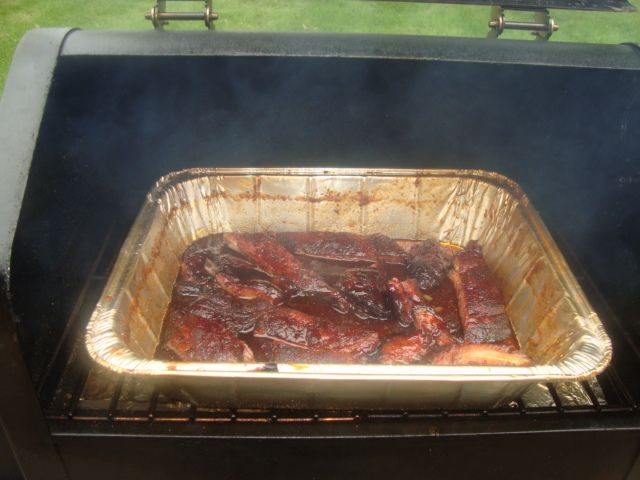
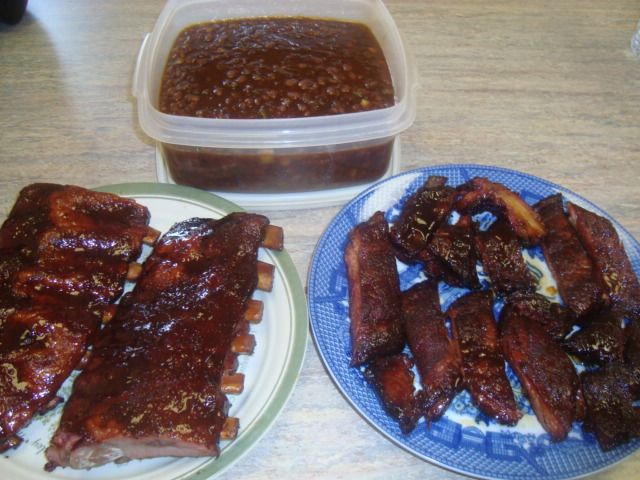
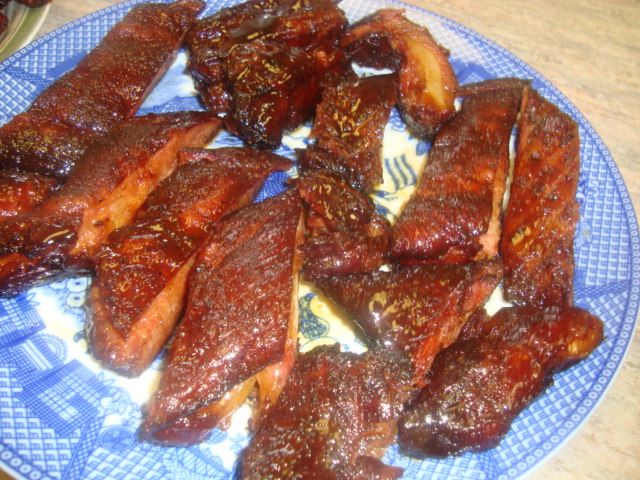
This cook started out as a rib practice cook and just kept growing until I had several other items cooked as well as the ribs and tips. I had a couple of new things to try with my competition ribs as I sure do need some improvement to stay ahead of those dang Shigs.

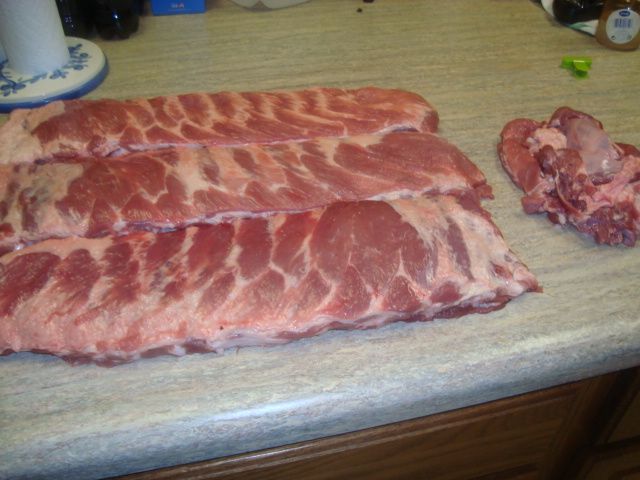
Here in Central Indiana, those bronto spares have been on sale all Summer for as low as $1.59 a pound to about $1.99 a pound and this is a very good buy if you can find them under about five pounds per slab. I have been filling the freezer with them and decided to see what I could do with them.


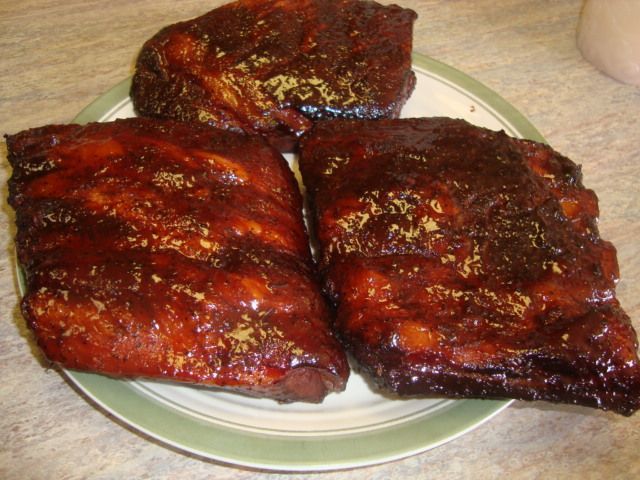
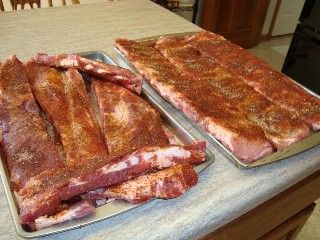
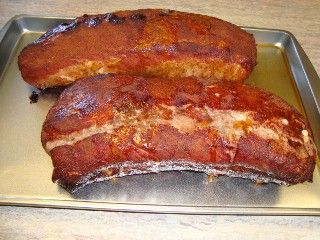
I cut them down to St louis cut which gives me a slab at just under two pounds and about 3 pounds of rib tips per whole slab of the bronto's. Got more tips than I got ribs!!

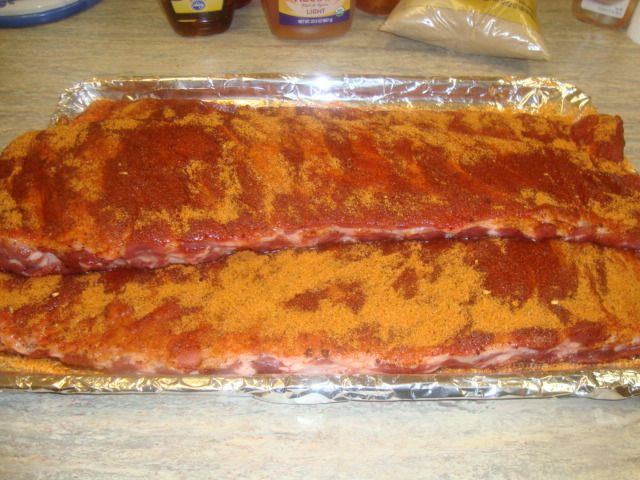
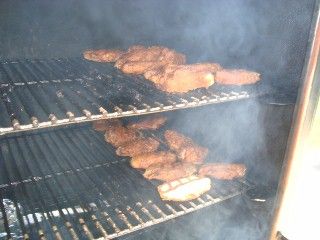
I got them ribs all prepared with some secret stuff and then did the tips with my regular stuff and fired up the pellet cooker with some pecan and loaded them up.


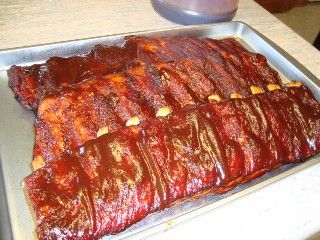
They came out good and I did sample one rib off of each slab and gave them to a neighbor for testing.

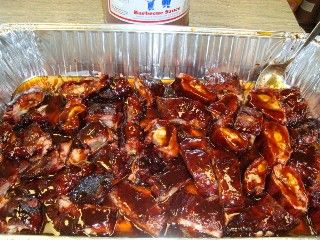
Now for me and my lady, I have this 9 pounds of tips ready to go back into the smoker in some sauce and another sweetner to finish them up.


Now that is some good eating!!


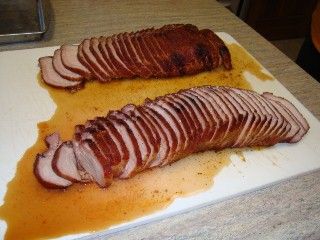
I also prepped a whole pork loin which is another great buy at $1.57 a pound at Kroger and cooked it along with the ribs and tips. They can be brined, marinaded, or just rubbed and cooked whole and make a great meat that will go with about anything. I love a couple of slices with my eggs at breakfast. Makes a great sandwich as well.


They slice up nice and are always tasty and juicy.


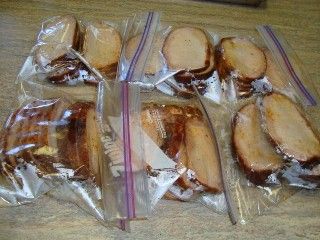
We usually end up freezing some one pound packages of this meat for later use.


As with all my cooks when I have room, I always do some of my breaded and super hot wings.


This chili-head just can't get enough hot stuff!!