Showing posts with label Cooker Modifications. Show all posts

Sunday, August 14, 2016

Weber Gen 1 SS Performer

I have had this wonderful old cooker on my “want list” for a few years although I wanted it in either Red Mist or Plum color but just couldn’t find one that was in good enough shape to restore in my area.

 photo DSC03590.jpg

 photo DSC03591.jpg

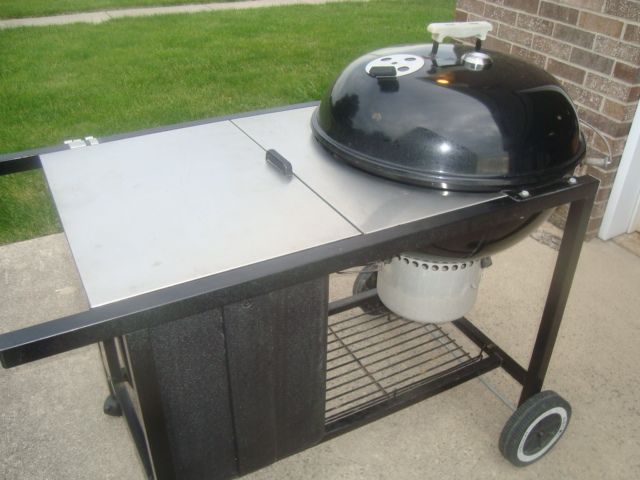
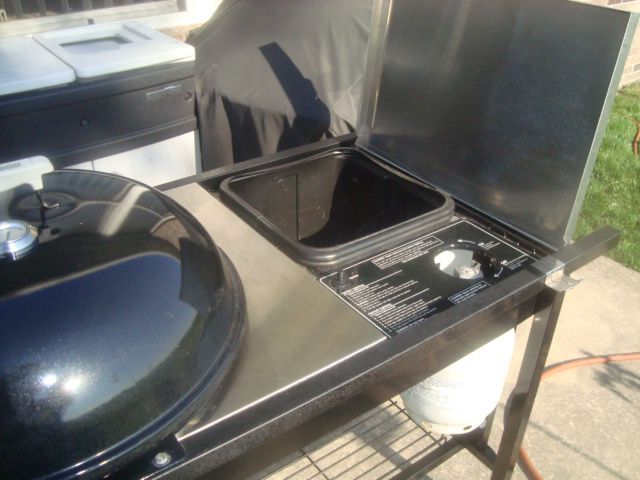
Finally an older gentleman in a little town about 15 miles from the house listed a black Generation 1 Stainless Steel Performer with a nice looking Stainless Steel top on the Craigslist along with the original cover that looked pretty good.

After seeing it, it did indeed look pretty good but had the wrong lid on it and he didn’t know that as he had bought it used. It had some other problems but I thought it would be a good project to start with as the older Weber parts are pretty easy to get.

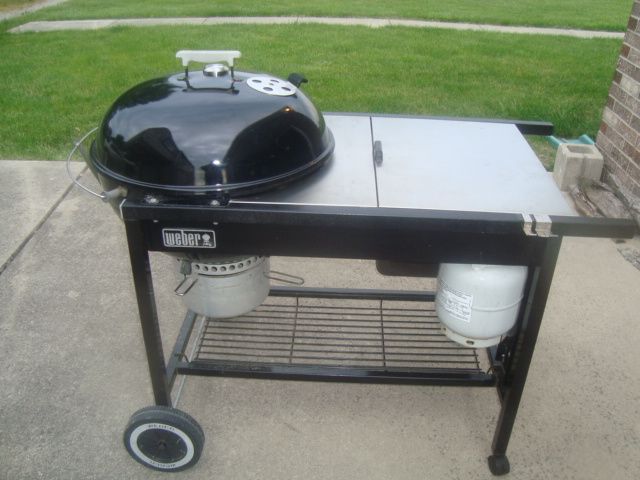
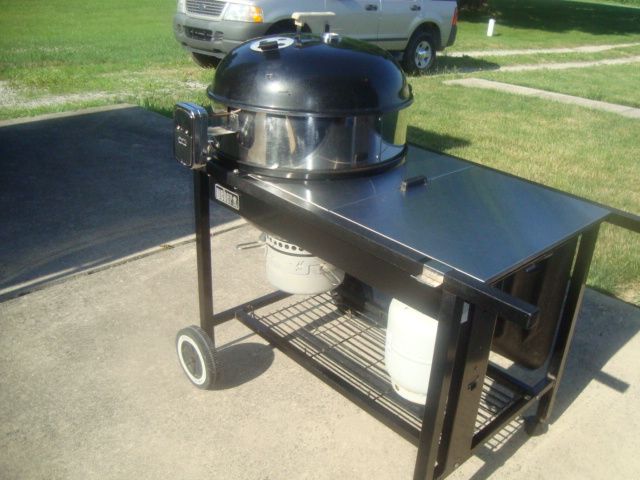
I had it in my mind that I didn’t want black as about 75% of these cookers came in black but I think this black one will make me a fine cooker. (I’ll keep looking for something suitable in red mist or plum).

 photo DSC03594.jpg

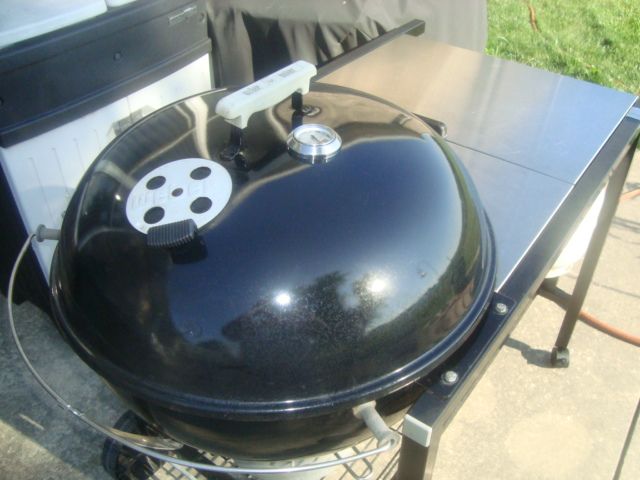
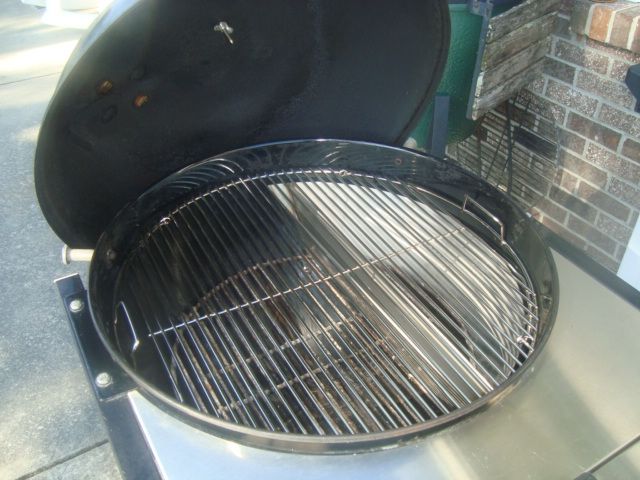
Decided to keep the standard Weber lid that was on the cooker as I have never really liked the thermometer mounted in the handle of the lid on the Gen 1 Performers. I purchased a Weber short thermometer along with the Weber Bezel and installed it into the lid. I also purchased the small plastic piece for the vent adjustment tab, a new hinged cooking grid, and installed them and this took care of my lid problem.

Cleaned her up a little and washed all the crud off and found I had a pretty nice old Performer. Purchased new castors and a few other items and got the grill ready for use.

 photo DSC03595.jpg

 photo DSC03593.jpg

Gonna be fun using this Performer.

 photo DSC03597.jpg

 photo DSC03599.jpg

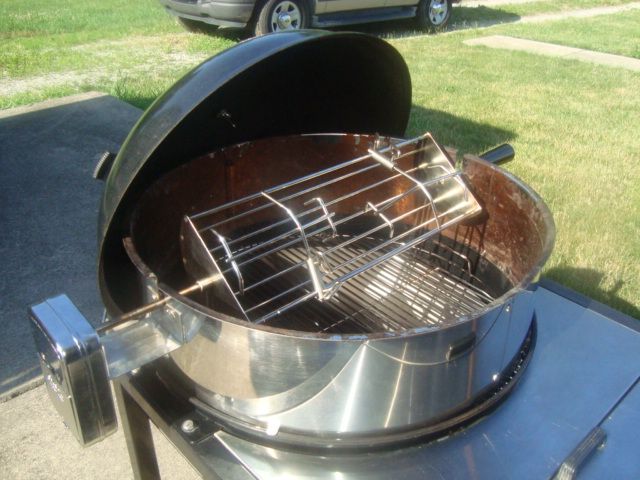
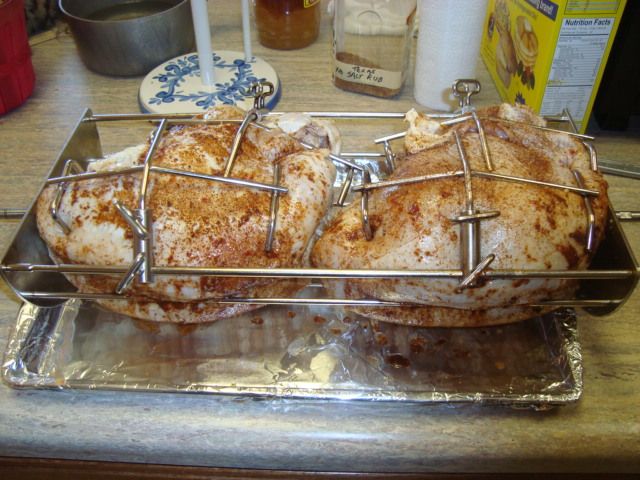
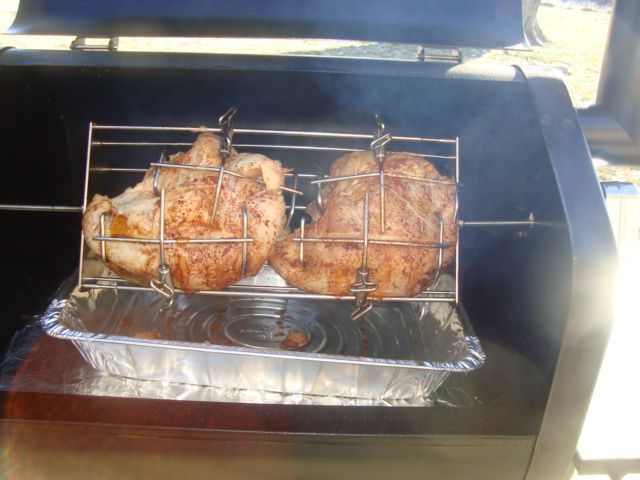
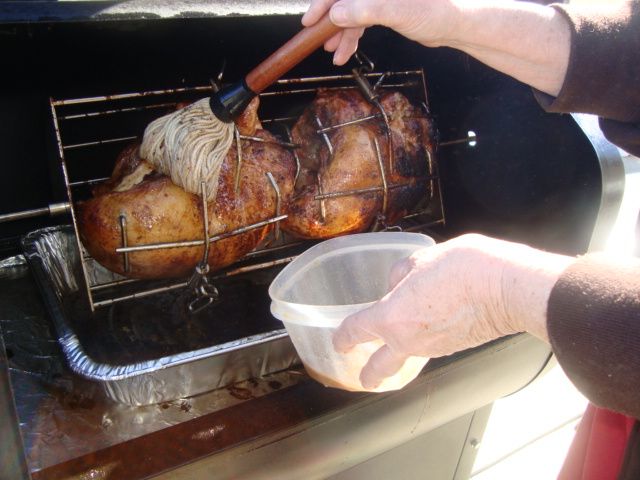
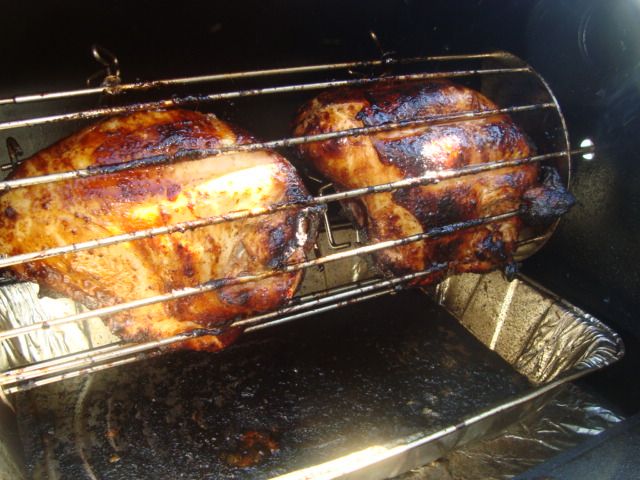
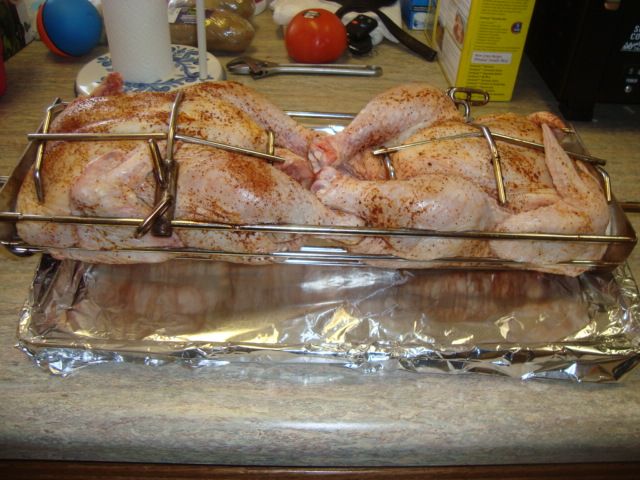
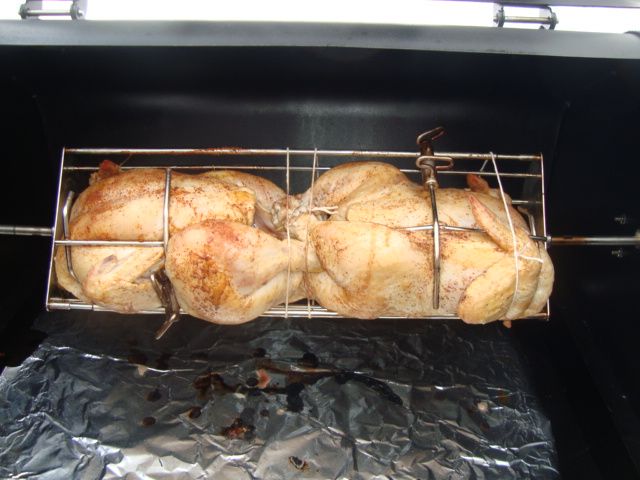
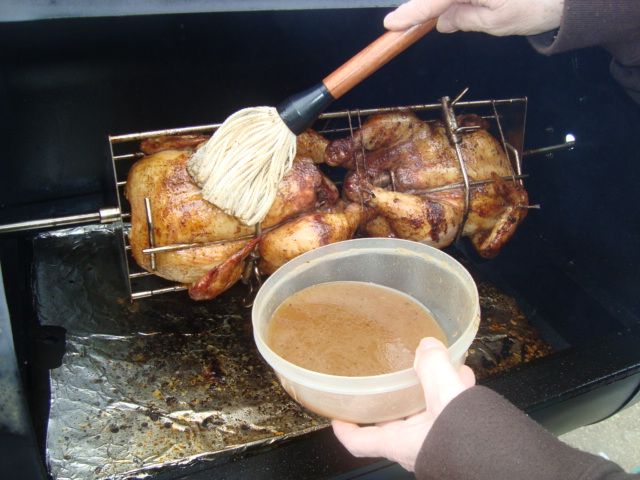
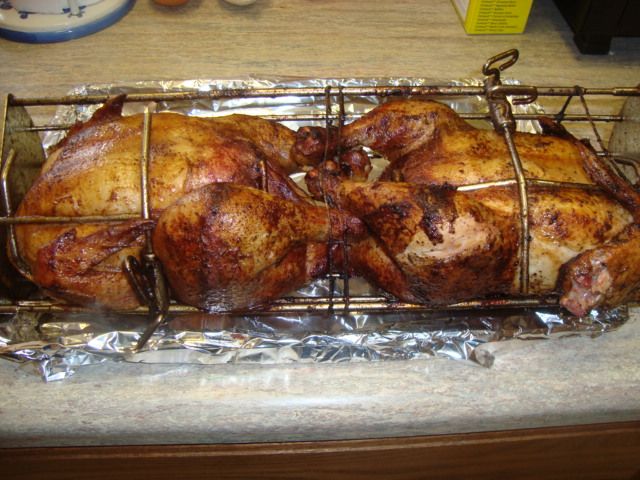
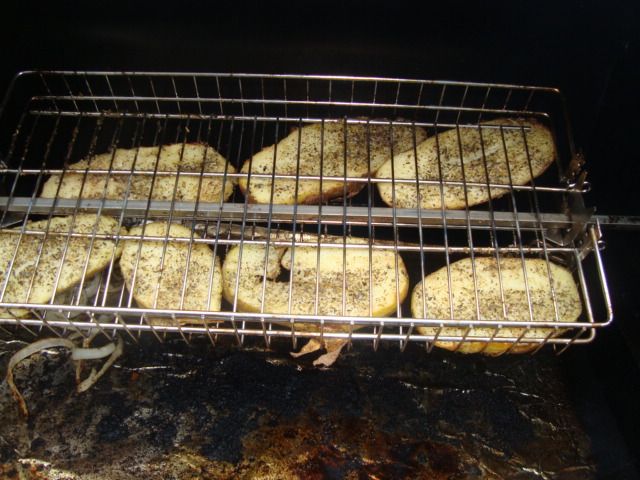
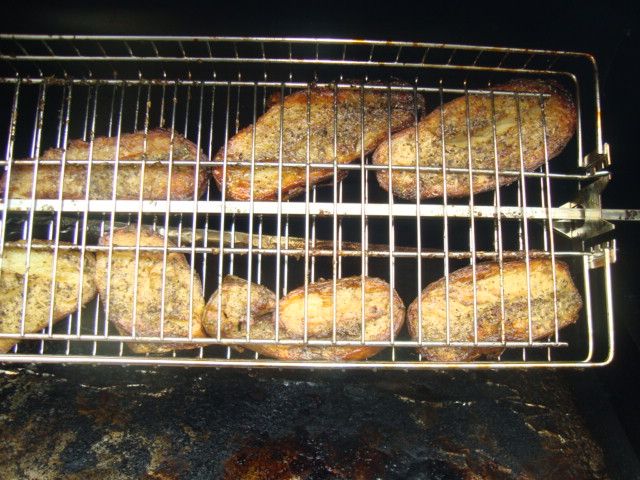
I have a SS rotisserie setup that I think would match up nice with this SS Performer and I might just make this my go to rotisserie charcoal cooker.

Tuesday, June 18, 2013

High Temp Steak, Burger, Tenderloin and more

This is a high temp steak, burger, grilled tenderloin, and homemade brat cook on the Green Mountain pellet grill.  

 photo DSC01808.jpg

I added my steak insert which is two adjustable Brinkmann heat tents which I have sitting on a couple of firebricks for the correct height. They are used as flame tamers to keep the flame where I want it. 

 photo DSC01809.jpg

Next step was to place the standard grates back on the cooker and then I added my Grill Grates on top of the standard grates. I didn't use any of the standard drip shield or the two wind deflectors that come with the cooker.

I fired up the cooker and set the controller to 350 degrees which is all I need for my high temp grilling. Remember, this setup will grill at the tip of the flame so a fellow doesn't need those crazy hot temps that will warp and spring the parts in the cooker. 


 photo DSC01810.jpg

As soon as the cooker got up to 700 degrees which took about 10 minutes, I added the burgers. 

 photo DSC01811.jpg

By the time my burgers were done of the first side (about 3 minutes), the cooker had reached my target temp of 775 degrees. Again, the controller is set at 350 degrees. My setup allows me to cook at the tip of the flame with my insert. 

 photo DSC01812.jpg

Next up was two rib-eyes cut about 1-1/2” thick.

 photo DSC01815.jpg

The rib-eyes cooked about 3 minutes on the first side and then 2 minutes on the second side. 

 photo DSC01814.jpg

I then did my 2 grilled tenderloins and they took about 2 minutes to get done.

I also cooked 3 homemade brats on the indirect side of the grill. I didn’t want to break the skin with the high temps.

The results of the cook.


 photo DSC01819.jpg

 photo DSC01818.jpg

 photo DSC01820.jpg

 photo DSC01821.jpg

The burgers as served.

 photo DSC01825.jpg

The steak as served.

 photo DSC01822.jpg

 photo DSC01823.jpg

Now that some good stuff!!

Along with my rotisserie mod, this high temp setup is one of the better modifications I have  done to this fine cooker.


Monday, February 25, 2013

High Temp Grilling GMG Pellet Cooker

This is my attempt to modify my new Green Mountain Daniel Boone grill to sear, grill, and cook high temperature items. About all pellet cookers are setup to cook indirect which makes it a little more difficult to accomplish this task. A few of the better pellet cookers do have an insert which can be installed or setup for just this purpose. Much of the ideas and data used in this modification comes from the Pelletheads.com forum and I have refined it to suit my method of cooking. 

In my opinion, the very best steak or chop must be cooked direct at the “Tip of a Charcoal or Wood Flame” and I feel that this modification comes pretty close to what I can get out of cookers that are designed for this task. 


This is a State Fair cut ribeye which I have cut 3/4” thick out of the whole ribeye loin and will be used in a sandwich just like one would purchase at the fair. It was cooked for 4 minutes, turned 90 degrees and cooked for 4 more minutes, turned over and cooked for 4 minutes, and the turned again 90 degrees for 4 more minutes and removed from the cooker. Totally overcooked at well done but this was my first attempt and very easy to fix.

Here is my setup in my Daniel Boone GMG cooker. 


I started by laying two firebricks on each side like you see in the picture. My plan is to use a couple of Brinkmann Stainless Steel heat tents over the firebox and up as high as I can get them in the cooker. These heat tents will protect my firebox and the bottom of the grill from all the grease and juices that might come out of the meat. They will also prevent some of the flame ups and still allow some of the drips to get thru and sizzle on the tents producing some of that great grilled flavor. I want my fire to get plenty of air and as much flame as possible to hit the bottom of the heat tents and spread out under my Grill Grates. Again, the closer I can get to cooking somewhat direct at the “Tip of the Flame” is what I want. 


These are my two adjustable Brinkmann Stainless heat tents installed in the cooker. 


I put the standard grids into the cooker and then added my two Grill Grates which gives me a very high temp cooking surface of about 13-3/4” by 10-1/2 inch total. 


The setup works perfectly in my opinion and the flame or tip of the flame from the fire box is right at the cooking surface of the Grill Grates. At this raised height, the fire does spread out under the heat tents as planned and gives me an even very high heat cooking surface over the total area of the grates. If you look close, I think you can see the flames thru the holes at the grate level.

I was also hoping to be able to cook at under my cookers top temperature range of 500 degrees and still get great results as I felt that it is kinda foolish to have to run at these temps which can lead to warped parts and wasted fuel. I am happy to report that all my cooking is being done at 350 degrees set temp and I am getting great results. 


My second round of State Fair steaks were cooked 2 minutes and then turned 90 degrees and then cooked for 2 more minutes and turned again for 2 more minutes and pulled off the grill. This 8 minute total cooking time produced a medium done steak. Still a little too much time as I prefer a more rare steak. 


Next up were a couple of boneless chicken breasts and these were cooked for 2-1/2 minutes, turned 90 and cooked 2-1/2 more, then turned over and followed the same on the second side. This 10 minute total cook time produced a final internal temp of 165 degrees.


Chicken just off the cooker. 


I also cooked three 1/4 pound fat burgers. These were cooked the same total time as the steaks and were just slightly over done.


The results off my first high temp cook.


The State Fair ribeye is normally served on a bun but since we low carb, I put them on a couple pieces of toasted low carb bread. I then add some lettuce, a thin slice of onion, tomato, and a slice of pickle. 


That is one fine sandwich!

I am very pleased with this setup and just need to work on my cooking times.

Spinnin' Turkey Breasts GMG Pellet Cooker

I needed to cook four turkey breasts which weighed a total of 30-3/4 pound and decided to do them in my Ez-Que rotisserie setup on my Green Mountain Pellet Grill. The capacity is two breasts at a time so it will take a couple of cooks. 

Meat Preparation

After I had trimmed up the breasts, I made up 32 ounces of Shake’s Honey Brine and injected each breast with about 4 ounces in each side of the breast. 

Next step was to place each breast into a large 2-1/2 gallon zip-lock bag and pour a bottle of Wishbone Robusto salad dressing over each piece of meat. The 4 bags then went into the fridge overnight for my combined brine and marinade period. I did turn them over a couple of times during this overnight time period. 


On the morning of the cook, I sprinkled on a generous coat of my no-salt and no-sugar rub and mounted two of them into my 8” Ez-Que cradle for the cook.

Cooking


I loaded the grill with hickory pellets and fired it up and then brought the temp up to 175 degrees for my short smoke cycle of about one hour. I installed my rotisserie cradle into the cooker and got it spinning.

After about an hour, I upped the temperature to 325 degrees and started my mopping process. 


I made up some “Roadside Chicken” marinade / sauce and mopped the turkey breasts at each 30 minute interval until they were done at 160 degrees internal temperature. 


The breasts just before they came off the cooker.

Presentation

I unloaded the two breasts from the cradle onto a couple of plates and they sure looked good. 


We planned to use one of the breasts for ourselves and the other three will be given to a neighbor. 


I cut the meat away from the bones on our breast and sliced it for our use. 


I toasted up a couple of slices of low-carb wheat bread and smeared on some mayo on one half. I then added 3 nice slices of my turkey breast. On the other piece of bread, I added some lettuce, tomato, and some sliced red onion. I then added a couple of ABT’s and one Pig Shot to my plate.


Now that’s a serious turkey sandwich!

Another great rotisserie cook on my Green Mountain Grill.


Friday, February 15, 2013

Spinnin & Kickin Chicken / Green Mountain Grill

This is my first cook in my GMG Daniel Boone cooker using a couple of my just completed  rotisserie setups. I picked a nice 22 degree day here in Central Indiana.


Wife had to shovel a fresh 2” snow to get the cooker to my cooking patio.

I started with two rather large whole fryers which weighed about 5-1/2 pounds each and after washing them out, I added a light sprinkle of my low carb rub. 


I placed the two whole chickens in my EZ-Que 6” cradle and got them locked down.


Brought the cooker up to 325 degrees and loaded the cradle into the cooker and installed the rotisserie motor. I run about 40 minutes and then started mopping the two chickens. 


For the mop or marinade, I was using the “Roadside Chicken Recipe” and after the first mop, I mopped about every 10 minutes until the chicken was done. 


The two chickens looked good coming off the cooker.

Next step was to slab a coupe of big baker potatoes with a knife. I rubbed these with peanut oil, added some garlic salt and then cracked on some fresh black pepper. I then sprinkled on some Italian spices and placed them in my favorite standard rotisserie basket setup and got them locked down. 


I installed this rotisserie setup into the cooker and raised the temp up to 350 degrees. 


As soon as the potatoes start to brown up, I start spraying them with some canned butter spray about every 10-15 minutes until done.


I cut one of the chickens in half and plated it with the slab potatoes and it was ready to go to the table. 


With a few veggies and some cheese, this made a fine very tasty meal.

I removed the skin from the balance of the chicken as it will be used for my “Kicked Up” pulled chicken recipe. Next step was to pull the chicken. I did set aside about 1/2 pound of the pulled chicken for some chicken salad.


I start the Kicked Up chicken recipe by cutting a full pound of bacon into 3/4” pieces and   frying it up in an iron skillet. I then drain the bacon  onto paper towels. Next step is to cut all the skin into small pieces and place it into the hot bacon grease. I then add about a cup of chopped up Jalapeno peppers to the skillet. I cook this a few short minutes and then pour the contents of skin and peppers thru a strainer to remove the bacon fat. I then add my fried and chopped up bacon to the strainer, stir it up and add it to my meat. 


I mix it it well and it is ready to go for many different treats. 


Now, that is chicken with an attitude! We usually freeze some of this when we have extra. 


A couple of my “Kicked Up” pulled chicken slyders.

I think I can call my rotisserie setup for this new cooker a success.