Friday, May 10, 2013

Meatloaf and Cheesy Potatoes on the Cobb Grill

I loaded the small charcoal basket on my Cobb grill full with some Ozark Oak lump charcoal and lit the fire.

 photo DSC01736.jpg

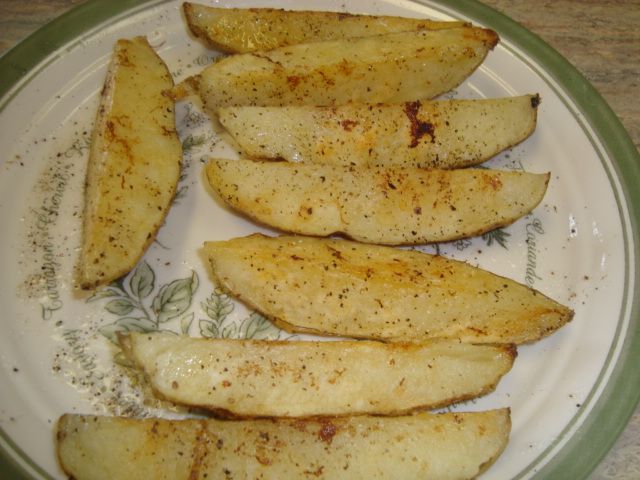
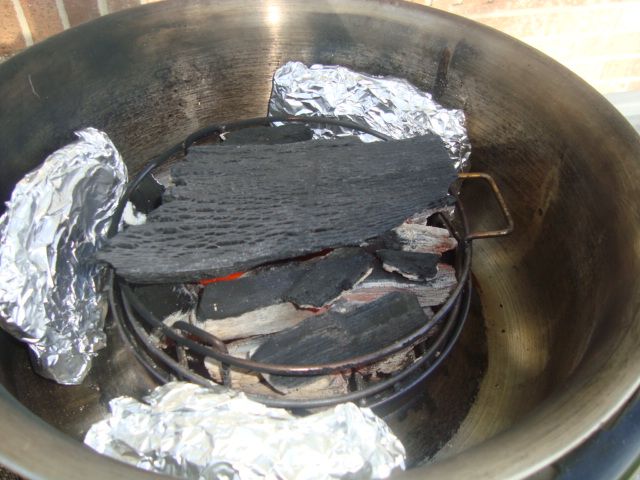
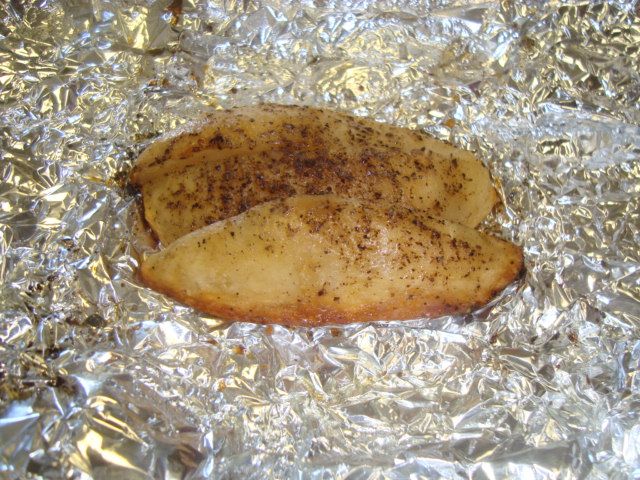
As soon as it was about ready, I placed my three tin foil packets of potatoes around the outside of the fire and then placed my cooking grid on top. To prep the potatoes, I rolled them around in olive oil, sprinkled on some garlic salt and then cracked some fresh black pepper over them. 

 photo DSC01737.jpg

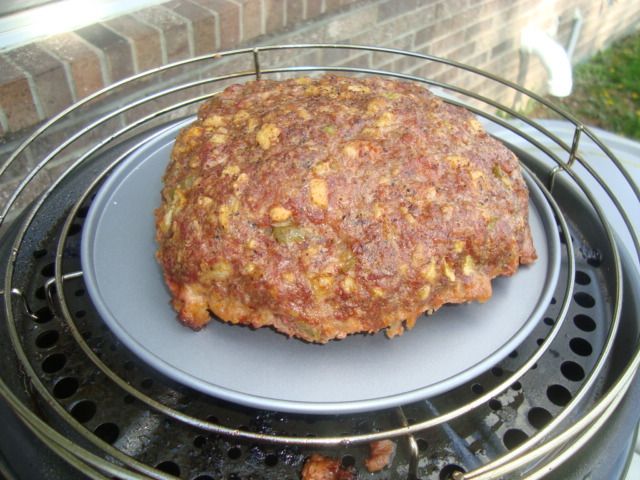
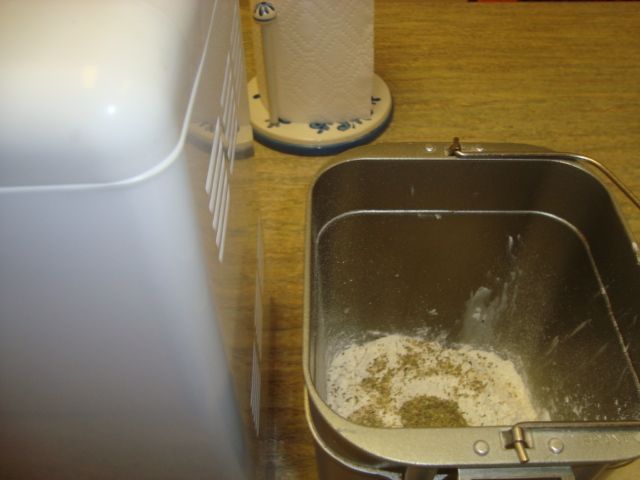
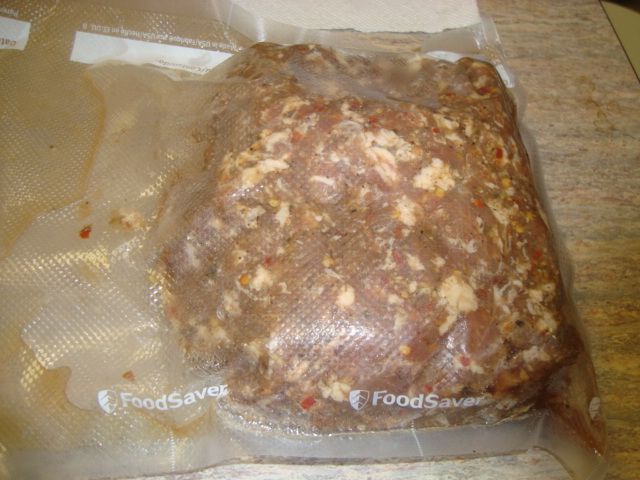
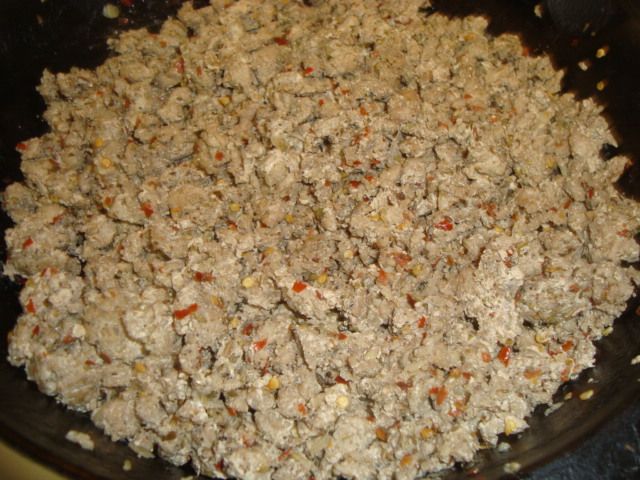
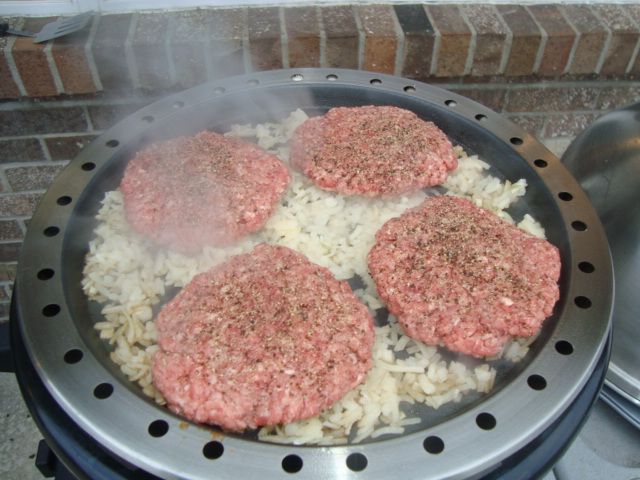
I placed the meatloaf on the little cooker and turned it loose for about 95 minutes. The meatloaf was made with about 3/4 pound of burger, about 1/2 pound of sausage, some onion and bell pepper, an egg, and some crackers and spice.

 photo DSC01598.jpg

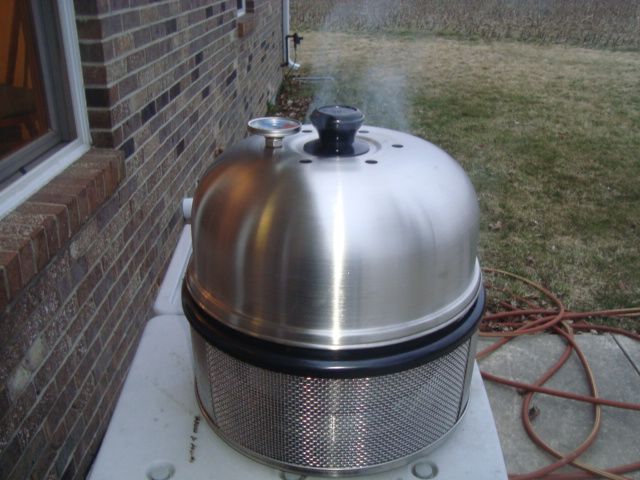
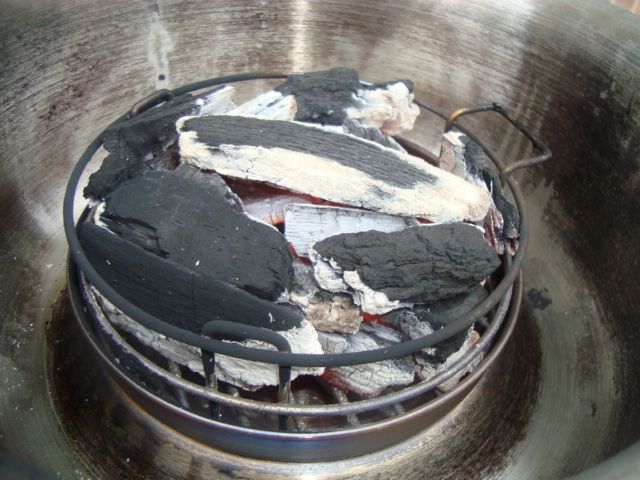
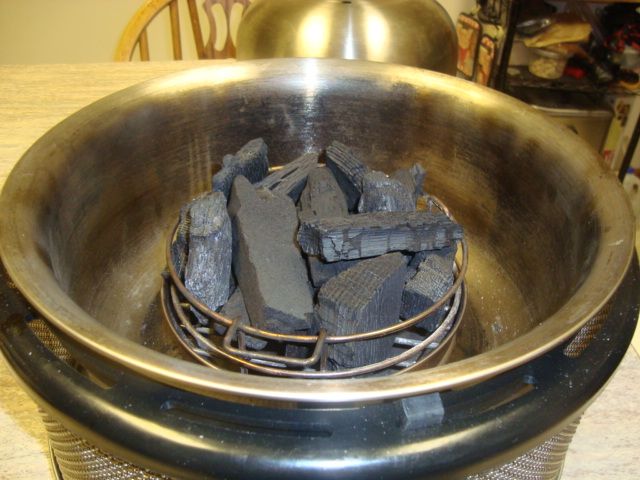
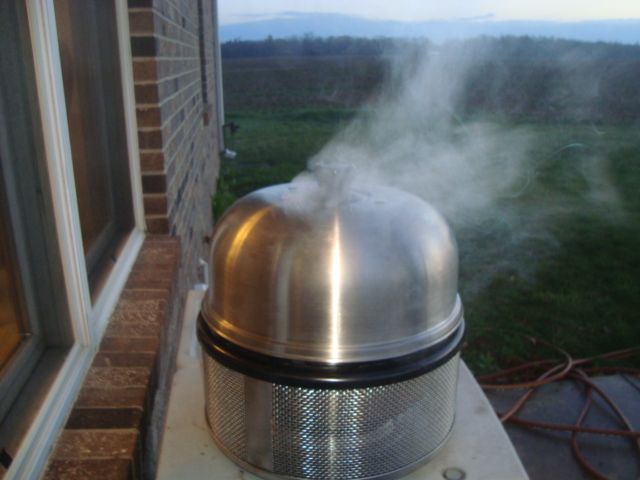
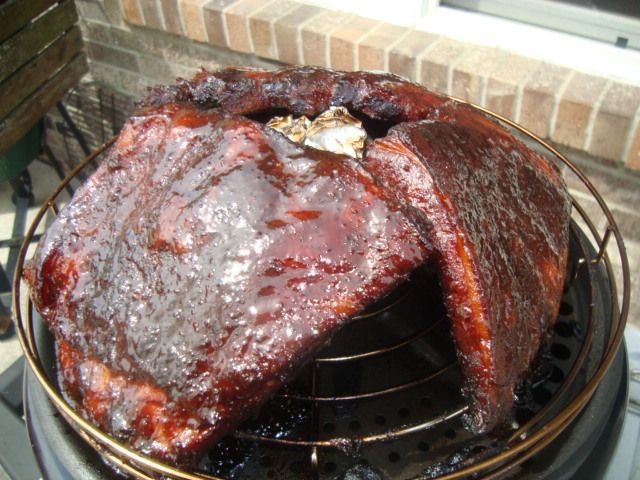
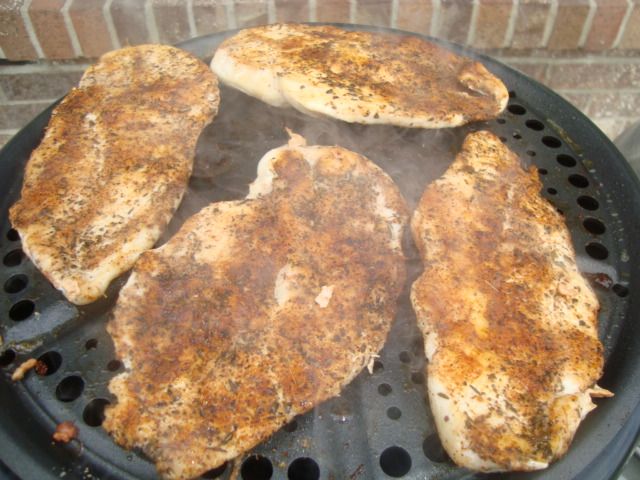
The Cobb grill doing its thing. 

 photo DSC01738.jpg

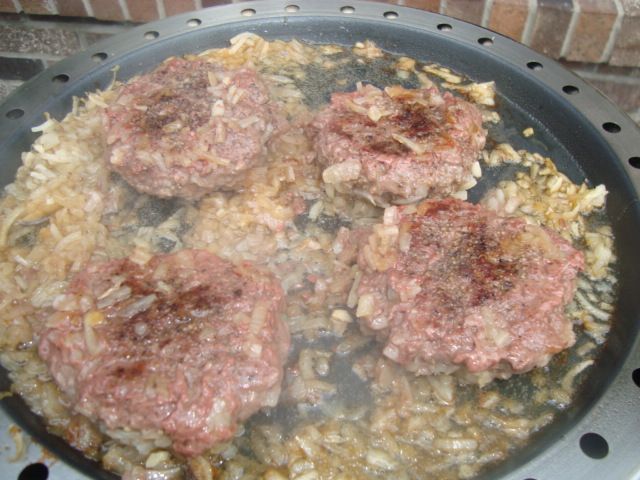
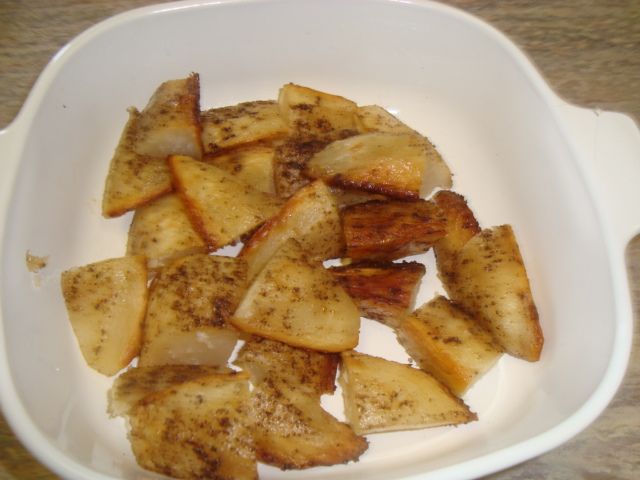
At the 95 minute mark, I pulled the meatloaf and the packets of potatoes. Unwrapped my quartered potatoes pieces and cut each quarter into about 3 pieces and placed them into a bowl. 

 photo DSC01739.jpg

I put some small blocks of Velveeta cheese along with some pats of butter over the top of the potatoes and then back on the cooker for a few minutes. 

 photo DSC01741.jpg

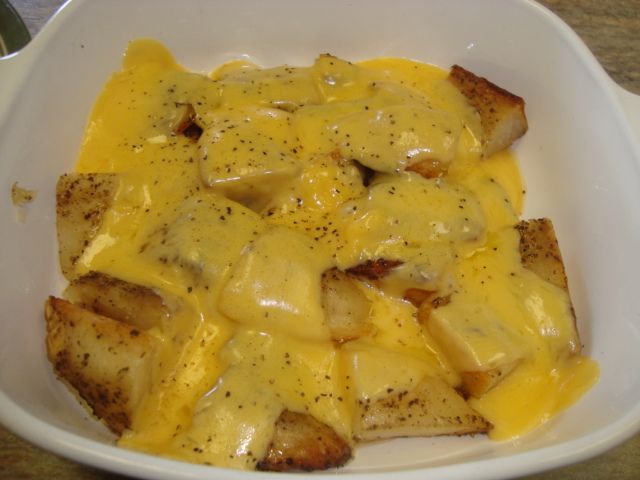
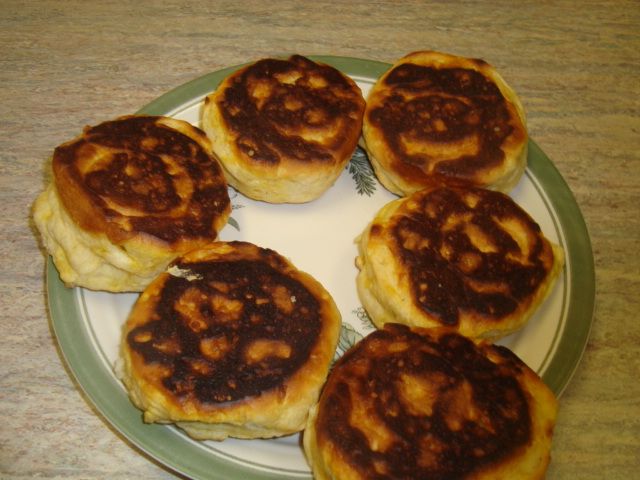
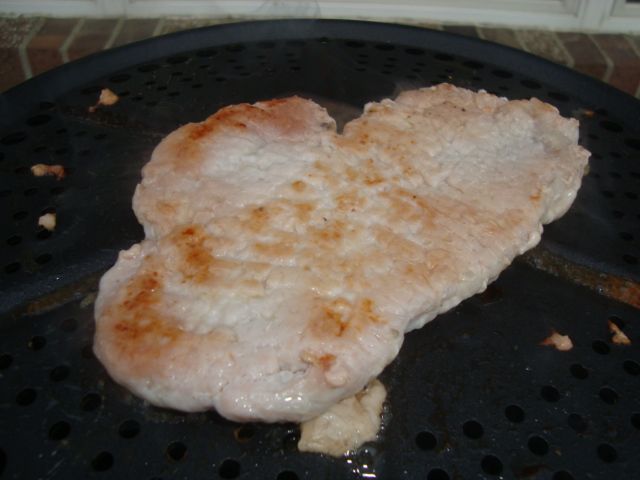
My cheesy potatoes ready for the plate.

 photo DSC01740.jpg

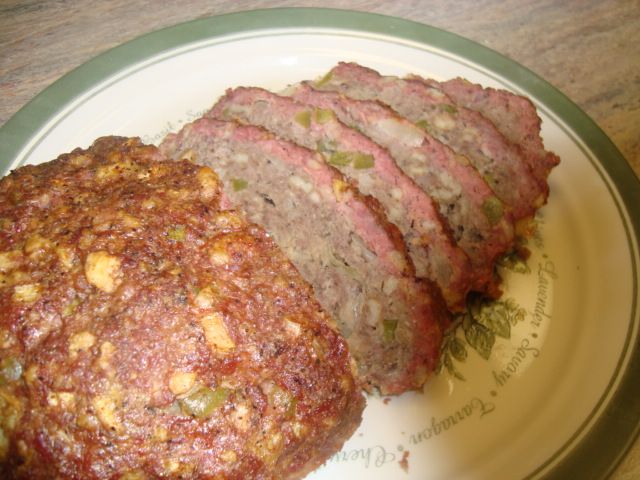
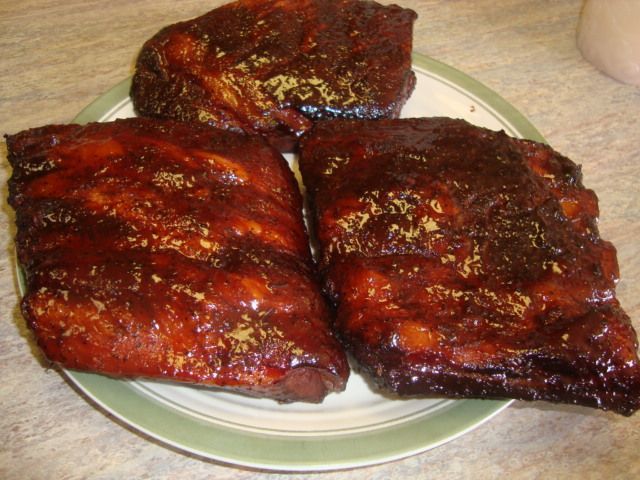
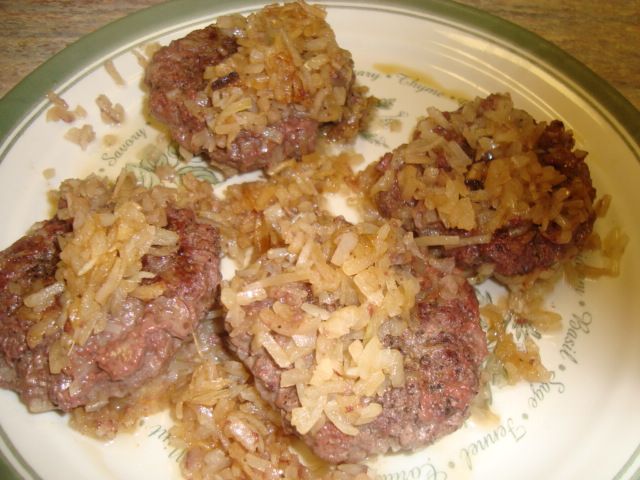
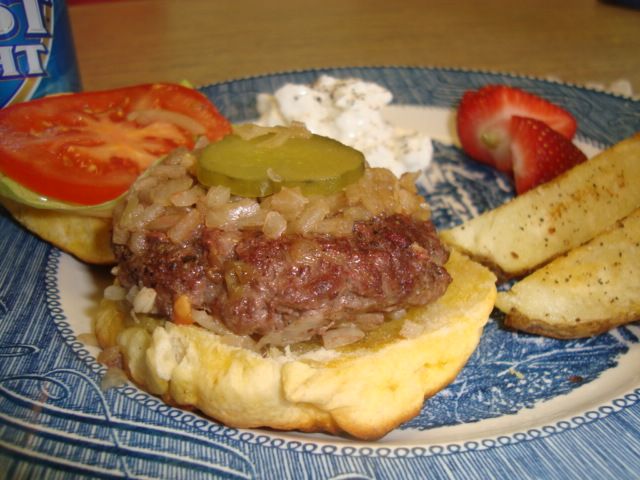
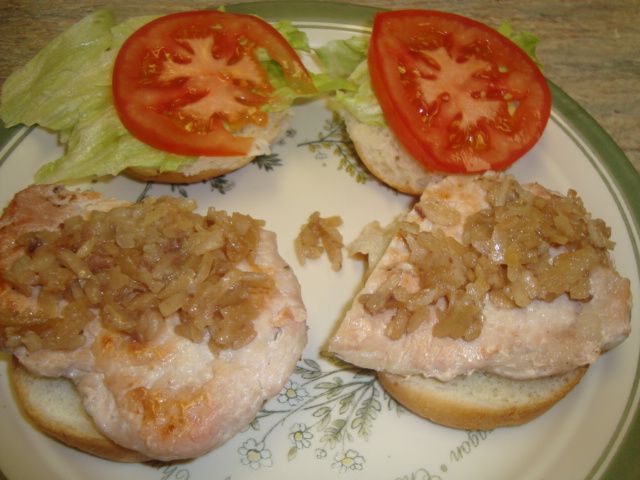
Sliced up some of the meatloaf for our meal. 
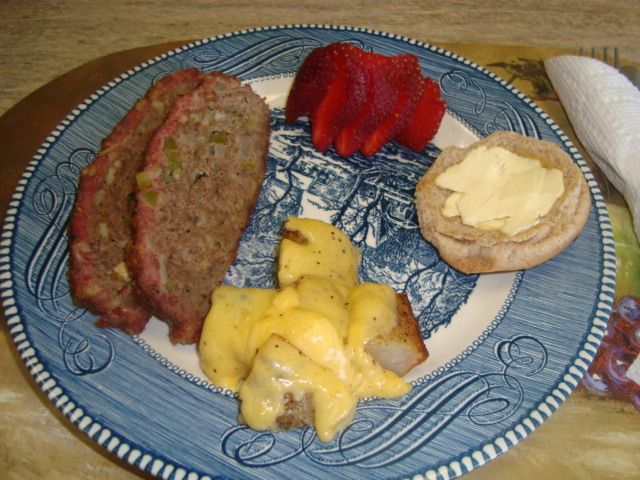
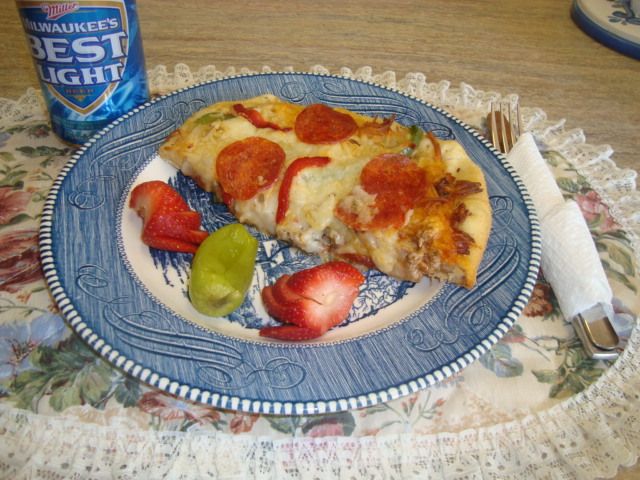
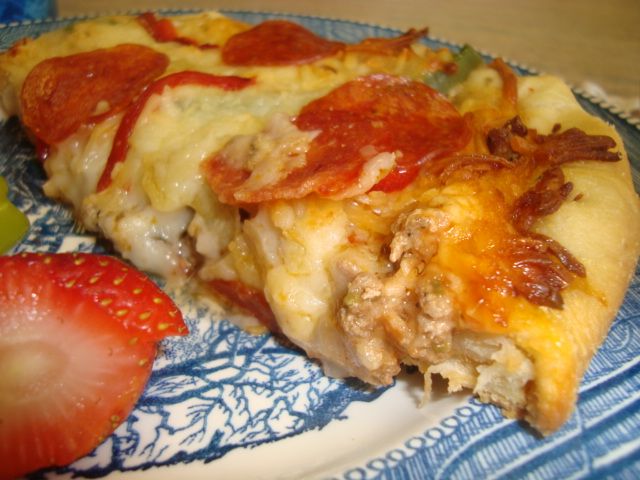
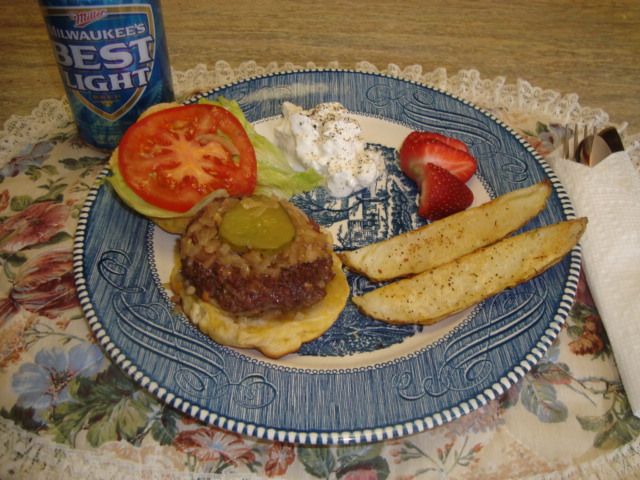
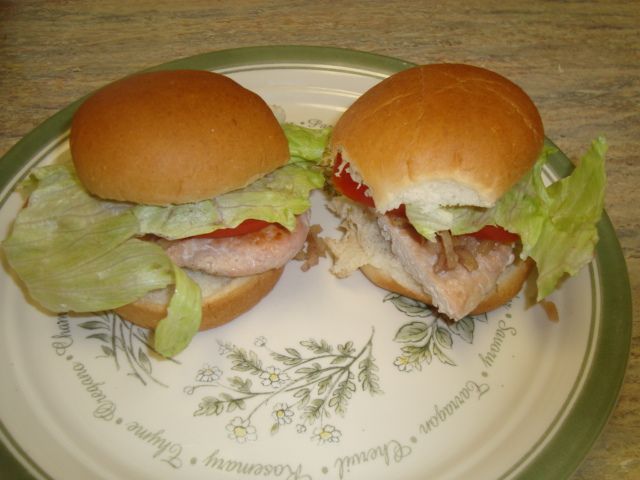
 photo DSC01742.jpg

All plated up.

Another test of this little 8 pound RV and tailgating grill before it goes into my camper. 

Baking on the Cobb Grill

The Cobb Grill is supposed to bake at temps up to 500 degrees if you believe all the hype on the web. For what its worth, I have never seen the grill even near these temps on any of my cooks using both lump and hardwood charcoal. The very top temperature I have seen is about 365 degrees measured at the baking surface inside the grill. This is about the low for most bread baking so I decided to give it a try.

 photo DSC01648.jpg

I loaded the grill with as much lump as it would hold and when it got to about 340 degrees, I placed a pan of my favorite Amish bread on the cooker.

 photo DSC01650.jpg

The cooker did reach 360 degrees and the bread did take longer than normal but it did bake it up ok.

 photo DSC01651.jpg

I then tried a small boule of sourdough bread on a makeshift tin foil hearth and just like my pan bread, it took longer but did come out well.

 photo DSC01652.jpg

This was enough to encourage me to try some pizza so I ordered a couple of 8-1/2" hearth stones for the cooker. That is the largest stone that I figured would work in the cooker.

 photo DSC01688.jpg

For this pizza try, I maxed out the charcoal basket with a full load of Ozark Oak lump charcoal.

 photo DSC01686.jpg

I fired up the charcoal and set up my new hearth stone and let the cooker pre-heat until it got to about 360 degrees as it seemed to be all I was going to get on this bake.

 photo DSC01689.jpg

I took the frozen pizza right out of the freezer, unwrapped it and placed it on my peel and then loaded it into the cooker.

 photo DSC01690.jpg

I figured this was probably wishful thinking but believe it or not, after about double the normal time for this pizza in my other grills, this baby did get done and from a fully frozen state.

 photo DSC01691.jpg

Just before it came off the Cobb grill.

 photo DSC01692.jpg

 photo DSC01693.jpg

Man, this pizza is "Money".

And yes, it will bake some fine products but they will take a little additional time. Whatcha expect from an 8 pound cooker?


Making Homemade Frozen Pizza

This article will explain how I make up pizza and then freeze it for later use. We like to take the frozen pizzas with us in the RV on our outings and bake it on an outside cooker and this method does work well for us. Of course, it will work just as well in the home oven.

The size I will be making is what I would call a “personal size” pizza and I usually make these about 8 to 9 inches in diameter. Me and Jan will usually split one as they are loaded up and a half pizza will make a good meal.

 photo DSC01666.jpg

One of the best methods for making the dough is in a 2 pound bread machine with a dough only cycle. Most of them are good for about 3-1/2 cups of flour and this amount will make a couple of 12-14 inch pizzas or four 8-9 inch pizzas. The secret in these machines is it uses a very small amount of heat thru out the total process and this makes for a better product than most other dough methods.

I use a standard pizza recipe although I usually add a few herbs to the dough as I feel it improves the final product.


 photo DSC01667.jpg

My inexpensive bread maker will make the dough and have it ready to go in about 90 minutes.

While the machine is making the dough, I get some of the rest of the items ready.


 photo DSC01668.jpg

This is 1.31 pounds of my homemade super spicy Italian sausage which is one of the meats I will use in the 4 pizzas.

 photo DSC01669.jpg

I brown the meat in a black iron skillet. 

 photo DSC01670.jpg

I blanch all my fresh vegetables for about 2 minutes and plunge them into cold water. Any other vegetable that comes out of a can like maybe black olives or mushrooms can be used straight up. 

 photo DSC01671.jpg

 photo DSC01672.jpg

My onions and bell peppers in the boiling blanch water.

 photo DSC01673.jpg

My dough is ready and I cut it into 4 equal pieces.

 photo DSC01674.jpg

Next step is to form it into my 4 pizza crusts. I then put them into the oven for a 6 minutes pre-bake at 375 degrees. One of the problems with the frozen pizzas is getting the dough done before cremating the stuff on top baking from a frozen state. The pre-baking really helps as the dough is already close to half done.

 photo DSC01675.jpg

The crusts just out of the oven.

 photo DSC01676.jpg

I brush all the outside edges with olive oil which will help with the color and browning.

 photo DSC01677.jpg

I start out with a layer of sliced mozzarella cheese. Again, one of the problems with the frozen pizzas is getting the crust done right before cremating the top from a frozen state and this layer of sliced mozzarella will prevent most of the liquid from the items on the pizza from going into the crust and making it soggy which would increase the baking time. 

 photo DSC01678.jpg

The pizza sauce.

 photo DSC01679.jpg

My homemade Italian sausage going onto the pizza.

 photo DSC01680.jpg

Next up is some onions and bell peppers.

 photo DSC01681.jpg

I finish up with some shredded mozzarella and I add some smoked peppers and some pepperoni slices. 

 photo DSC01682.jpg

The finished pizza ready for the freezer.

 photo DSC01683.jpg

I freeze the pizza on the sheets for about 6 hours. 

 photo DSC01684.jpg

They come out of the freezer and I wrap them in a couple layers of plastic wrap.

 photo DSC01685.jpg

They are then wrapped again in tin foil and they go back into the freezer for future use.

I know it’s a little more trouble but these pizzas are so much better than any frozen pizza on the market. Also nice to make them with just my preferred toppings. 

Spare Ribs on the Cobb Grill

 The spare ribs were another Kroger bargain that is hard for me to pass up even though they are injected with 13% salt water. The cost is $1.47 a pound and I do purchase them once in a while when they are on sale. 

 photo DSC01639.jpg

 photo DSC01640.jpg

I cut the ribs into St. Louis style and removed the membrane. I had hoped to be able to roll them but they were about 3/4” too tall for that method of cooking in this little cooker. Anyway, I ended up by cutting them into thirds and setting them up like you see on the standard cooking grid with the roasting rack. They were still to big to just lay down on the cooking grid so I made up a tin foil ball and placed it on the middle of the cooking grid and then leaned the 3 pieces up against the foil ball.

 photo DSC01641.jpg

I figured this cook for about 4 hours so I started with 12 charcoal brickettes. I would add 4 more after the second hour and 5 more after the third hour. Was a cooler morning at about 39 degrees and I got the grill going about dawn. I used a foil pack of wild cherry chips for my extra smoke.

 photo DSC01642.jpg

I cooked the ribs until the color looked right which was a little over 2 hours and then I wrapped them in foil. I used some apple juice, agave syrup, brown sugar, and honey inside the foil. 

 photo DSC01643.jpg

They went back into the cooker for about 2 more hours in the foil and I pulled them to prep for my glaze. 

 photo DSC01645.jpg

 photo DSC01644.jpg

I set the ribs up again with my tin foil ball and glazed them with Blues Hog mixed with some clover honey. This took an additional 30 minutes and then they were ready to eat.

 photo DSC01647.jpg

Nice ribs.

I think I have just about got this little grill figured out...still need to try some bread or pizza baking and that is next. 

Big Cook on the Cobb Grill

I have some more cooks on the Cobb Grill that you folks might find interesting. It is a slick little grill that can be used for tailgating and I feel will work nice in the RV. 

Largest problem with the grill is the price of the accessories and most of them are around $35.00 and the grill does need at least a couple of them. I had to purchase the roasting rack and also the frying grid for the types of cooks that I wanted to use it for. 

This cook is some hamburger sliders, fried biscuits, quartered potatoes, pork loin cutlet, and boneless chicken breast. It was done with just 11 charcoal brickettes in about two hours. 

 photo DSC01620.jpg

I started with my fried biscuits on the frying grid which I plan to use for my burger sliders. 

 photo DSC01622.jpg

Biscuits came out looking great.

 photo DSC01621.jpg

I laid down a bed of chopped onions on my frying grid and then added my 4 quarter pounders for my sliders. 

 photo DSC01624.jpg

They cooked up in a few minutes and I pulled them off the cooker.

 photo DSC01625.jpg

This is gonna be some good eating!

 photo DSC01626.jpg

Next on was my pork loin cutlet. Kroger had the whole pork loins on sale again for just $1.47 a pound and that my friend is one great buy! This time I had them slice it up and run it thru the cuber. Will make for some nice grilled tenderloin sandwiches or sliders. 

 photo DSC01628.jpg

The loin cooked very quickly on the frying grid.

 photo DSC01629.jpg

Next up was the boneless chicken breasts and Jan put some kind of blackening rub on them which didn’t blacken up very well due to the very short time on the grill.

 photo DSC01630.jpg

Sure did look good coming off of the grill.

 photo DSC01636.jpg

I also did some quartered potatoes which were rubbed with peanut oil and sea salt and fresh ground black pepper. They were then foiled in packets and placed in the moat around the fire in the cooker.

Well, what did that fellow do with all that stuff you might ask? 


 photo DSC01631.jpg

I opened up 4 of those fried biscuits and placed a quarter pound slider burger on it. I added the chopped onions, a strip of lettuce, slice of tomato, and a dill pickle slice. 

 photo DSC01632.jpg

 photo DSC01633.jpg

Now that’s a real slider.

 photo DSC01637.jpg

 photo DSC01638.jpg

I added a couple of the quartered potatoes and some salad stuff to my plate for a fine meal. 

 photo DSC01634.jpg

 photo DSC01635.jpg

I cut the pork cutlet in half and put it on some small buns and added the veggies. Another great treat.

The chicken was frozen for future use.