Wednesday, June 19, 2013

Pork Butts in the Green Mountain Grill

I needed to smoke a couple of pork butts and I decided to do them in my Green Mountain Daniel Boone Pellet Grill. I haven't done any longer cooks in this cooker yet so this will be a first attempt at a longer low and slow cook.

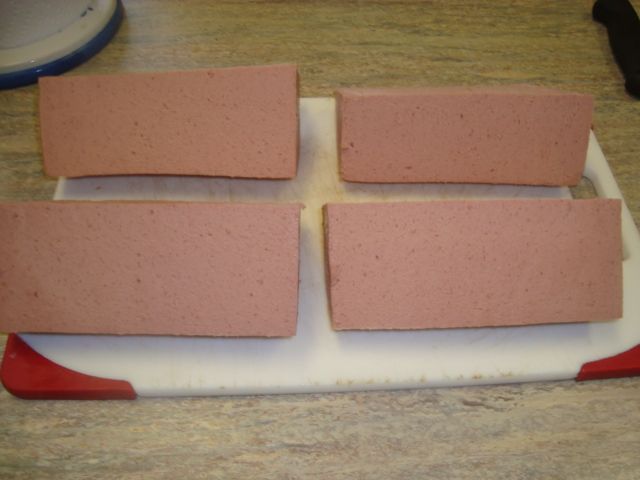
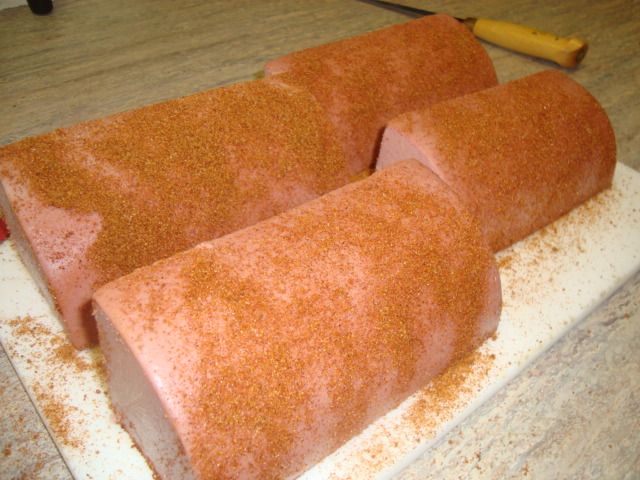
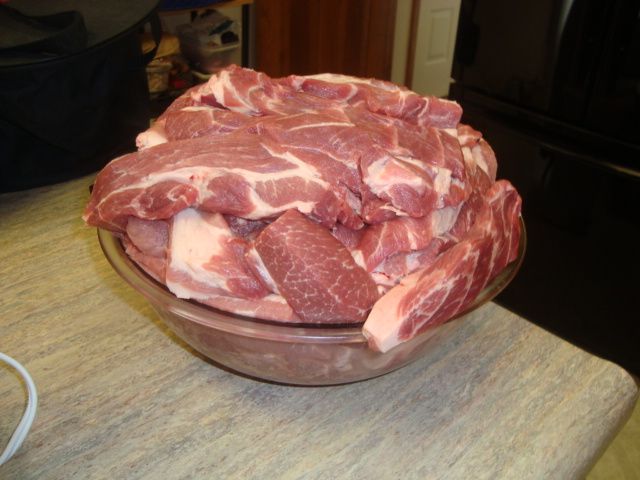
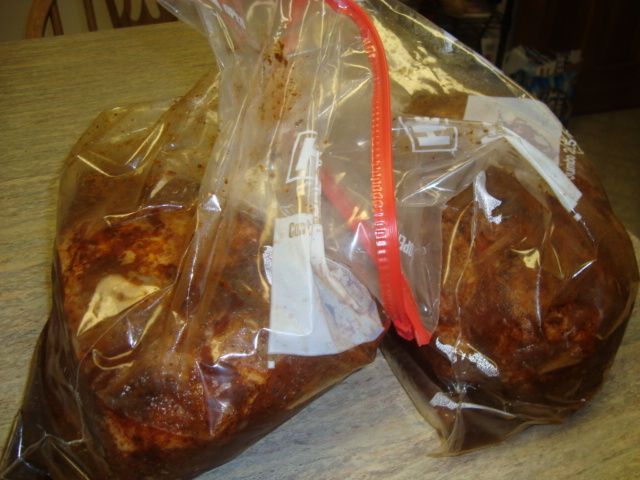
I started by trimming all the fat off the outside of the butts. I then injected them with Chris Lilly’s pork injection. Next step was to cover them with a generous amount of Slab’s pork rub. They went into the fridge overnight for about 6 hours. 

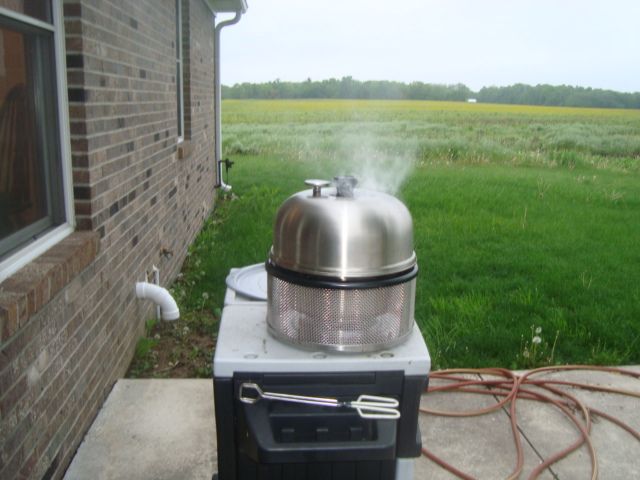
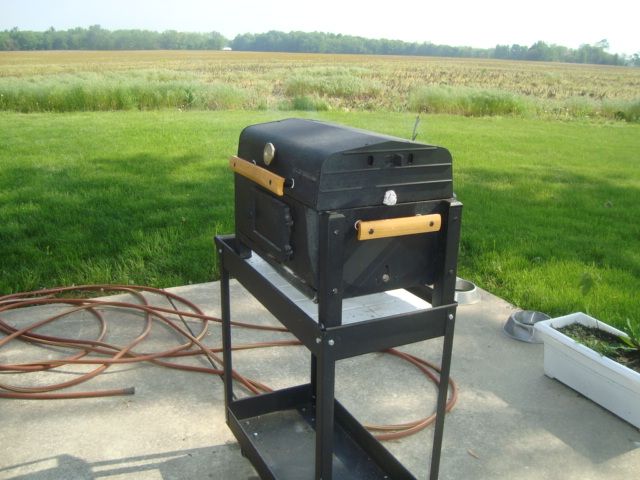
About 2:30am Saturday morning, I fired up the cooker and got my butts ready for the fire.

 photo DSC01830.jpg

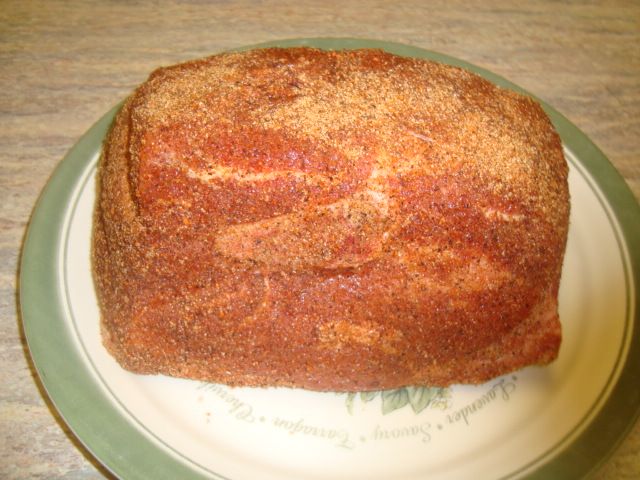
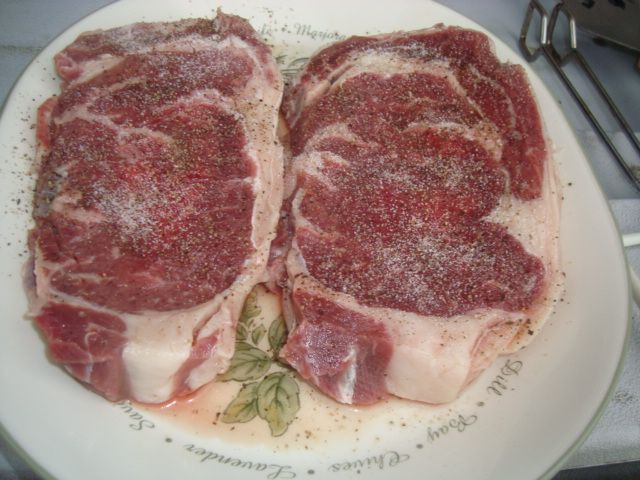
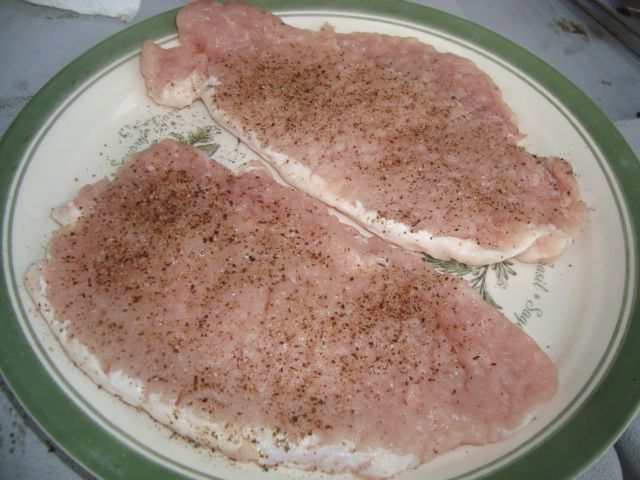
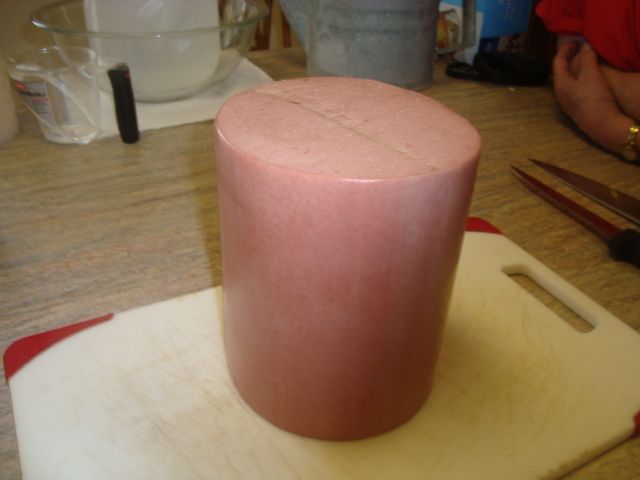
Just out of the fridge.

 photo DSC01831.jpg

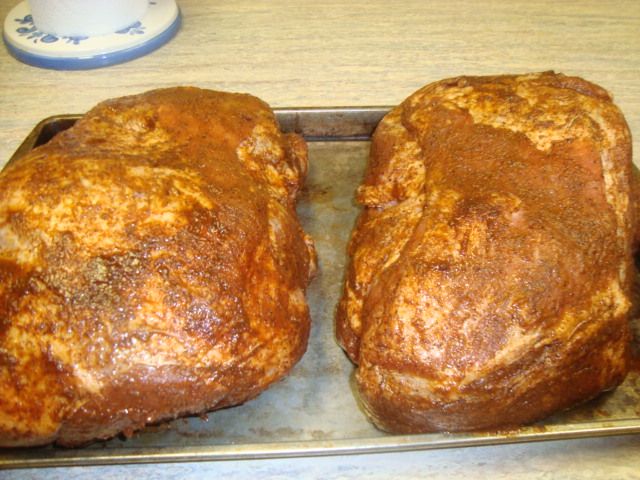
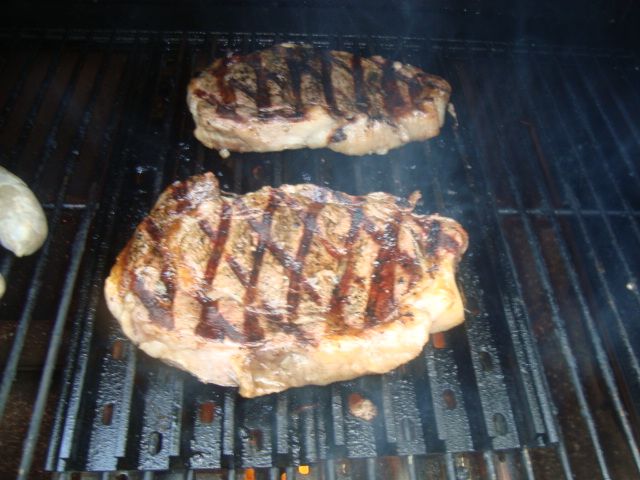
Ready to go on the cooker.

 photo DSC01832.jpg

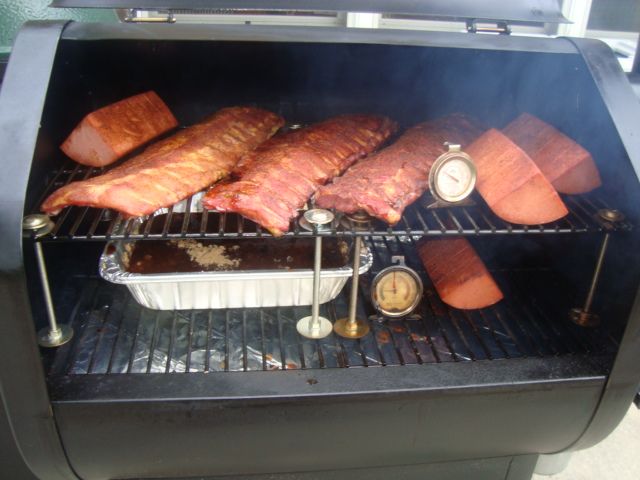
I got them loaded about 3:00am and set the temp to 150 degrees for the first 2 hours which will give me some extra smoke during this first period. 

 photo DSC01833.jpg

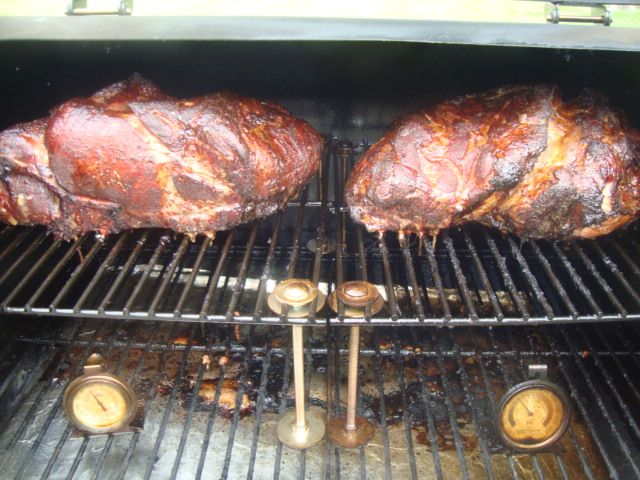
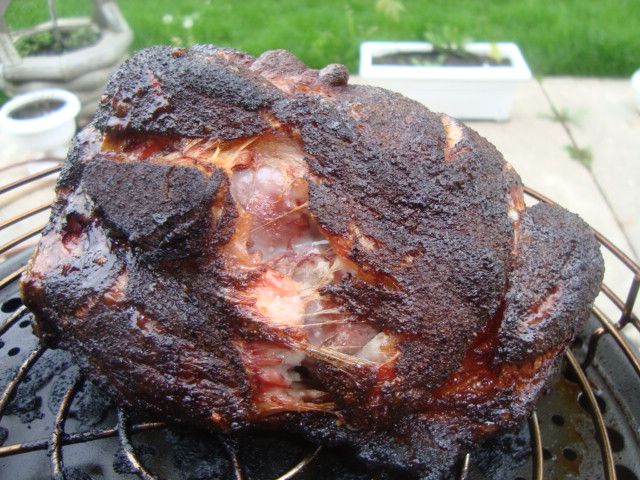
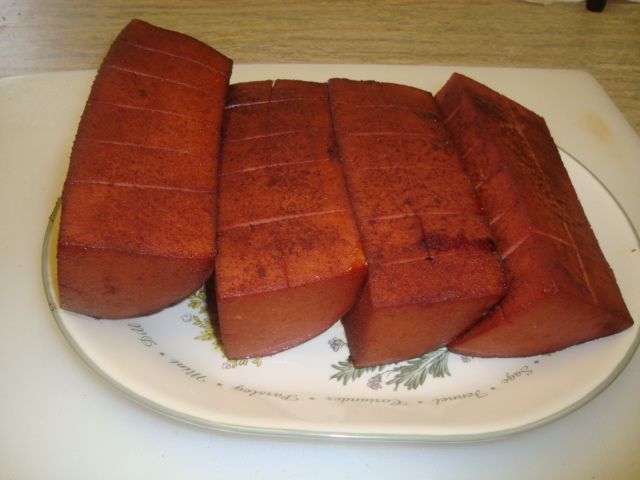
Raised the temp to 275 and cooked and smoked the butts until the color and bark looked right (about 6 hrs) and took them off the cooker for the foil wrap. 

 photo DSC01834.jpg

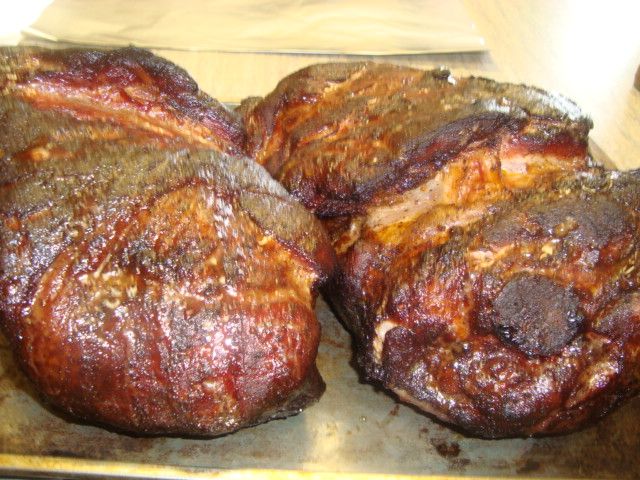
Looked good enough to eat now but still not done.

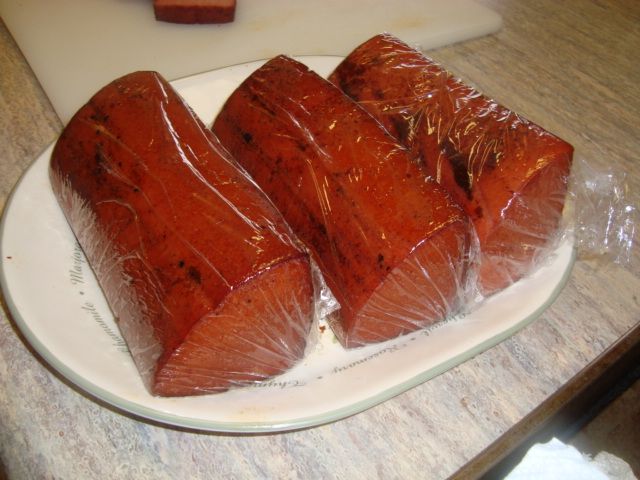
Each butt was wrapped in foil with a half a bottle of the Stubb’s Pork Marinade and then back into the cooker.  


 photo DSC01835.jpg


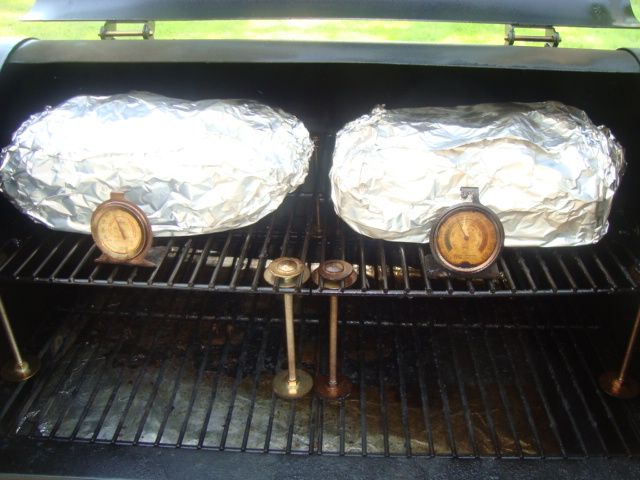
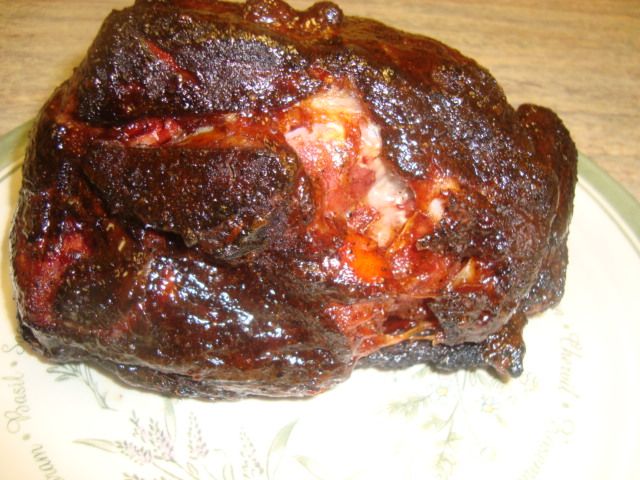
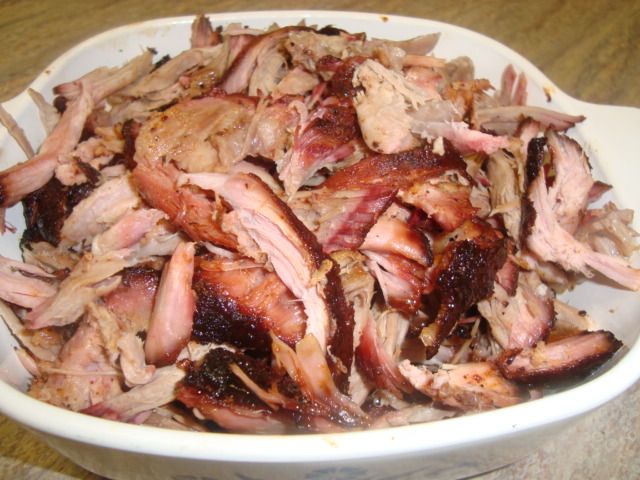
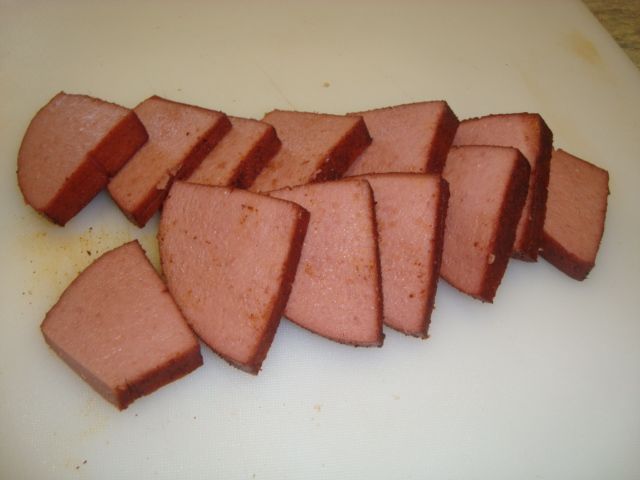
They cooked an additional 2 hours and I pulled them at 205 internal and quickly opened the foil for about 15 minutes to set the bark and then wrapped up again and rested for about 2 hours. 

 photo DSC01836.jpg

Pulled the butts and ended up with 9 pounds of product. 

 photo DSC01838.jpg

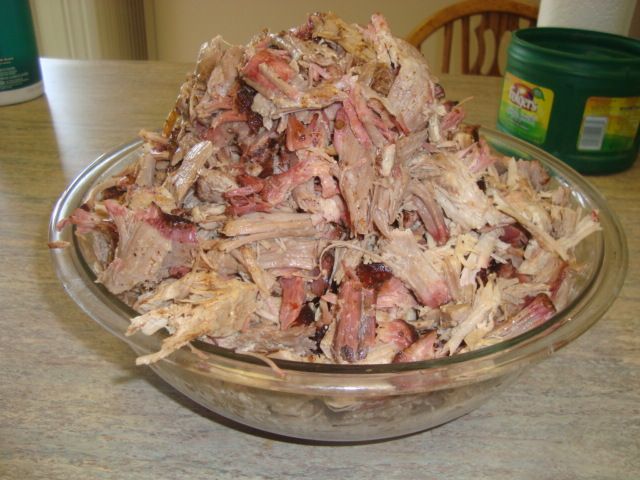
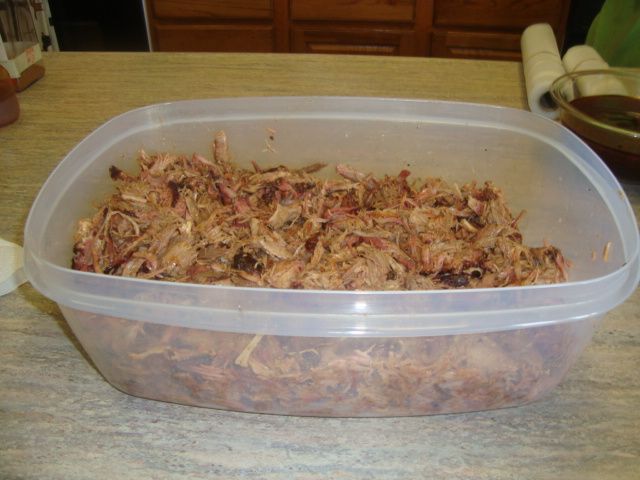
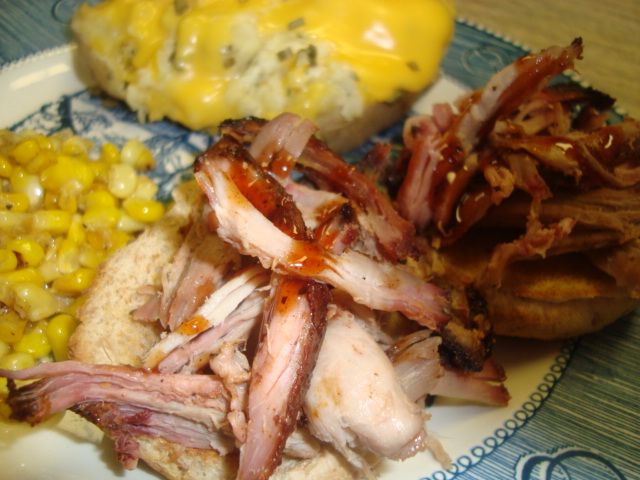
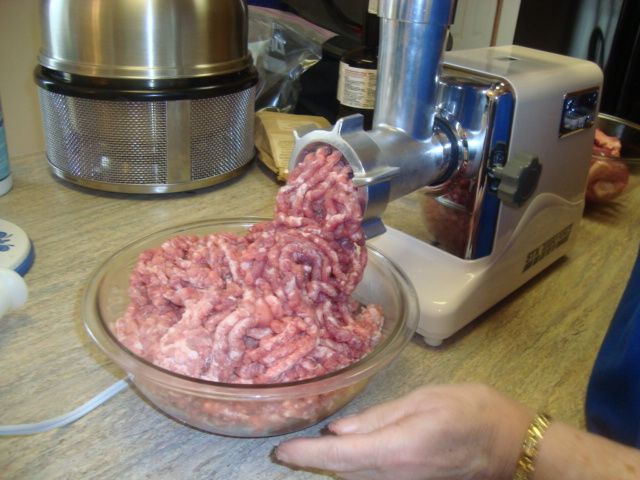
I mixed up a light blend of my catering sauce and added it to the meat. I then added some finely ground rub to the meat and mixed it all up and it was ready to be bagged. 

 photo DSC01839.jpg

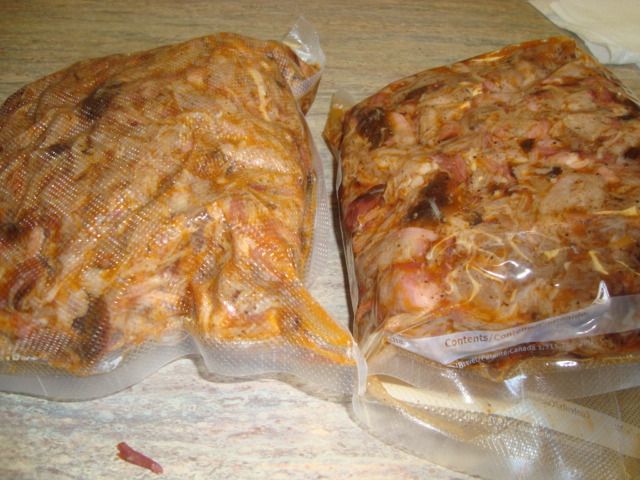
Gonna be some happy folks at the local Ford dealership come Monday about noon. 

Pork Shoulder Roast on the Cobb Grill

This will be my last test cook on my Cobb Grill as I think it has earned a spot in my camper for the season. While it is not big enough to cook for a group, it will cook quite well for 2-4 people and produce a fine product. Items like a whole butterflied chicken, meatloaf, burgers, tenderloins, steaks, sausage, ribs, loin roast, and now a pork butt. Will also do some sides with the meat as well and will bake bread and pizza. 

 photo DSC01743.jpg

I started with a Pork Shoulder Picnic that weighed about 4 pounds. I cut the skin off and trimmed off some of the fat and gave it a good rub of SGH. 

 photo DSC01744.jpg

I filled the charcoal basket with a full load of Ozark Oak lump and brought the little cooker up to temp. Loaded my picnic shoulder and as you can see, I had plenty of room left if I wanted to add some baking potatoes, maybe a pan of baked beans, maybe some other grilled veggies, etc..

 photo DSC01746.jpg

The cook took about 5 hours and I did add more lump twice during the cook. I also made up three packets of wild cherry chips and used them on top of the charcoal basket for extra smoke during this longer cook. 

 photo DSC01747.jpg

The roast about 30 minutes before I pulled it off the cooker. 

The last step was to give it a glaze of Blues Hog with some clover honey for the last 30 minutes. 

 photo DSC01749.jpg

I tented the roast with foil and let it rest for about 30 minutes and then pulled it. 

 photo DSC01751.jpg

Meat tasted and looked great.

 photo DSC01752.jpg

 photo DSC01753.jpg

I added a potato treat and some fried sweet corn that was cut off the cob and it made a nice plate.

Tuesday, June 18, 2013

High Temp Steak, Burger, Tenderloin and more

This is a high temp steak, burger, grilled tenderloin, and homemade brat cook on the Green Mountain pellet grill.  

 photo DSC01808.jpg

I added my steak insert which is two adjustable Brinkmann heat tents which I have sitting on a couple of firebricks for the correct height. They are used as flame tamers to keep the flame where I want it. 

 photo DSC01809.jpg

Next step was to place the standard grates back on the cooker and then I added my Grill Grates on top of the standard grates. I didn't use any of the standard drip shield or the two wind deflectors that come with the cooker.

I fired up the cooker and set the controller to 350 degrees which is all I need for my high temp grilling. Remember, this setup will grill at the tip of the flame so a fellow doesn't need those crazy hot temps that will warp and spring the parts in the cooker. 


 photo DSC01810.jpg

As soon as the cooker got up to 700 degrees which took about 10 minutes, I added the burgers. 

 photo DSC01811.jpg

By the time my burgers were done of the first side (about 3 minutes), the cooker had reached my target temp of 775 degrees. Again, the controller is set at 350 degrees. My setup allows me to cook at the tip of the flame with my insert. 

 photo DSC01812.jpg

Next up was two rib-eyes cut about 1-1/2” thick.

 photo DSC01815.jpg

The rib-eyes cooked about 3 minutes on the first side and then 2 minutes on the second side. 

 photo DSC01814.jpg

I then did my 2 grilled tenderloins and they took about 2 minutes to get done.

I also cooked 3 homemade brats on the indirect side of the grill. I didn’t want to break the skin with the high temps.

The results of the cook.


 photo DSC01819.jpg

 photo DSC01818.jpg

 photo DSC01820.jpg

 photo DSC01821.jpg

The burgers as served.

 photo DSC01825.jpg

The steak as served.

 photo DSC01822.jpg

 photo DSC01823.jpg

Now that some good stuff!!

Along with my rotisserie mod, this high temp setup is one of the better modifications I have  done to this fine cooker.


Smoked and Fried Bologna

I started with a 4.78 pound chub of all beef bologna for this treat.

 photo DSC01788.jpg

Next step was to remove all the wrappers.

 photo DSC01789.jpg

I then quartered the chub to increase my surface area for the smoke. 

 photo DSC01790.jpg

I scored the surface area and added some SGH rub and it was ready to go on the cooker.

 photo DSC01791.jpg

I fired up the Green Mountain cooker and set the temp to 150 degrees as at this very low temp I can get some smoke without a bunch of heat. The bologna is ready to eat as it is and by smoking at a higher temp will only dry it out. Fwiw, it is really better to just smoke it like you do cheese using no heat at all. Anyway, I had some other items ready for the cooker so I added the bologna. 

 photo DSC01792.jpg

I smoked the quarters about 100 minutes and pulled them off the cooker.

 photo DSC01793.jpg

I wrapped 3 of them for the freezer and sliced up one of the pieces into about 1/2” to 3/4” wide slices.

 photo DSC01795.jpg

 photo DSC01794.jpg

Next step was to add a black iron griddle to the smoker and then some bacon.

 photo DSC01797.jpg

Did a couple of rounds of bacon for the sandwiches. 

 photo DSC01798.jpg

I then fried my bologna slices in the bacon grease for some additional flavor.

 photo DSC01800.jpg

 photo DSC01803.jpg

I added a little mayo to my seeded bun and then some lettuce, a tomato slice, a couple slices of the bacon and about 3 of my slices of smoked and fried bologna. 

 photo DSC01805.jpg

Just so simple but oh so good!!

 photo DSC01806.jpg

Served with a dill pickle spear and some of the pit beans off of this cook. 

State Fair Porkburgers

One of the best bargains in meat right now is the Pork Butt and in most areas, it can be purchased for about $1.19 to $1.29 a pound. There are many things a fellow can do with this great piece of meat. From just plain pulled pork, to sliced pork, to may kinds of jerked pork, to Western or country ribs, and more. Then it can also be ground and this opens up many new possibilities. Breakfast sausage, Italian sausage, many kinds of stuffed link sausage, and a couple of my favorites are the State Fair Pork-burgers and Bratwurst sandwich patties. 

 photo DSC01754.jpg

I start by getting the grinder out and set it up for my pork. 

 photo DSC01755.jpg

I then cut up about 16-1/2 pounds of pork from a couple of pork butts into some big strips that will fit the grinder. 

 photo DSC01756.jpg

Run it thru the grinder along with some thick cut smoked bacon.

Once my meat is ground, I then mix in some crushed garlic, some Worcestershire sauce, a little dried basil, a little diced onion, a pinch or two of seasoning, and some Lipton dry onion soup mix. This will be some fine tasting Pork-burger. 


 photo DSC01757.jpg

This is my 16 pounds of Pork-burger meat ready to be made into patties or frozen in 2 pound packages for later use. 

 photo DSC01760.jpg

Rolled my little Char-Broil 500X out to the cooking patio and fired it up with some lump charcoal. I set the cooker up with the right side direct and the left side indirect for this cook. I like to sear stuff at the tip of an open charcoal or wood flame for a few minutes on each side and then finish up on the indirect side of the cooker.

 photo DSC01758.jpg

Along with my Pork-burgers, I had some other items to cook and I started out with 10 one quarter pound thick burgers.

 photo DSC01759.jpg

Next up was the 1/3rd pound Pork-burgers.

 photo DSC01761.jpg

Also did 4 of those huge skin on bone in chicken breasts. 

 photo DSC01763.jpg

Had the fire going so might as well do some dogs. 

 photo DSC01767.jpg

Chicken looked good coming off the cooker.

 photo DSC01762.jpg

Cooked the big pork burgers to about 160 degrees internal and they are ready for the sandwich. 

 photo DSC01764.jpg

The sandwich served at the State Fair has a steamed bun and they do not dress the sandwich except for a slice of dill pickle. I like to spread on a light layer of Miracle Whip, the add some lettuce, tomato, thin slice of onion or serve with green onions. 

 photo DSC01765.jpg

I am just not sure there is a better sandwich out there!! Juicy, flavorful, make you want to throw rocks at a standard burger sandwich.