Thursday, January 12, 2017

Roast Beef on the Cobb Rotisserie

This roast beef cook was done on my Cobb Grill in my rotisserie setup.

 photo DSC03951.jpg

 photo DSC03952.jpg

I started with a USDA Choice beef bottom round roast which weighed 2.68 pounds. Trimmed it of some excess fat and then brushed on a light coat of peanut oil for a sticker. Sprinkled on a generous amount of garlic salt and some butcher cut black pepper and then mounted it into my rotisserie setup.

 photo DSC03954.jpg

Another kinda cold morning with a temperature of 19 degrees at the start of the cook and I got it all going just after daylight. Used the Cobb larger charcoal basket and loaded a  large load of briquets (17) as I wanted a higher temp cook for this treat.

 photo DSC03955.jpg

My roast about done on the cooker.

 photo IMG_0177.jpg

My roast was done in one hour with an internal of 130 degrees and I took it off of the cooker. I wrapped in foil and let it rest for about an hour. 

 photo IMG_0179.jpg

Put the roast thru my slicer and it was now ready for some sandwiches. 

 photo IMG_0180.jpg

Piled on a generous amount of my roast beef on my bun, added a couple slices of Swiss cheese, and then added some horsey sauce and my sandwich was about ready. 

 photo IMG_0184.jpg

 photo IMG_0189.jpg

Sure made a great lunch.


More Pizza on the Cobb Grill

Baking a nice pizza on the Cobb Premier Grill has been a little difficult to master and I have done about a dozen bakes trying to perfect it into something that would suit me. I think I have figured out a method that will produce a pretty good pie. 

Grill Setup:

 photo DSC03763.jpg

 photo DSC03762.jpg

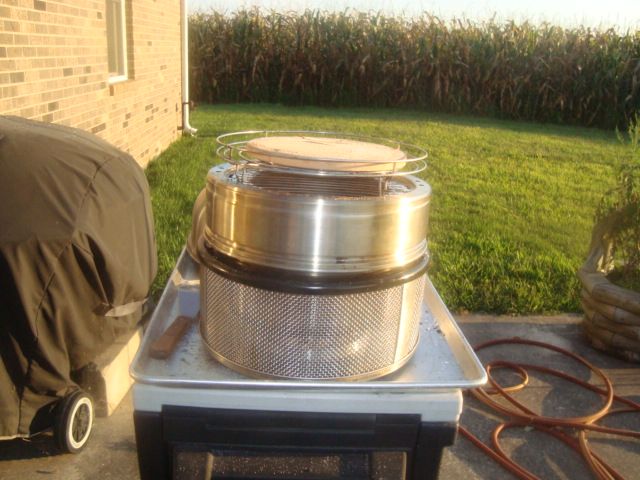
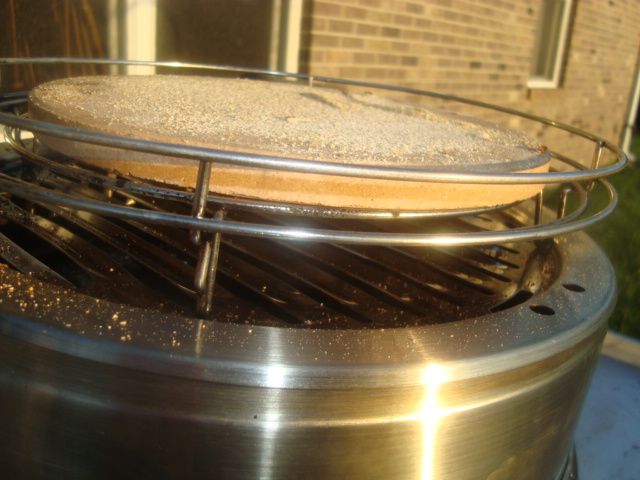
I think the best pizza is always cooked on a hearth and I have found that the best size to use on this small grill is the smaller 8-1/2” stone. One of the biggest problems with pizza on this little cooker is getting the top done before the bottom burns. A larger stone than this will prevent the heated air from coming around this stone to get up into the dome where it can cook the top of the pie before the bottom burns. I have also placed this stone on the raised roasting rack to get it higher into the dome and away from the grid to allow more heated air to come out from under and get into the dome. I am using the grid from the Cobb BBQ Kit as this grid has many more slots that will allow more heat to  get out and around the hearth and up into the dome for the best results. I am also using the dome extension under my pizza setup which gets my fire a little farther away from my product. 

Fuel:

For most baking, I like to use the small Weber charcoal chimney to start my fire to be sure I have all the coals about the same before I pour them into the grill. 

 photo DSC03704.jpg

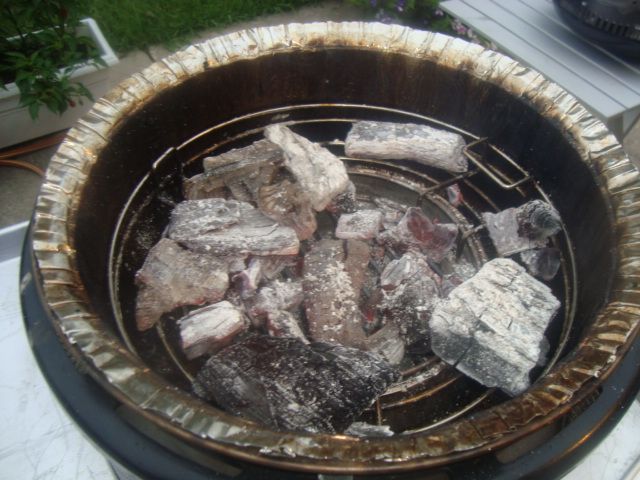
While I much prefer lump charcoal for about all baking, I have found that it is much harder to control in this little cooker for high temp baking. However, it’s great for steaks and chops. 

 photo DSC03644.jpg

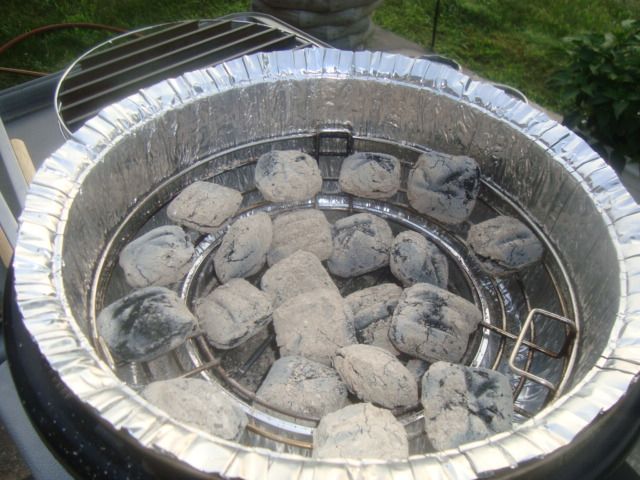
I have found that about 22-24 briquets are about perfect for my pizza. I started with the Kingsford Professional but these so called all hardwood only briquets still have the borax stink agent on the outside to help them release from the dies and I don’t want that smell anywhere near my pizza. I found that they also produce way to much ash for this little grill and will block the incoming air to my fire. I am using the larger charcoal basket that comes with the Cobb BBQ KIt. 

I found that the best fuel for my application is the Wicked Good all hardwood charcoal briquets and this has worked quite well for all my recent bakes. They have a great sweet all wood burning smell and produce very little ash as compared to other briquets. 

Let’s make a pizza...

 photo DSC03757.jpg

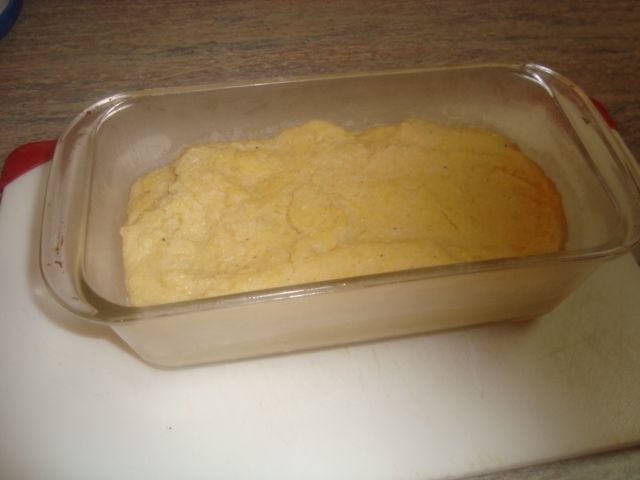
I like to make my pizza dough in my Dough Maker (bread machine on the dough only cycle) as it does a great job with this task and it is just super easy to use for this lazy old fellow. 

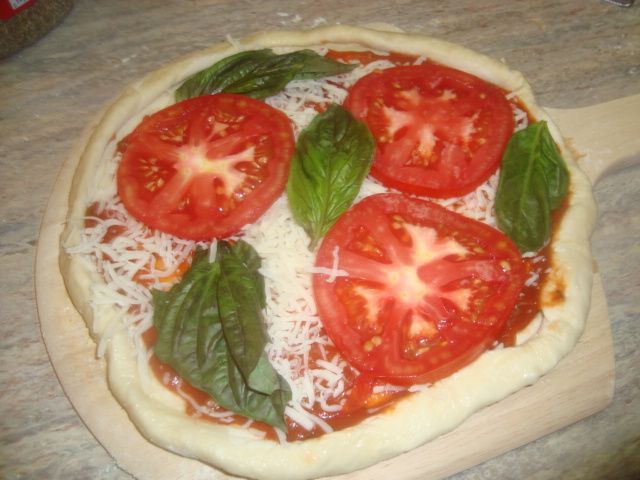
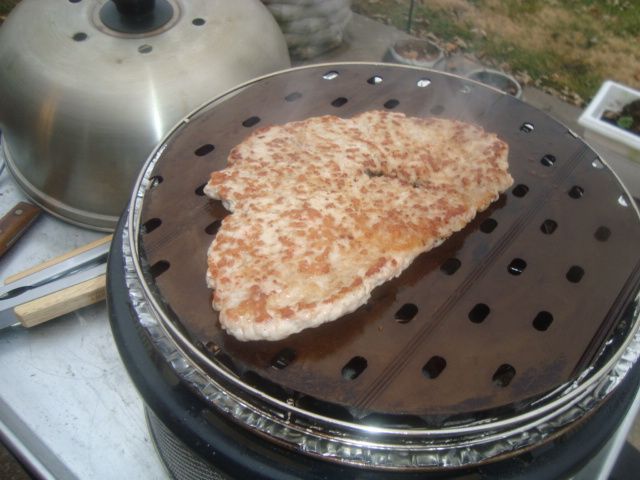
This first pizza has sauce, cheese, fresh basil leaves, and tomatoes and is on my little wooden peel and after the picture, I carried it out and baked it on the grill. 

 photo DSC03764.jpg

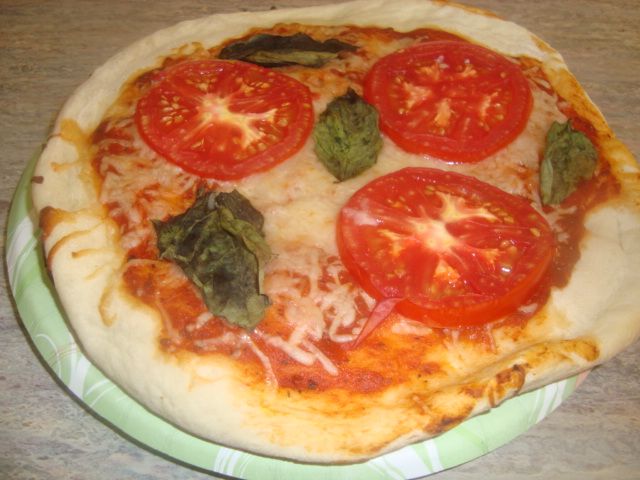
About done on the grill.

 photo DSC03759.jpg

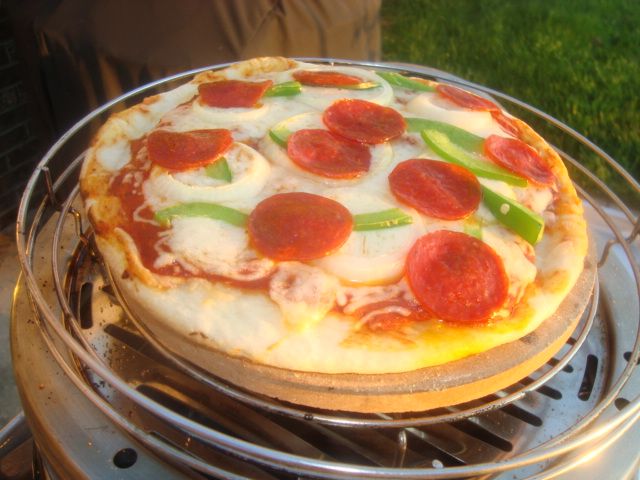
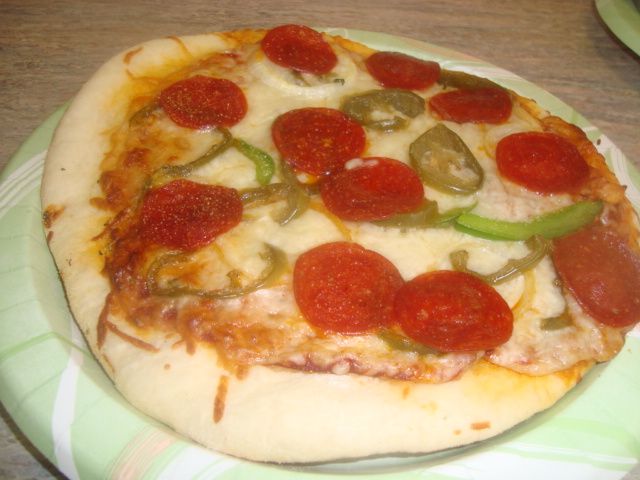
This second pizza has sauce, cheese, pepperoni, onions, and bell peppers and is about done on the grill. 

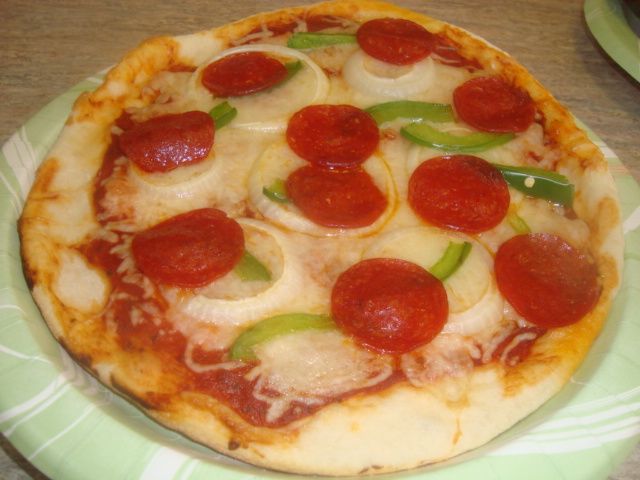
The third pizza was the same as the second but I did add some hot peppers to this one. 

 photo DSC03766.jpg

 photo DSC03768.jpg

 photo DSC03767.jpg

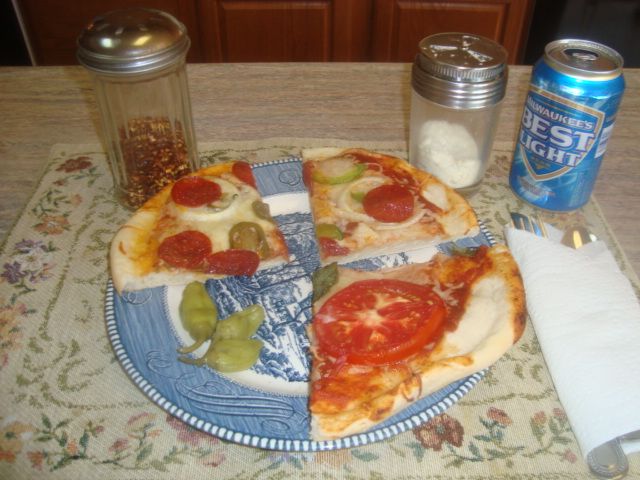
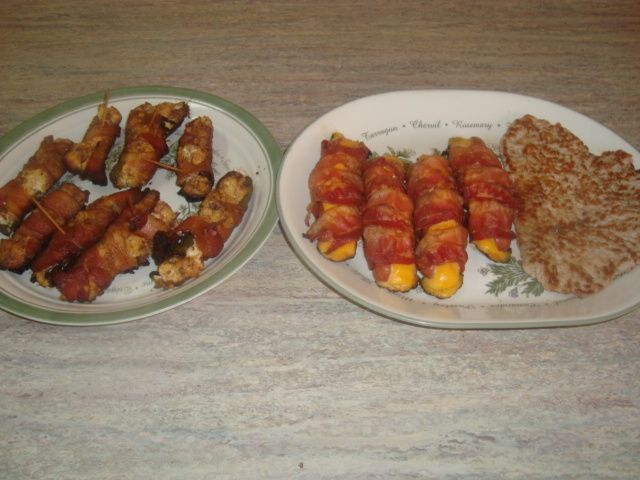
All three pies ready for serving. 

 photo DSC03769.jpg

 photo DSC03770.jpg


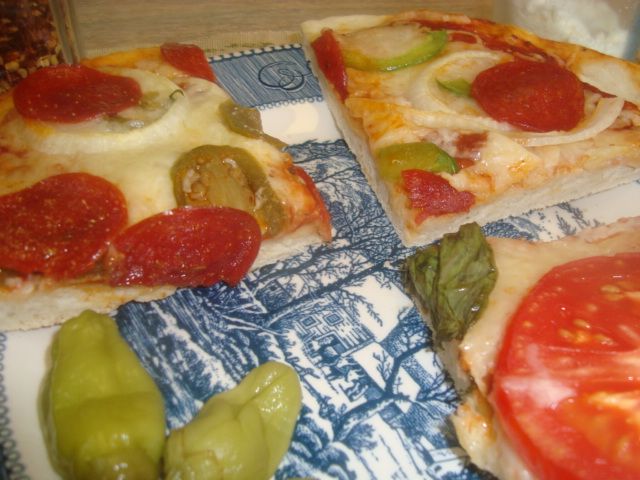
The pizza as served. 

Fried Mush

I love corn meal mush and like to have it quite often and usually always try to have it for my breakfast on New Years day. 

 photo DSC03933.jpg

 photo DSC03934.jpg

Yesterday afternoon, between some adult beverages and the ball games, I made up a pan of mush and put it into the fridge to set up for my breakfast this morning. 

I cut off a few slices about 1/2” thick each for my breakfast. 

 photo DSC03935.jpg

 photo DSC03936.jpg

 photo DSC03937.jpg

Placed my six pieces of mush in an iron skillet with some butter and cooked them slowly   (about 15 minutes per side) until they were nicely browned, crunchy, and done. 

 photo DSC03938.jpg

 photo DSC03939.jpg

I always put sorghum on this treat but we were out so I used some real maple syrup as it makes a pretty good substitute. Wife fixed me some cheesy eggs with sausage and then I added some hot salsa and then finished off this meal with half bun with butter and jelly. And of course, I also had my breakfast juice!


Anyone else eat fried mush? Or for you city folks, polenta?

Grilled Pork Loin / Stuffed Hot Dogs / ABT'S

The greatest bargain in meat today is the whole and half pork loins that are on sale about everywhere in the country. At the worst, they will run about $1.98 a pound and at the best, you can find them at about $1.47 a pound. These loins can be used for a gazillion different treats and are always pretty good regardless of how you prepare them. We purchase them when they are on sale and freeze them for future use. We usually have our Kroger store slice them and run then thru the cuber. It’s a free service at our store. We use them for breaded loin sandwiches, grilled loin sandwiches, stir fry treats, country fried pork loins, pork stew, to name a few. 

 photo DSC03940.jpg

My prep for this Cobb Grill cook was to just salt and pepper my cubed pork loin. For my dogs, I cut a slot in them and filled it with some cheese and then wrapped them in pre-cooked bacon. Went overboard on the stuffing for the  ABT’s and pulled and chopped up some pork rib meat, finely chopped up some onion, and added it to my cream cheese and then packed my Jalapeno pepper halves. I sprinkled on a good rub and then wrapped them with bacon. 

 photo DSC03941.jpg

Typical Indiana Winter morning with a temp of about 37 degrees, froggie, and some light misting rain...Cobb don’t mind that.

 photo DSC03942.jpg

Started the cook on the backside of my Grill Grates with the cubed pork loin. It took right at 4 minutes a side to get done. 

 photo DSC03943.jpg

Stuffed dogs up next and all I was really doing here was to heat them up enough for the cheese to melt. 

 photo DSC03944.jpg

I changed over to the standard grate and added the raised rack and did the ABT’s and they took the longest to get done. 

 photo DSC03945.jpg

 photo DSC03947.jpg

 photo DSC03946.jpg

Food just off of the grill.

 photo DSC03948.jpg

 photo DSC03949.jpg

 photo DSC03950.jpg


Placed my stuffed dog in a bun and added some mustard. I cut my cubed pork loin into two pieces and then put the half of it together in a slider bun with some sliced onion, lettuce, tomato, and some horsey sauce. Added one of the larger ABT’s and had a great simple meal.

Left-Over Holiday Beef

We make beef salad out of many left-over meats from the holidays. Have made it with roast beef, standing rib roast, English roast, chuck roasts, etc.. just about anything we don’t clean up in one meal. 

I just did this one a few minutes ago for our lunch and my left-over beef for this one was Prime Rib or a some would call it, standing rib roast. 

 photo DSC03925.jpg

Cut the meat up along with some onions and put it through the food processor.

 photo DSC03926.jpg

Next step was to mix in some sweet pickle relish, horseradish, and some Miracle Whip.

 photo DSC03927.jpg

There it is...a simple 10 minute prep job. 

 photo DSC03928.jpg

 photo DSC03929.jpg

I started with a couple of large pieces of dark rye bread. Slapped a piece of lettuce on it and then loaded it up with my Prime Rib Beef Salad. On the other slice of bread, I put a few slices of baby Swiss cheese, some tomatoes, and then squirted on some horsey sauce. 

 photo DSC03930.jpg

I then put my sandwich together and cut it in half for serving. 

 photo DSC03931.jpg

 photo DSC03932.jpg


Now, there is a real sandwich and it was as good or better than the Prime Rib meal it came from.