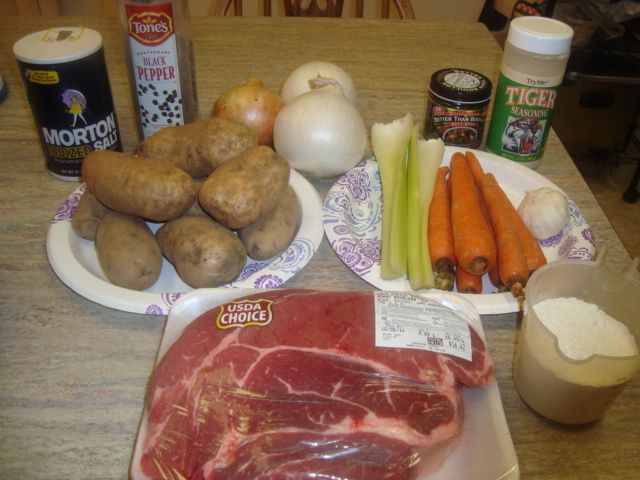
The cook consisted of the following meats.
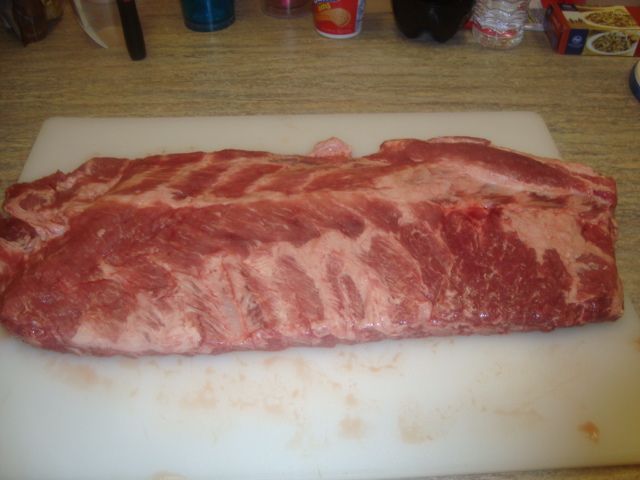
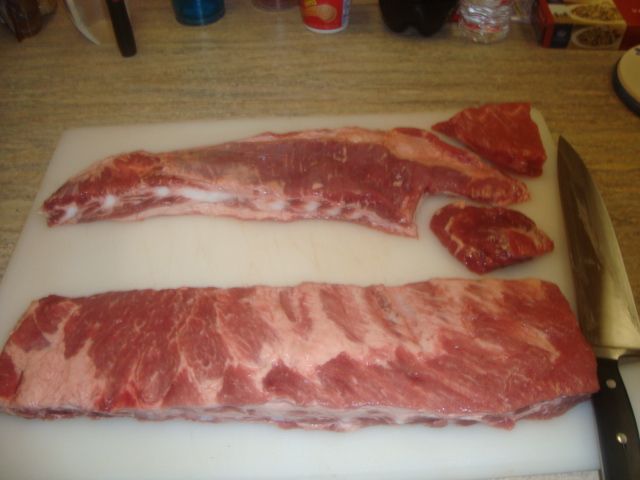
Slab of St Louis cut Spare Ribs
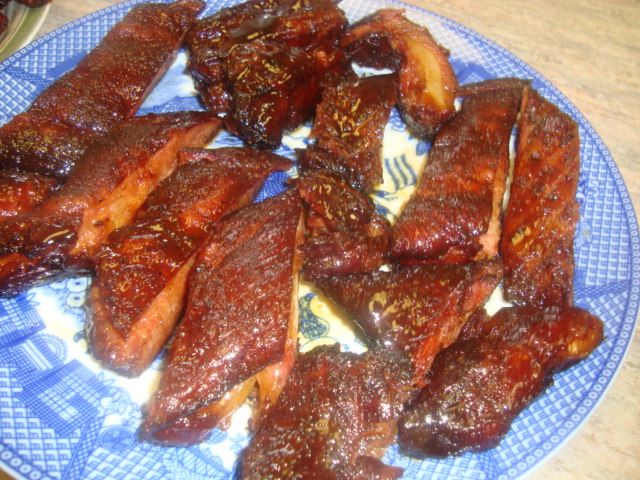
Rib Tips from the slab of spares
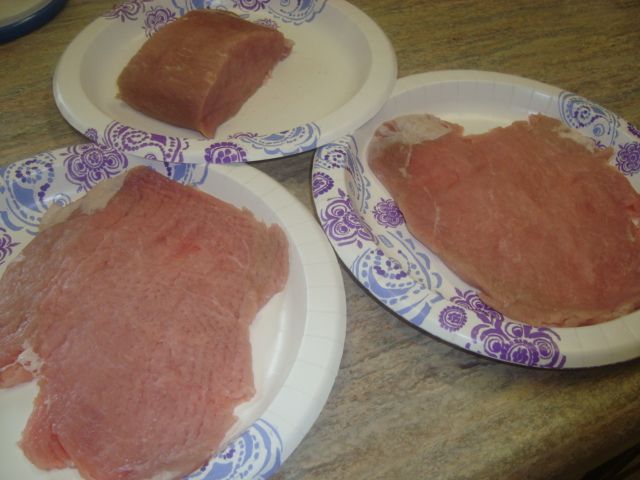
Three Pork Steaks
Two Chuck Steaks
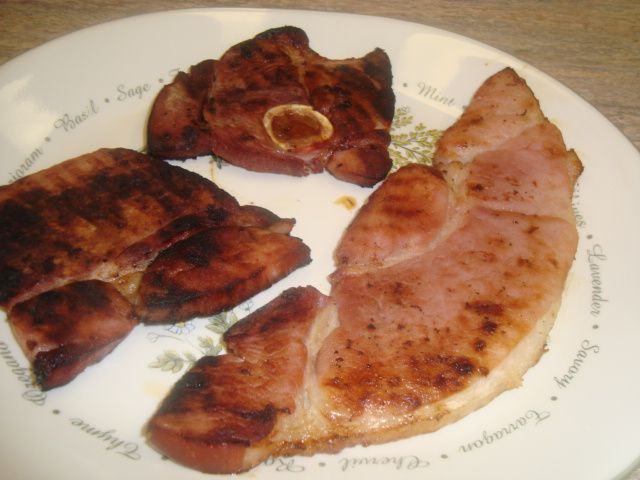
Ham Steak
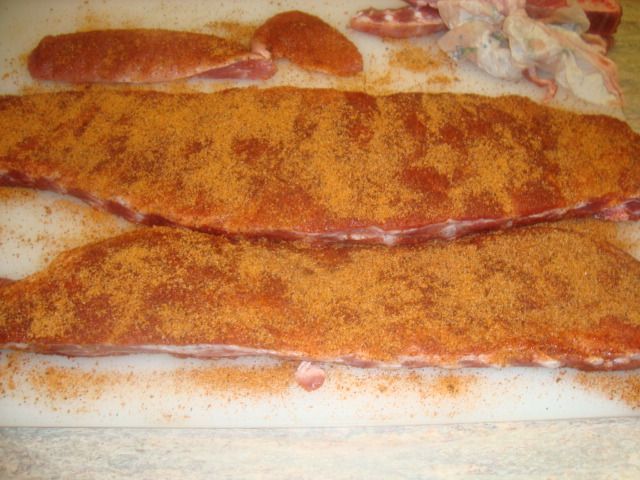
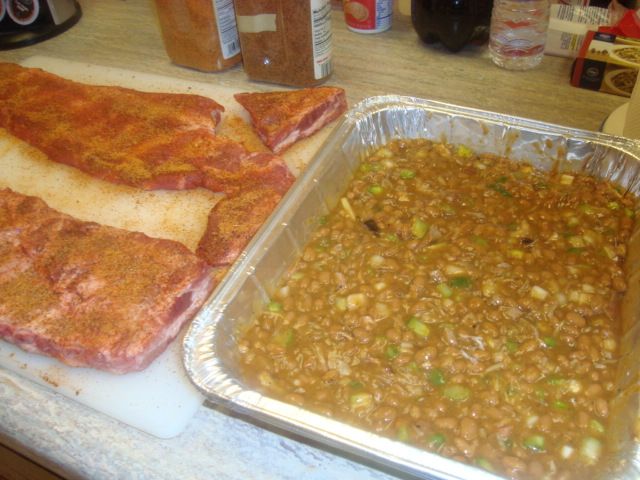
I prepped the meat by cutting the spare ribs up into a slab of St. Louis cut spare ribs and then I had the rib tips to cook as well. I applied a rub to both the tips and the spares.
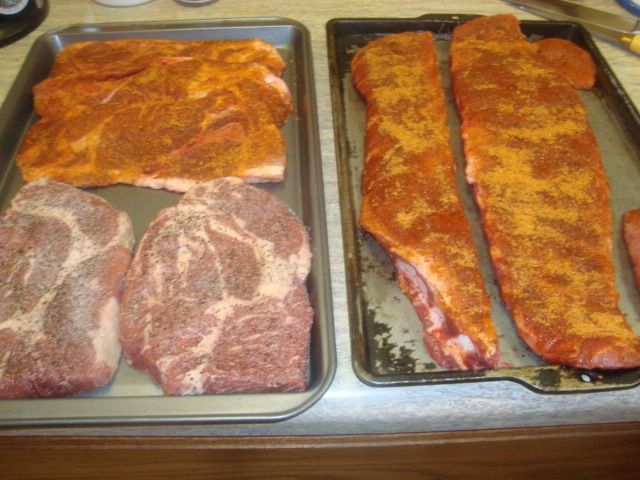
I prepped the pork steaks by just giving them a good rub.
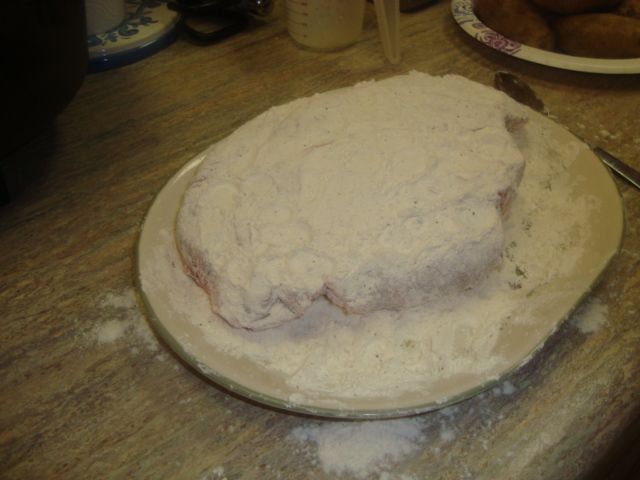
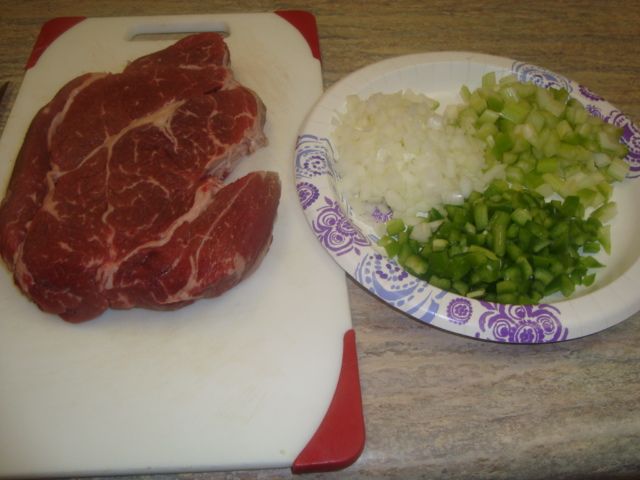
I prepped the chuck steaks by sprinkling on a medium coat of garlic salt and then a generous dose of black pepper.
I did nothing to prep the ham steak.
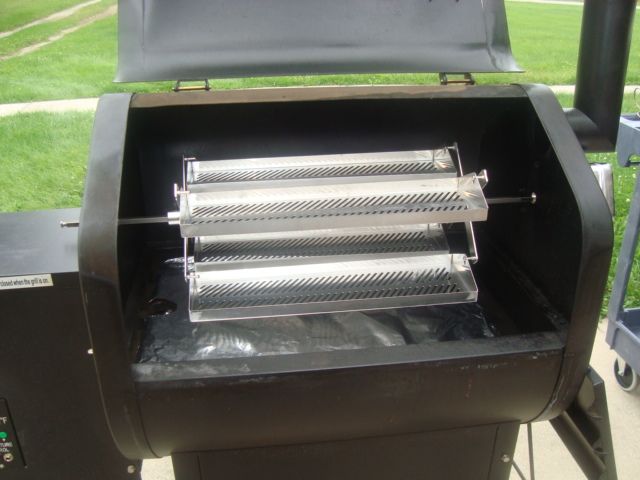
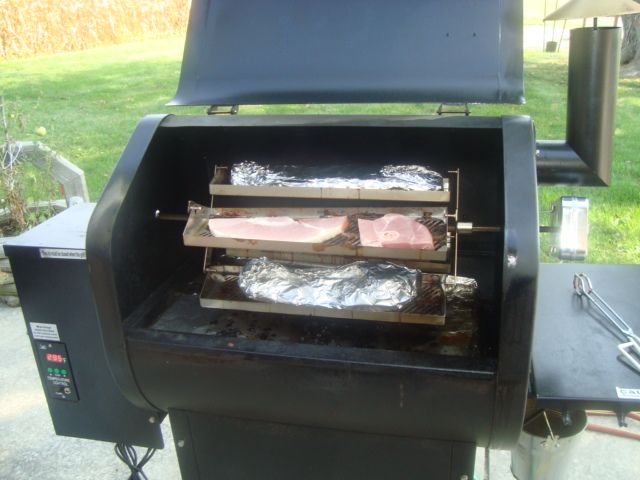
To keep this rotisserie in balance, I planned to load the ribs on one tray and then the tips on the tray opposite the ribs. Then I would load 2 of the pork steaks on one tray and the two chuck steaks on the last tray.
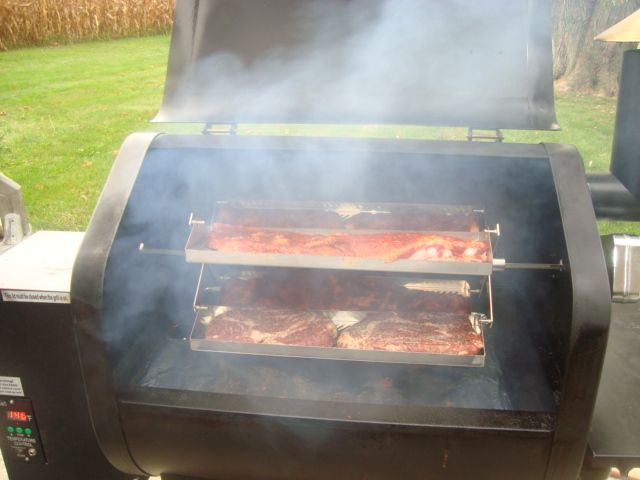
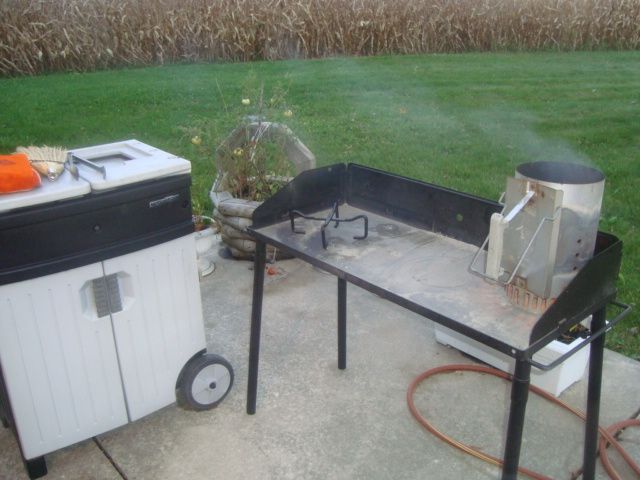
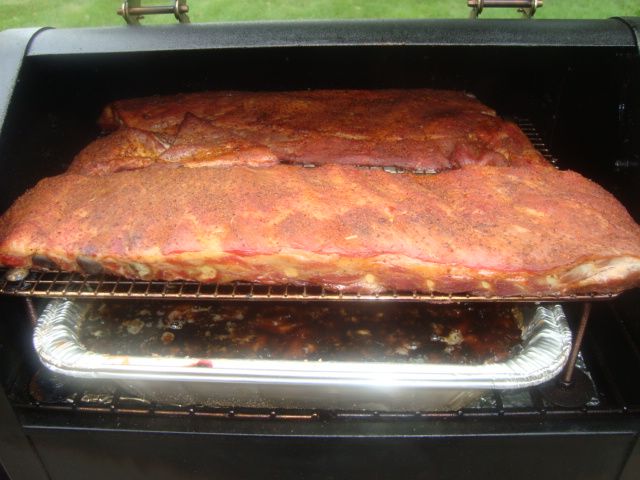
I was running hickory pellets and set the cooker at 150 degrees for the first hour to get some additional smoke into my product.
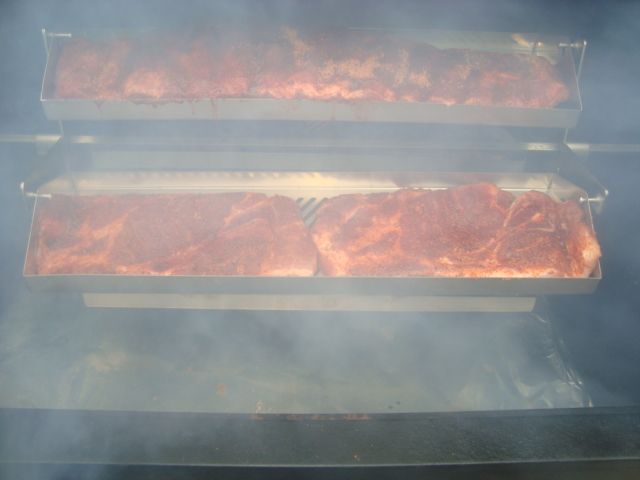
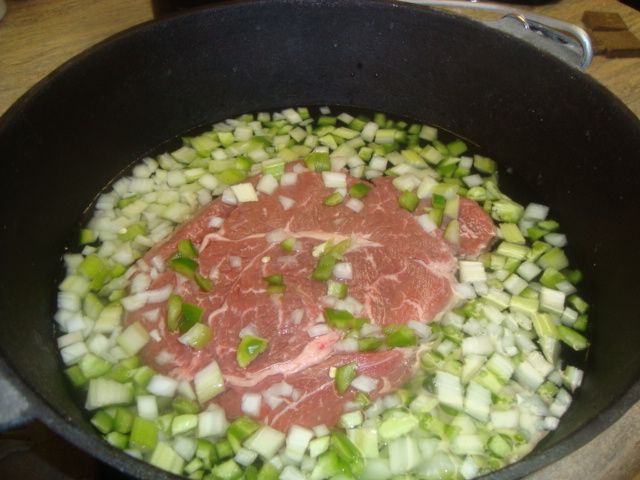
I got all but the ham steak loaded into the cooker and it did balance out quite well and was rotating just fine.
After one hour at 150 degrees, I raised the temperature up 300 degrees for the balance of the cook. I ran at this temp until my chuck steak and pork steak was done and my ribs were ready to wrap.
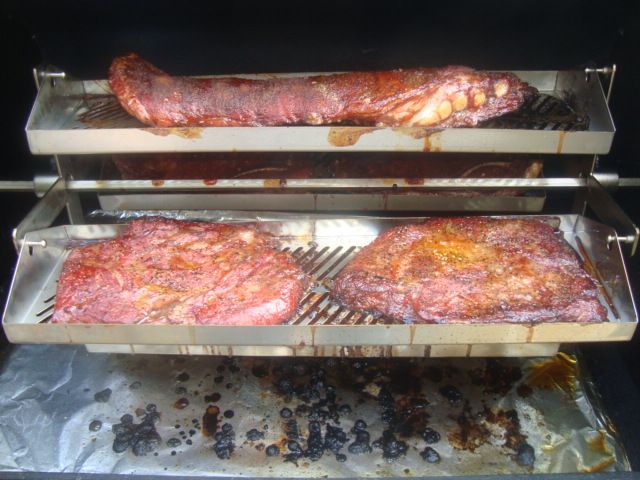
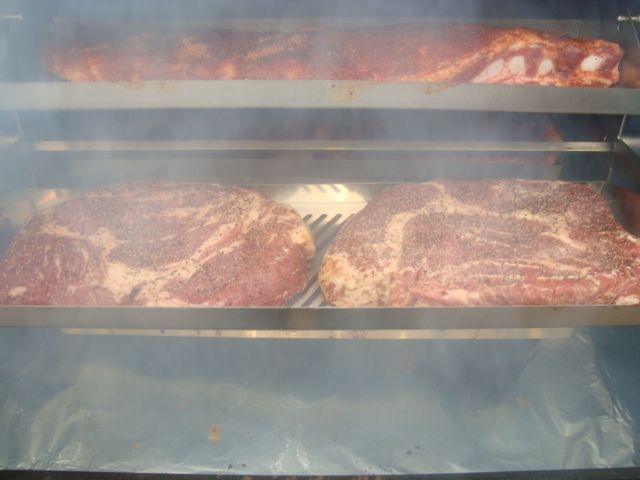
Rib Tips and Chuck Steaks
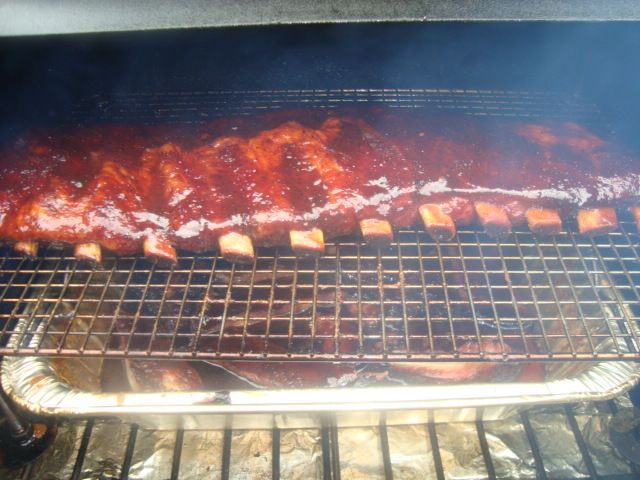
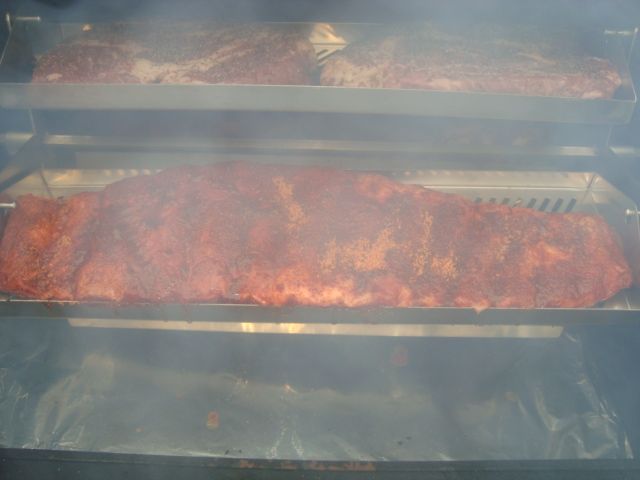
Ribs and Pork Steak
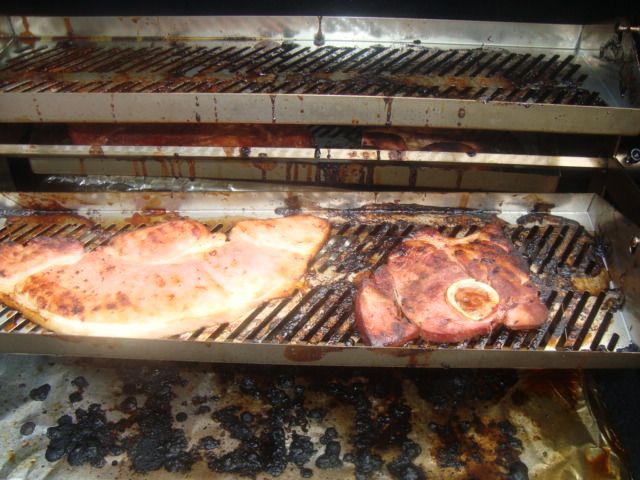
The food looked good at this point into the cook. I pulled the pork and chuck steaks and then wrapped the ribs and tips and placed them back on the cooker.
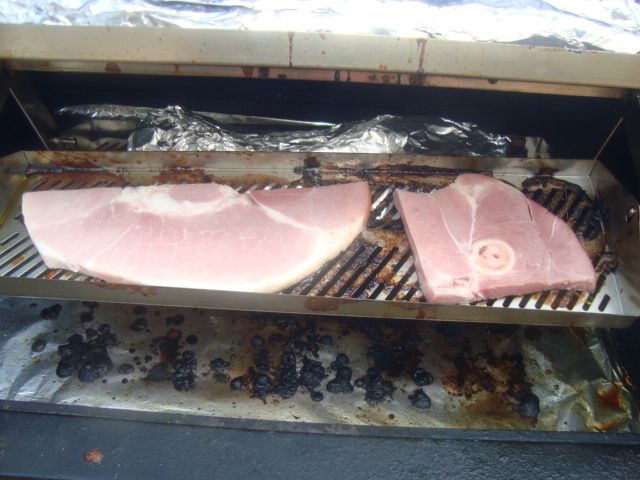
I had to cut up my ham steak as it was too wide for the trays and then I loaded it on one of the empty trays and then placed my last pork steak on the other tray.
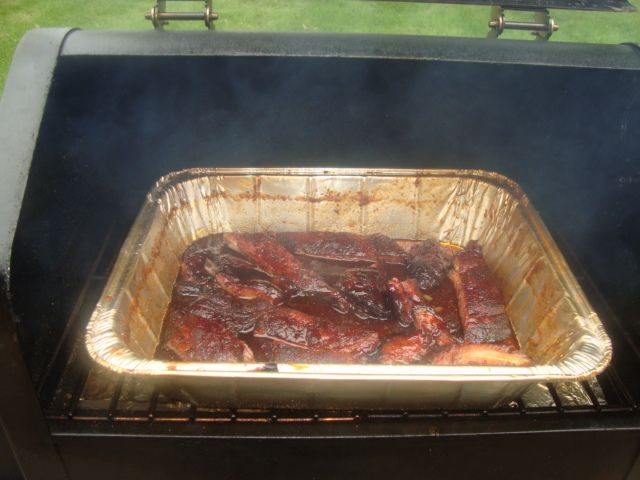
Cooked about an additional hour until my ham and last pork steak was done.
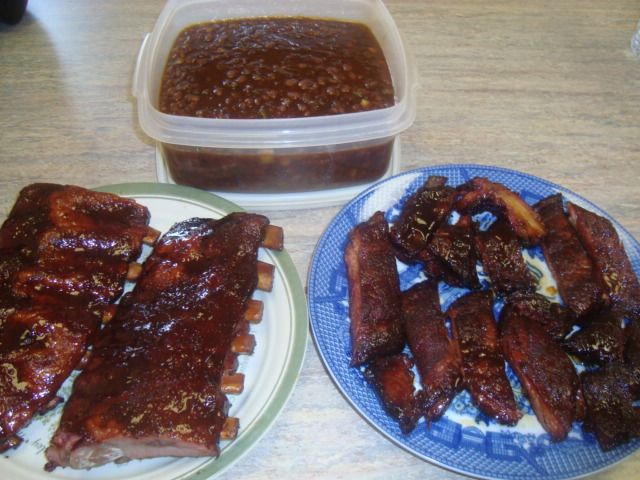
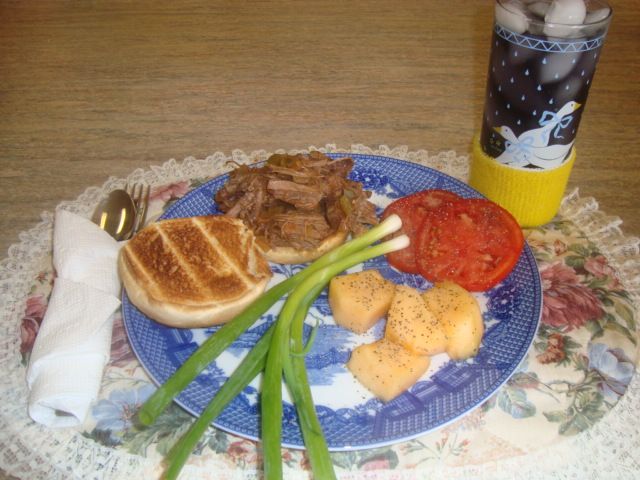
The cook came out quite well for a first cook with this rig.
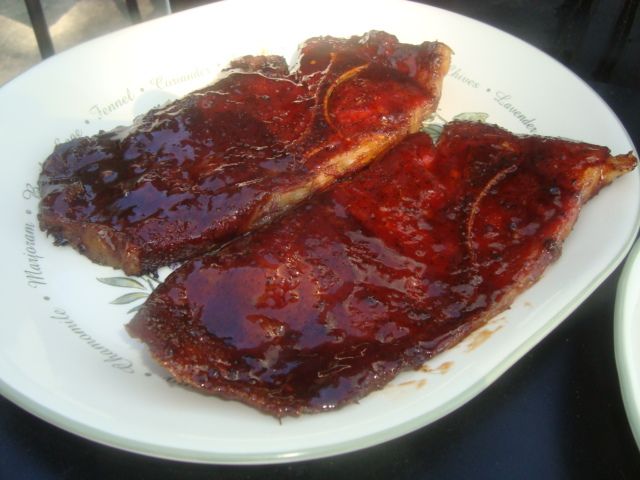
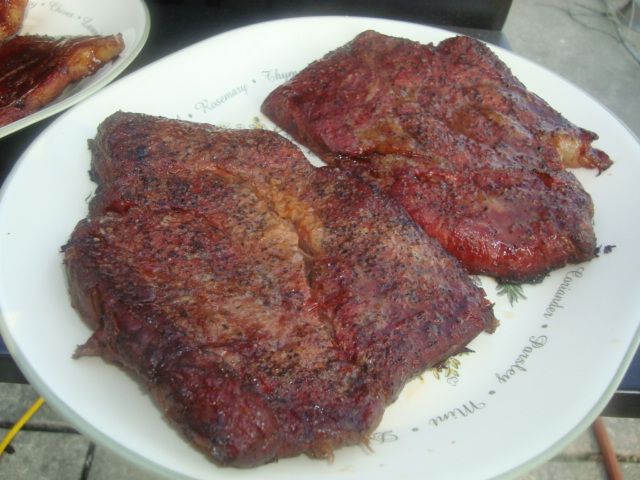
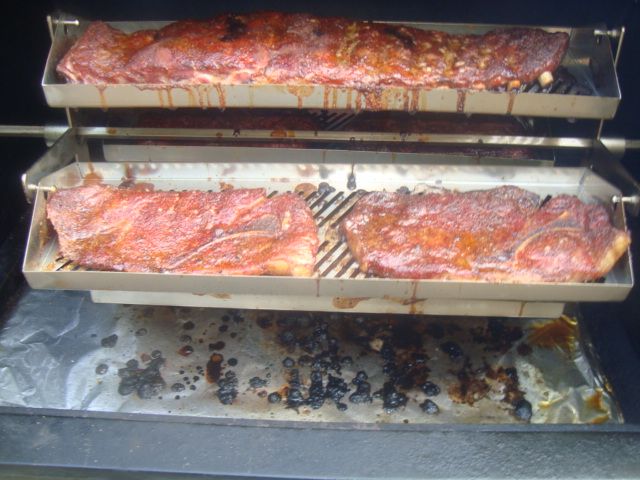
Pork Steak and Chuck Steak.
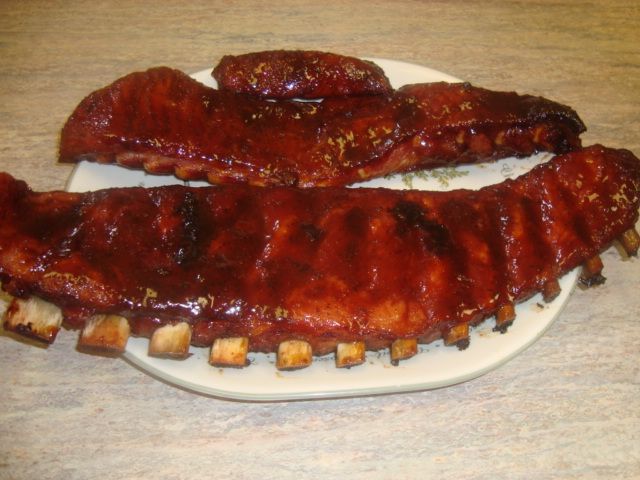
Ribs, Rib Tips, and Ham Steak
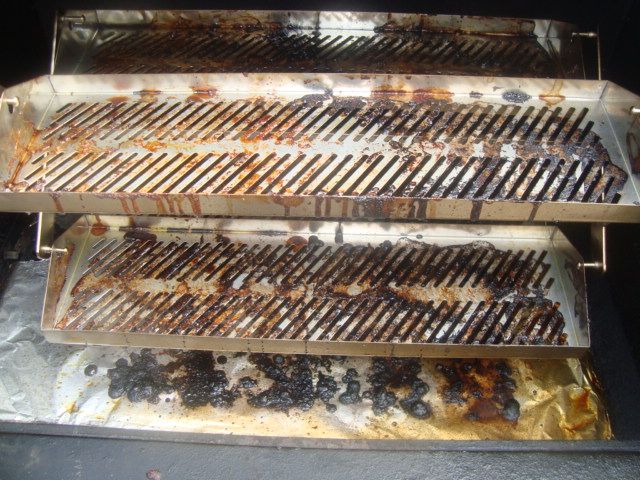
Not looking forward to the cleanup!!!
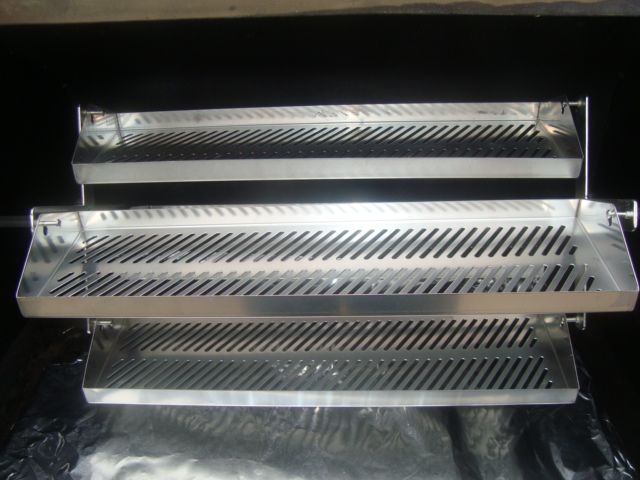
The Rib-O-Lator did a great job with the meats I tried on this first cook. Was very easy to keep in balance and will cook just fine even if it isn't in perfect balance. Looking forward to cooking a full load of ribs in this rotisserie setup.