Showing posts with label Rotisserie Cooker. Show all posts

Wednesday, May 2, 2018

First Rotisserie Cook on the Cobb Supreme

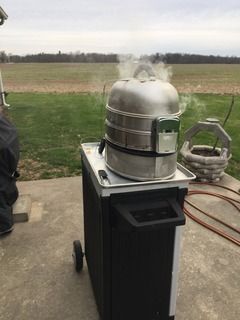
I “cobbed” together a rotisserie setup using my two new Cobb Proto-Type Dome Extensions and some rotisserie parts that I use for other cookers and did my first rotisserie cook consisting of a Beef Bottom Round Roast over a pan of Root Vegetables on my Cobb Supreme.

 photo IMG_1438.jpg

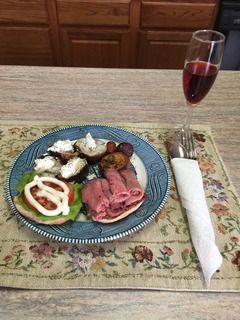
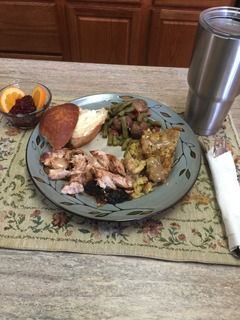
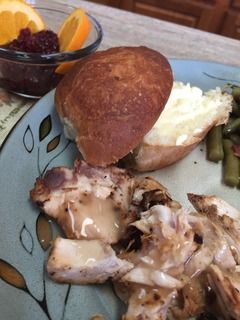
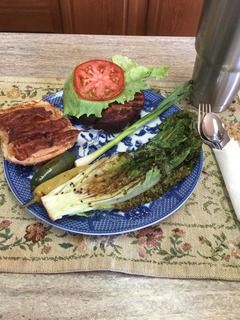
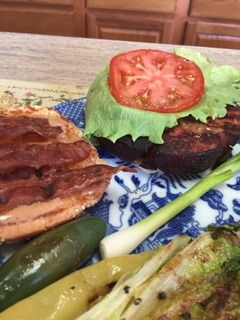
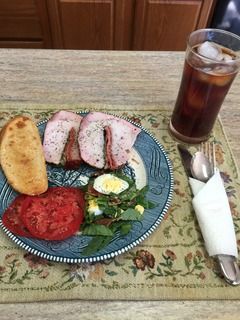
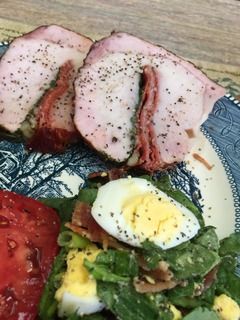
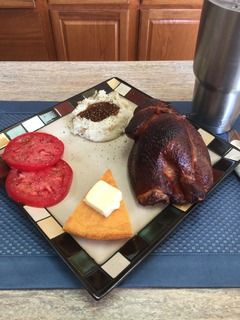
I made a roast beef sandwich with a generous amount of the bottom round roast beef, lettuce, tomato, and some horsey sauce on a bun. My sides were a few pieces of my baked new red potatoes, sweet potatoes, carrots, and some pearl onions. Added some sour cream to the potatoes.

 photo IMG_1425.jpg

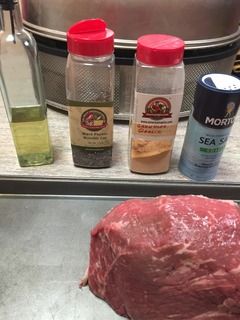
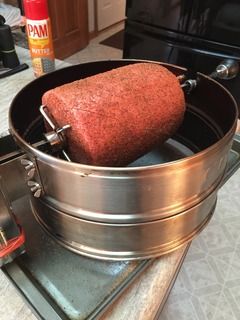
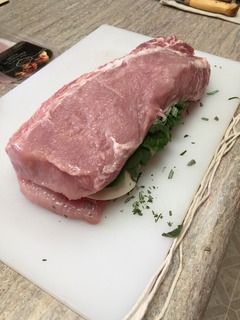
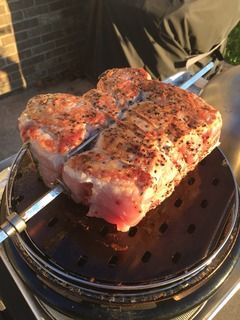
I prepped my 3.92 pound bottom round roast by trimming off most of the fat. Added a little olive oil for a sticker and then sprinkled on some SPG for my rub.

 photo IMG_1426.jpg

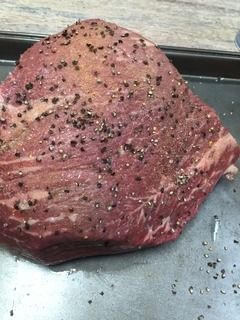
Ready to go on the rotisserie spit rod.

 photo IMG_1427.jpg

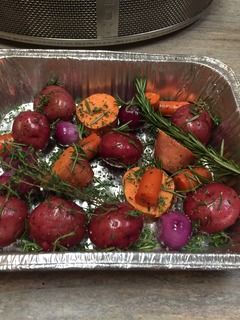
My root veggies were some new red potatoes, some sweet potatoes, carrots, and some pearl onions. I salted and peppered the veggies and added a little garlic, some fresh rosemary and thyme.

 photo IMG_1430.jpg

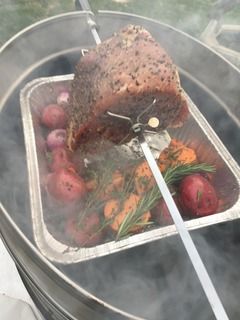
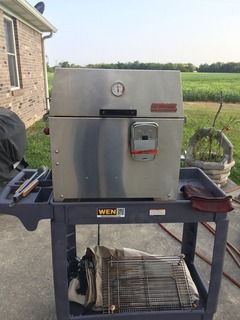
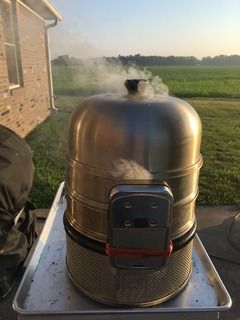
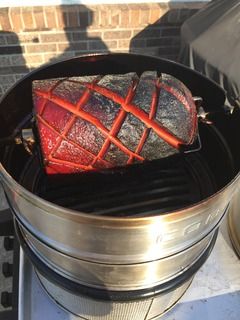
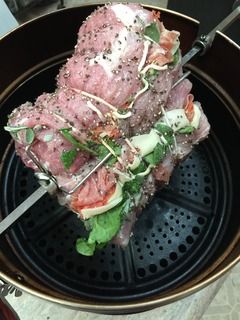
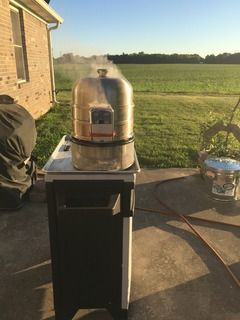
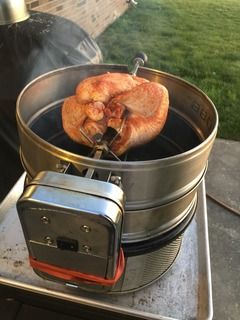
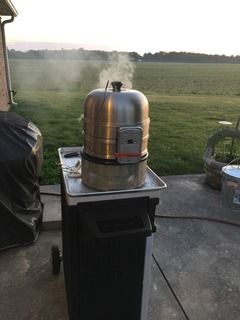
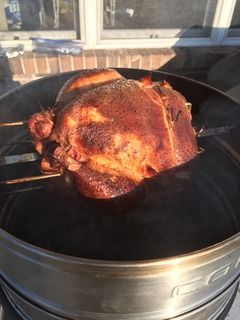
My cook just going on the Cobb Supreme with a rotisserie setup.

 photo IMG_1432.jpg

I used both of my proto-type dome grid extenders for this cook. Along with my heavy duty rotisserie setup, I have a nice cooker for all my rotisserie cooks.

 photo IMG_1435.jpg

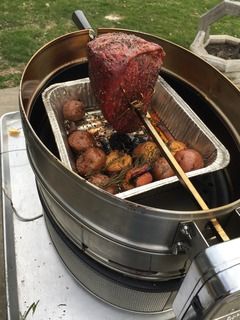
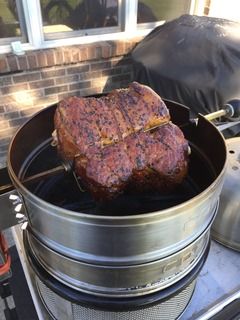
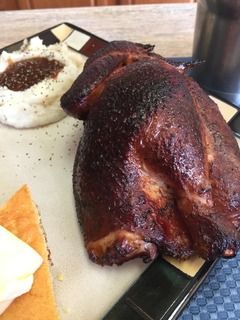
My cook is done and ready to be removed from the Cobb Supreme. It took a little under two hours and I took the meat off at 130F degrees internal.

 photo IMG_1436.jpg

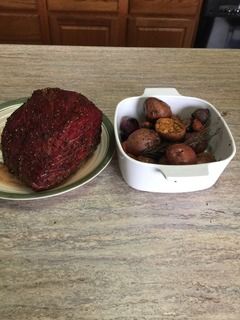
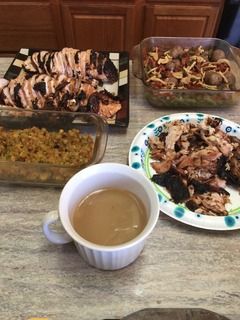
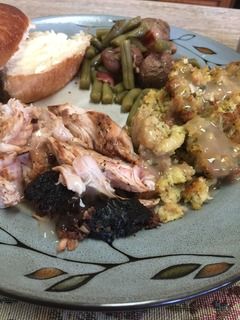
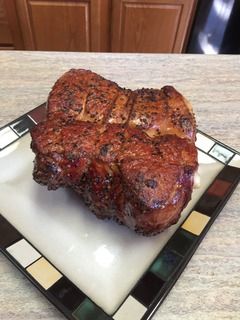
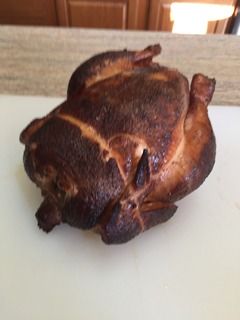
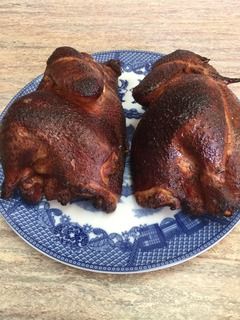
My roast beef and veggies just off of the cooker.

 photo IMG_1437.jpg

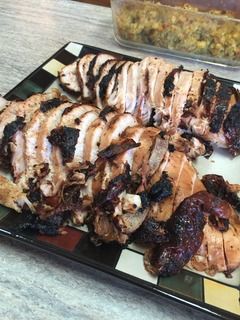
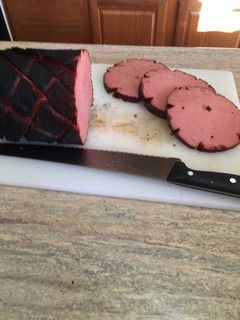
My roast beef just thru the slicer.

 photo IMG_1438.jpg

Made a nice lunch.

 photo IMG_1440.jpg

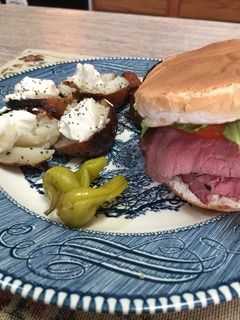
Love the potatoes fixed this way.


I think the first rotisserie cook on the Cobb Supreme came out quite well and will make for some additional tasty meals.  Beef Manhattan is up next.

Sunday, September 17, 2017

Turkey Breast on my Hasty-Bake Ranger Rotisserie

This was just my second cook on my new Hasty-Bake Ranger which is one of their two tailgate size cookers. The Ranger is the nicer of the two models and is all Stainless Steel and is one of the reasons that makes it a great little cooker / grill. 

 photo IMG_0860.jpg

Ok, I didn’t figure that there was any good way to install a rotisserie in this little cooker as there were handles on both sides, the charcoal door on the right side, and the exhaust vent on the left side which all were in the way of any type of good method of installing the rotisserie unit. I had about given up on this project and was cutting up a stainless steel rack to go in my charcoal pan to help prevent the small pieces of lump from falling thru and it “hit me up the side of the head”, why couldn’t a fellow install a rotisserie from front to back in the cooker? I measured it all up and by golly, I think I could do it! 

 photo IMG_0861.jpg

Had to order a couple of items but I got it all setup and then cut down a new rack or cooking grid to fit on the remaining space on the cooker and was ready to try it out. I needed the grid to be able to both use the rotisserie and the grid at the same time. Really made a nice modification to this grill. 

 photo IMG_0866.jpg

Beautiful cool morning for the cook and I got it started early in the morning. 

 photo IMG_0869.jpg

The turkey just before it came off of the rotisserie and it came out a little darker than I expected so I will need to lower the temperature a little on the next cook but overall, I was well pleased with this part of the cook. The skin was perfect! 

 photo IMG_0870.jpg

Pulled the turkey breast and the rotisserie setup and put the cooker back together and then added my raised second grate and put my sides on the cooker. I had a pan of new potatoes with green beans, onions, and bacon, a pan of cornbread stuffing, a bowl of gravy, and on my raised grate, a pan of yeast rolls. 

 photo IMG_0872.jpg

Didn’t take very long to get the sides done as they just needed heated up to a safe temperature. 

 photo IMG_0873.jpg

 photo IMG_0874.jpg

 photo IMG_0875.jpg

The results of my cook. 

 photo IMG_0876.jpg

 photo IMG_0877.jpg

 photo IMG_0878.jpg

It all came out great and the rotisserie mod worked out well. 


I think I know where my Thanksgiving meal will be cooked this year.

Sunday, July 9, 2017

Smoked and Fried Bologna and Salad

I did this two phase cook on my Cobb Grill and it came out quite well. My plan was to start off with a lower temp and heavy smoke cook on the rotisserie with my big chub of all beef bologna and then to convert the cooker over to high temperature frying for the second phase of this cook. 

 photo IMG_0586.jpg

I prepped my five pound bologna chub by cutting some slots around the outside of the meat. I then mounted the meat into my rotisserie setup and sprayed it down with some butter spray for a sticker, then sprinkled on a good spicy beef rub and it is ready for the fire.

 photo IMG_0587.jpg

This treat is a two phase cook and I like to just use a heavy hickory smoke for the first phase of the cook. I used the standard charcoal basket with 13 all hardwood briquets and two chunks of hickory on top for my smoke. I also added more smoke wood a second time during this part of the cook.

 photo IMG_0590.jpg

This was the start of the cook and you can see the smoke coming out of the Cobb cooker. I also used the Cobb BBQ Kit cooking grid under my rotisserie setup. This will allow some of the drippings from the meat to go down on the fire for some additional flavor. 

 photo IMG_0593.jpg

This part of the cook took about 90 minutes and the meat has now been smoked and is ready to come off of the cooker. 

At this point, I took the rotisserie off of the cooker, replaced the charcoal basket with the larger one with 18 hot briquets, added my grill grates with the smooth side up, and got ready to finish my cook. 

 photo IMG_0613.jpg

 photo IMG_0614.jpg

I took a head of romaine lettuce and cut it in half. Next step was to drizzle on some olive oil, some sea salt, some fresh cracked black pepper, and some garlic powder. I then just fried it up a little on my very hot cooking grid. Maybe two minutes a side and when it comes off of the cooker, I sprinkle on some parmesan cheese and then dribble on some poppyseed dressing and this makes a fine fried salad. 

 photo IMG_0612.jpg

I like to grill my sandwich buns so they were the next item on the grill. 

 photo IMG_0615.jpg

I like to cook my bacon first so I can then cook the bologna in the bacon grease.

 photo IMG_0595.jpg

I usually cut the meat pretty thick for my sandwiches. Next step is to fry this smoked meat on the Cobb Grill in the remaining bacon fat. 

 photo IMG_0617.jpg

I have a very hot grill and the bologna only takes about 2-3 minutes a side to get done. I actually like it charred up a little for the best flavor. 

 photo IMG_0619.jpg

 photo IMG_0621.jpg


I spread a sweet sauce (my veggie dipping sauce) on both sides of the bun, add a slice of lettuce, a slice of tomato, then the bacon and my fried bologna and that is one of my favorite sandwiches. And with the addition of the fried romaine lettuce, makes a great meal. 

Monday, June 26, 2017

Stuffed Pork Loin Cobb Grill

I did this stuffed pork loin on my Cobb grill using the rotisserie and it came out quite well. 

 photo IMG_0529.jpg

My pork loin was butterflied and trimmed up a little and then I added a couple of layers of the following: Prosciutto, sandwich cut pepperoni, provolone cheese, and baby spinach. I then cut up some fresh sage, fresh thyme, and some fresh rosemary and just took a small hand full and added it to my treat.

 photo IMG_0530.jpg

Next step was to fold it over and tie it with some string to hold it together. It was about two inches too long for my rotisserie setup so I cut it into two pieces and again used some string to hold it together.

 photo IMG_0531.jpg

I put it all together on the kitchen countertop to see if it would work and then sprinkled on some garlic salt and some fresh cracked black pepper. Next step was to sear my pork loin treat.

 photo IMG_0532.jpg

I started the fire and after it was hot, placed my Grill Grates on the cooker smooth side up and gave it about 10 minutes to warm up and I just seared the two flat sides of the meat for about 5 minutes each while it was on my spit rod.

 photo IMG_0535.jpg

Added a big pack of Hickory smoke chips to the fire and put the rotisserie setup together and turned it loose running the cook as hot as I could with my 13 hardwood briquets.

 photo IMG_0538.jpg

The cook took about two hours and 15 minutes to complete. I started with 13 all hardwood briquets and then added 5 more about 70 minutes into the cook.

 photo IMG_0539.jpg

This is the stuffed whole half loin just off of my Cobb rotisserie and cooling down for slicing.

 photo IMG_0543.jpg

I served the stuffed pork loin with a wilted spinach salad, sliced tomatoes, and some garlic bread.

 photo IMG_0544.jpg


Made a fine lunch.

Rotisserie Chicken Cobb Grill

This cook was done on the Cobb Grill and was a small fryer chicken that weighed only four pounds so it was a small chicken. I didn’t do a thing to it other than apply a rub and just put it on the grill and get it spinning.

 photo IMG_0511.jpg

The start of the cook.

 photo IMG_0515.jpg

I used heavy smoke for the first 15 minutes with some JD Oak Chips. 

 photo IMG_0517.jpg

At about the 45 minutes mark into the cook, I started mopping the chicken every 10 minutes with the Roadside Chicken Sauce which is a great marinade, sauce, dip, mop, glaze etc..and works great on any poultry. 

 photo IMG_0519.jpg

Just off of the Cobb and cooling.

 photo IMG_0521.jpg

Chicken was about too small to cut up so I just halved it for our meal. 

 photo IMG_0524.jpg

 photo IMG_0525.jpg


Add some pots and gravy, some sliced tomatoes, a wedge of cornbread and had a great meal.