Saturday, May 24, 2014

A Tailgaters Dream

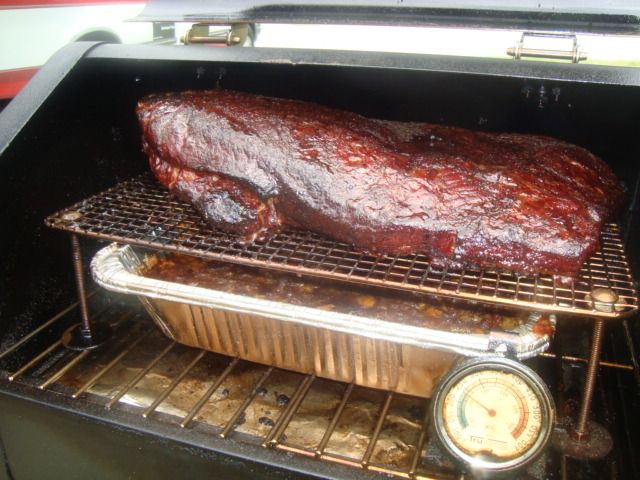
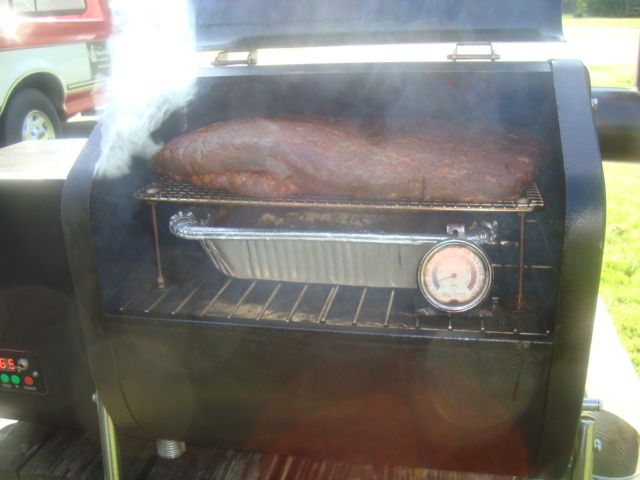
Another cook on my little Davy Crockett Tailgater pellet grill...trimmed up a beef brisket, gave it a good rub, and then placed it over an open pan of Rick Salmons Pit Beans in the cooker. Those brisket drippings should really help season up my beans. 

 photo DSC02336.jpg

Set the cooker on smoke for the first couple of hours and then turned it up to 265 degrees to finish the cook. 

 photo DSC02335.jpg

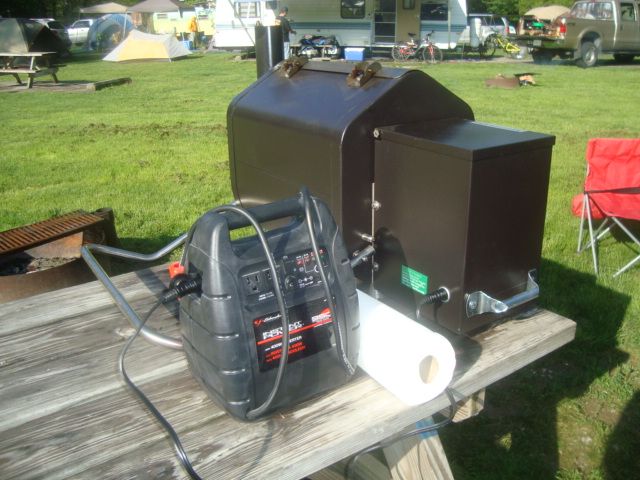
For power, I used a jump starter for this 8 hour cook.

 photo DSC02338.jpg

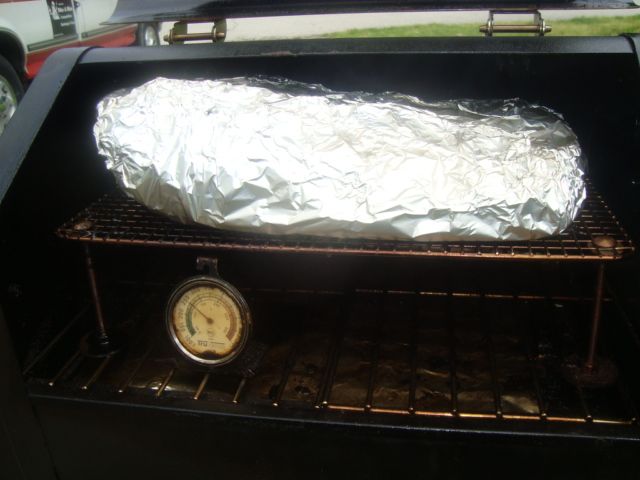
The brisket was looking good just before I put it into the foil along with some other goodies. 

 photo DSC02339.jpg

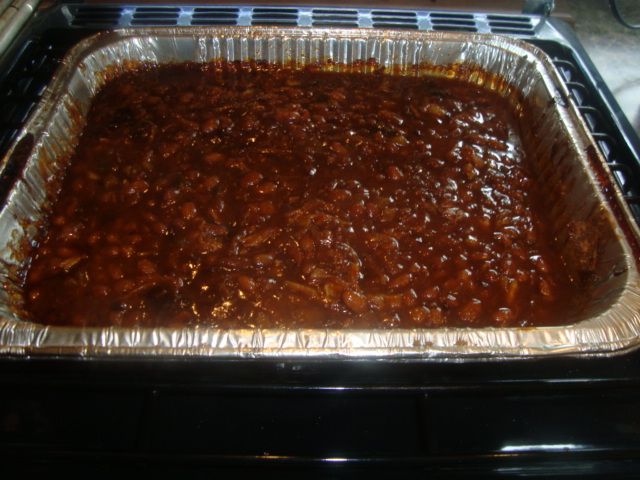
I pulled the beans after about 5-1/2 hours into the cook. Man, what a taste delight!!

 photo DSC02340.jpg

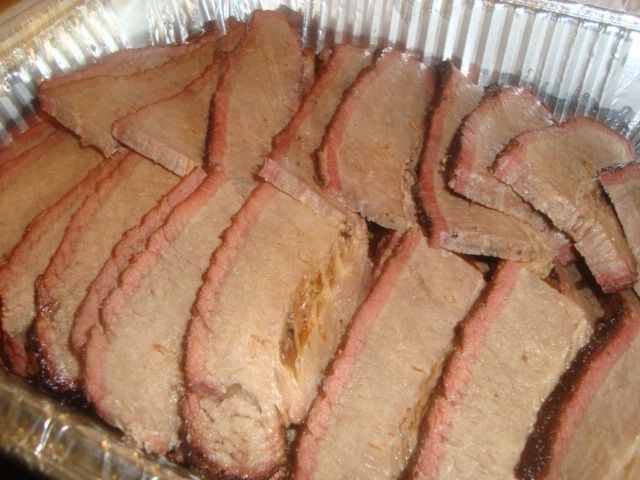
The brisket took about 2 more hours to finish and then I sliced it up for my event.

 photo DSC02341.jpg

I dribbled a little of the au jus from out of my foil over the meat just before I served it and it did come out very good.

I sure am enjoying this fine little pellet cooker and it is just a joy to use.


Morel Mushrooms & What's Coming

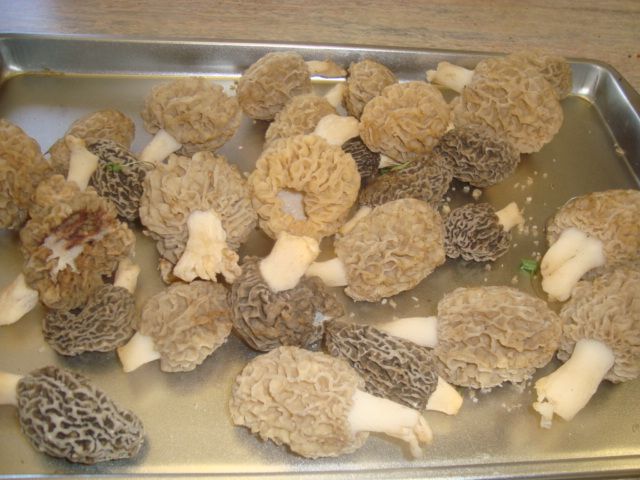
My good neighbor showed up a few days ago with some Spring treats fresh out of the woods.
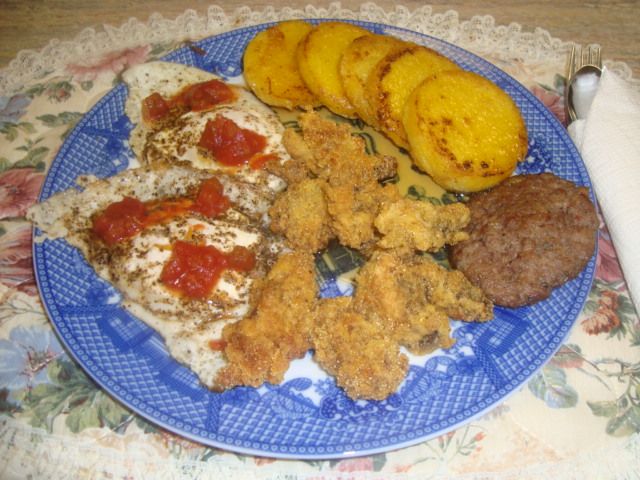
 photo DSC02328.jpg

This is the way we like to eat these wonderful treats down on the farm. 

The mushrooms are cleaned, sliced, and placed in a salt water filled bowl and then go into the fridge overnight. Next morning, we rinse them off and pat them dry with paper towels. They are dipped in an egg wash and then rolled in a mix of corn meal, flour, and spices. The next step is to fry them in butter until done. 

I slice the corn meal mush into 1/2 to 3/4” slices and then add some salt and pepper. I fry these slices in bacon fat until slightly crispy on the outside. I then pour on some real Ohio made maple syrup over the top of the slices.

I like my eggs cooked over easy and then I compliment them with some hot salsa. 

The patty is just some simple breakfast sausage. 
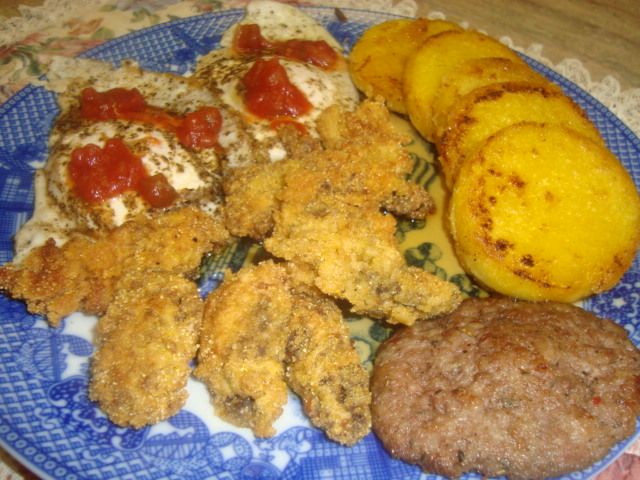
 photo DSC02330.jpg

Now that’s some good stuff!!


WHAT'S COMING?

My kids gave me some new Black Iron cooking gear for my birthday so I plan to do some camp style Dutch oven cooking in the next few months. 
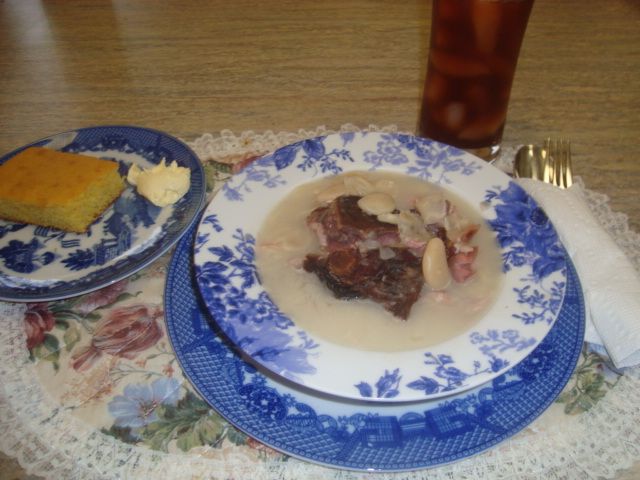
 photo DSC02241.jpg

 photo DSC02242.jpg

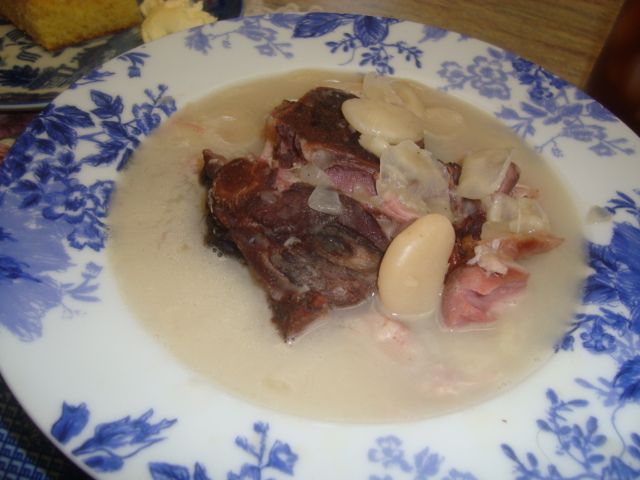
An example of one of my cooks...smoked pork ham shanks in a pot of those big lima beans as prepared in a camp style Dutch oven along with some cornbread baked in a black iron skillet...more coming

I also purchased a Blackstone Pizza Oven and will be using it in the next few months
Sriracha & Bacon Smoked Onion Rings Plus
I saw this recipe at a couple of places on the web and decided to give it a try as it sure sounds good to this old chili-head. I also wanted to work the dogs and this is where I started with this adventure. It would seem that the conditions are about right for mushrooms except for the cooler temps this Spring and I sure was looking forward to a taste of this great treat. Would make for a fine dessert to compliment my Sriracha onion rings if we could find some of these morsels.

 photo DSC02322.jpg

Was a cooler morning and the dogs were ready to go....only took a few minutes in the woods and Herman started barking and I knew he was locked on to a patch of these mushrooms. Anyway, worked the dogs for about 50 more minutes and found enough of the grey and yellow mushrooms for a couple of meals. It is still a little early for this treat in my area and the ground is not quite moist enough for good growth. 

 photo DSC02320.jpg

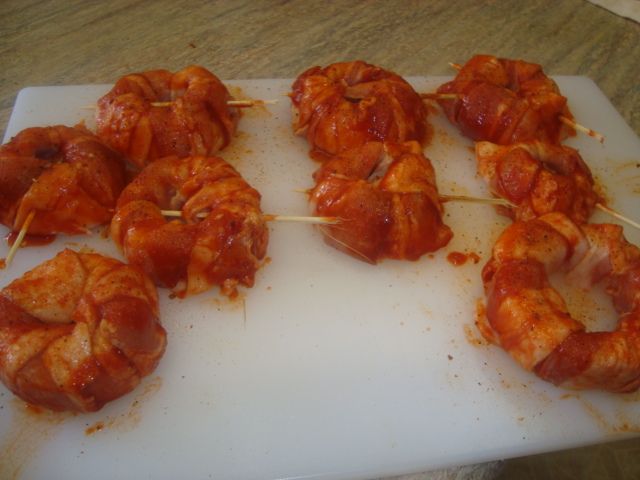
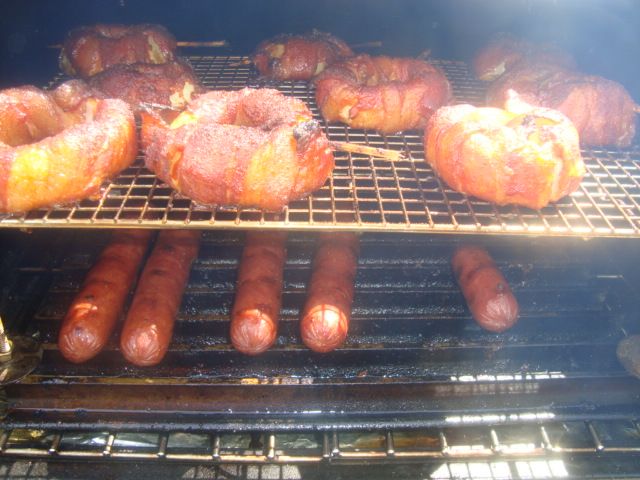
I cut the onions into slices about an inch thick. Next step was to push out the middle sections until I had a nice sized ring remaining. I then brushed on a generous coat of Sriracha Chili Sauce and wrapped each ring with two slices of bacon. I applied another coat of the Sriracha Sauce and then sprinkled on my favorite rub and they were ready for the fire. 

 photo DSC02323.jpg

I placed the prepped onion rings on a raised grid in the Davy Crockett pellet grill and set the temp to 285 degrees. I didn’t have any meat thawed out so I used some of those big Kroger Smoked Sausage Dogs to go along with this treat.

While this was cooking, I made up my dipping sauce for the rings.

1/2 cup Sriracha Chili Sauce
2 TBL Mayo
1 tsp Lime Juice
Generous amount of fresh cracked black pepper


 photo DSC02324.jpg

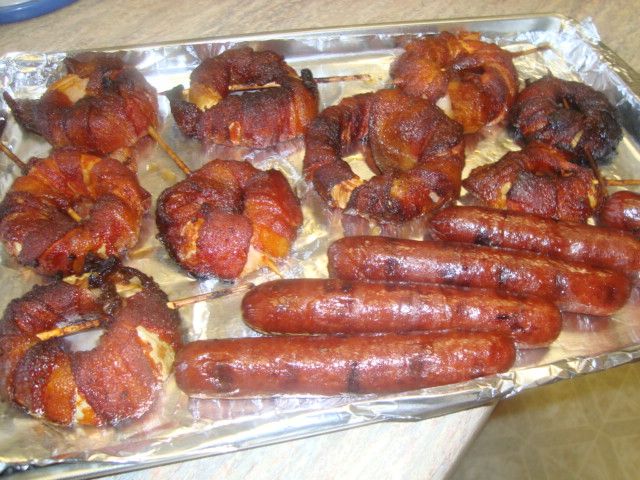
After about 90 minutes, I took the rings and dogs off the cooker and they looked good. 

 photo DSC02326.jpg

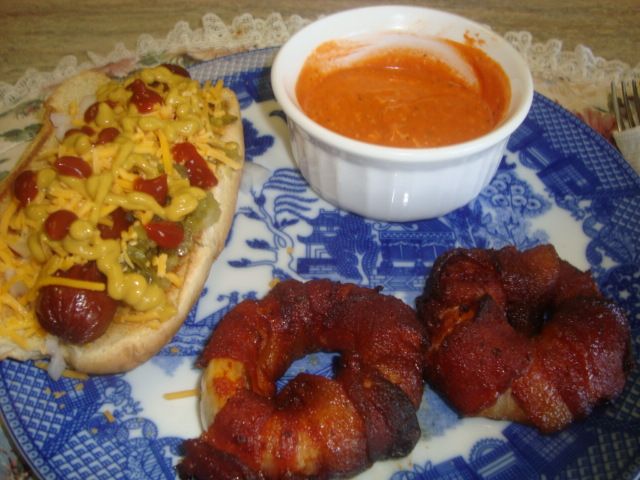
I grilled the bun and added the dog and then topped it off with some chopped onions, sweet pickle relish, shredded cheddar cheese, and a little mustard and catsup and it was ready to eat.

My dog was great but the Sriracha rings weren’t very good at all. I didn’t like the flavor of this combination although I do love the Sriracha sauce. I didn’t like the dipping sauce either. It just didn’t work for me and my taste buds!

Would have been a total loss if it wasn’t for my dessert. 


 photo DSC02327.jpg

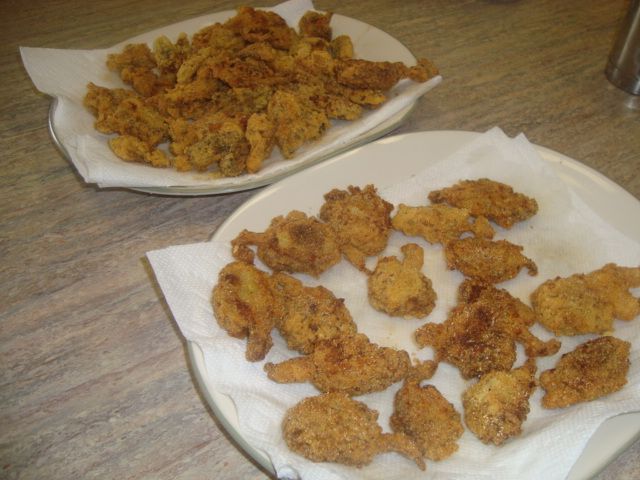
A plate of fresh breaded and fried morel mushrooms as a dessert is a great way to finish any meal.

Spare Ribs in the Davy Crockett

This St. Louis spare rib cook was done to help determine the capacity and method of cooking in my little tailgate cooker.


 photo DSC02298.jpg

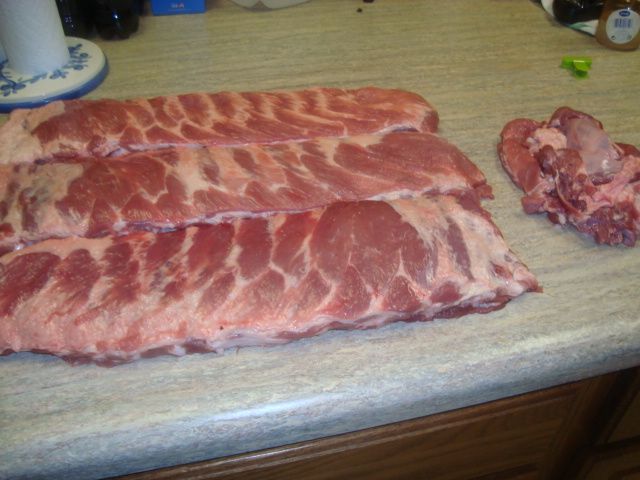
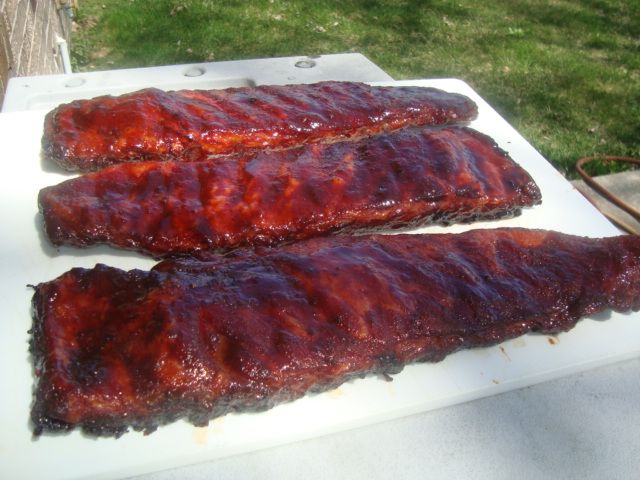
I started with 3 slabs of St. Louis cut spare ribs that still needed some clean up and trim work before placing on the grill.

 photo DSC02299.jpg

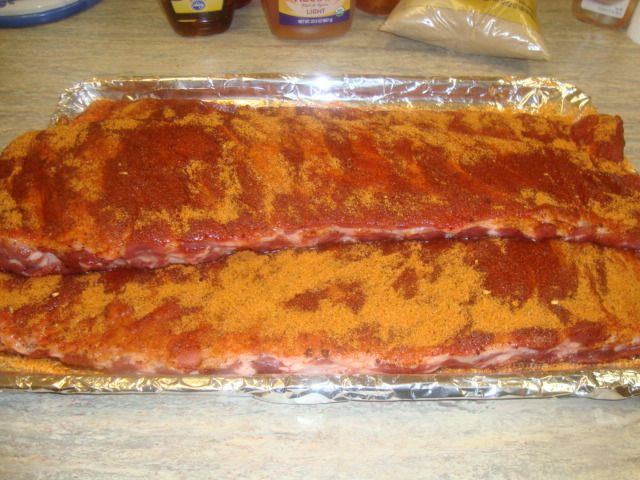
After the trim job, I gave them a generous coat of my favorite rib rub and then let them come to the sweat stage before placing them on the cooker. 

 photo DSC02297.jpg

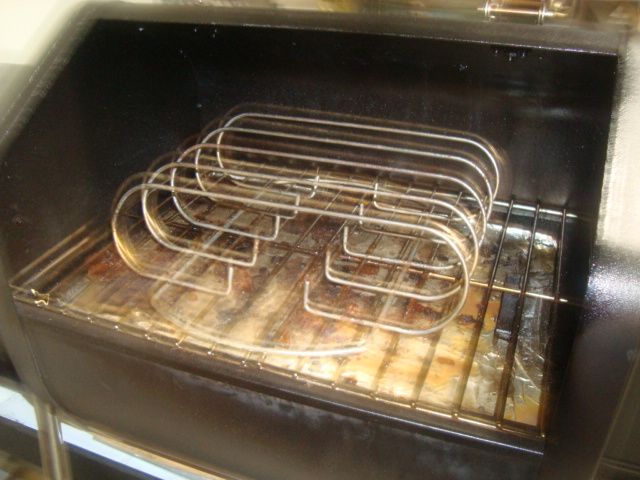
I rolled the Davy Crockett tailgater around to my cooking patio and added my Weber rib rack to the cooker and then brought it up to my smoking  temp of about 160 degrees. 

 photo DSC02302.jpg

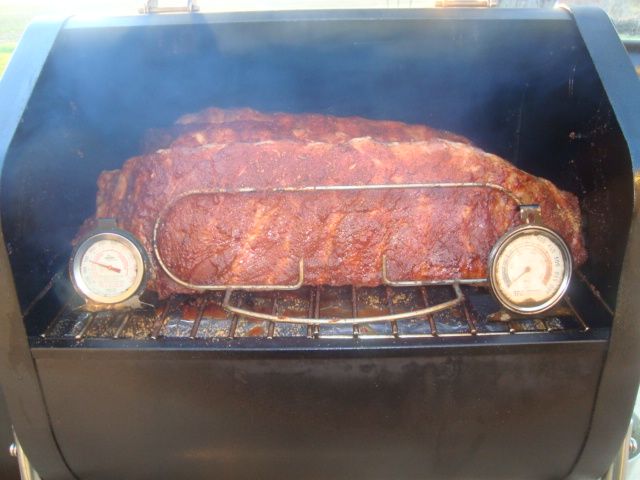
I added the 3 whole slabs of spare ribs and smoked them pretty heavy for the first hour. After the first hour, I raised the temp up to 270 degrees for the balance of the cook. I cooked the spares for an additional 3 hours which was a total of 4 hours and never moved or touched them. I then wrapped the ribs in foil. 

 photo DSC02304.jpg

 photo DSC02305.jpg

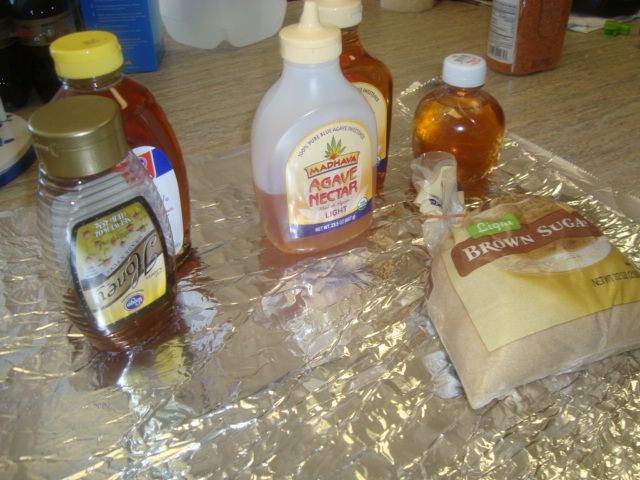
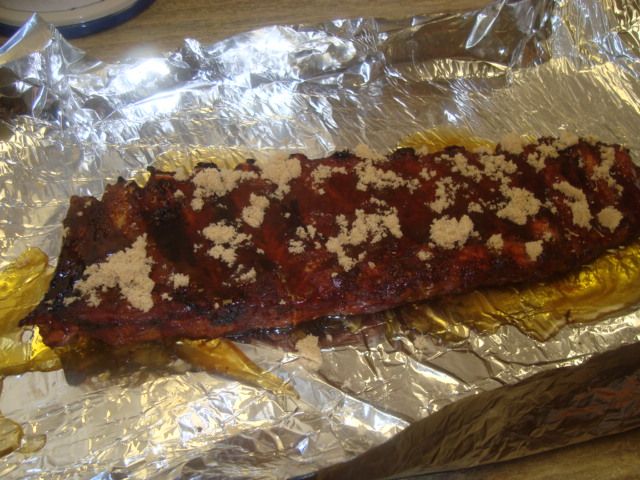
I used some apple juice, Agave syrup, honey, and brown sugar inside my foil packets. 

 photo DSC02306.jpg

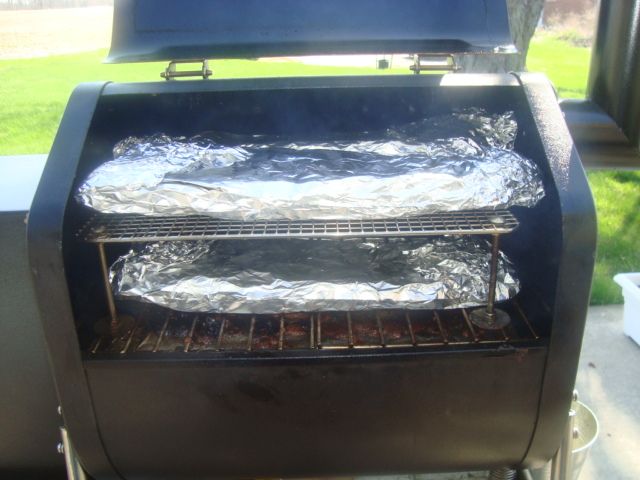
The foiled spare ribs went back into the cooker and they were cooked an additional 75 minutes.

While the ribs were finishing up in the foil, I made up my favorite ribs sauce consisting of   three of the Blues Hog products along with some real maple syrup and honey.

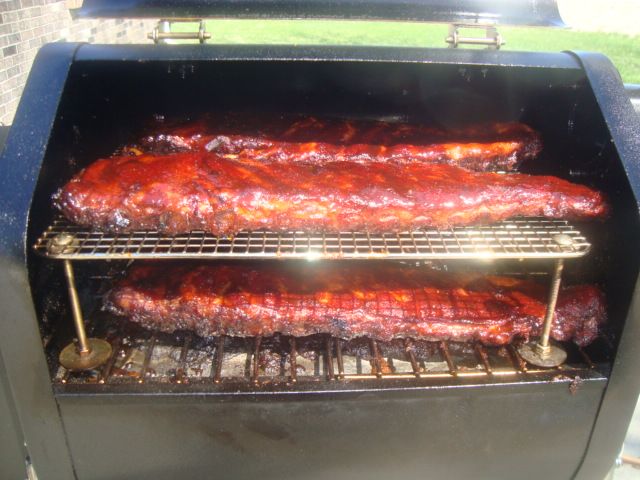
I then unwrapped the ribs and applied a heavy coat of my sauce and placed them back into the cooker for my glaze. 


 photo DSC02309.jpg

At this point, I took the rib rack out of the cooker and added my raised grid for the glaze to these 3 slabs but if I had cooked the full 5 slabs, I would have had to used the rib rack for the glaze. 

 photo DSC02311.jpg

I let the ribs glaze for about 25 minutes and then removed them from the cooker. Really looked great and had a wonderful color. The total cooking time was a little under 5-1/2 hours. 

 photo DSC02317.jpg

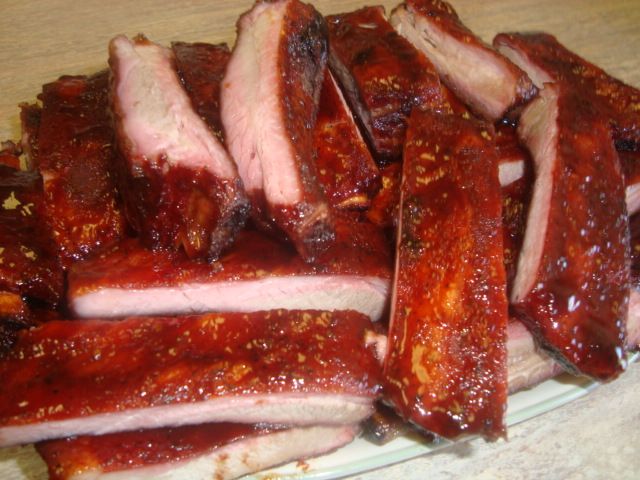
Cut the 3 slabs into individual pieces and then plated them for serving.

 photo DSC02319.jpg

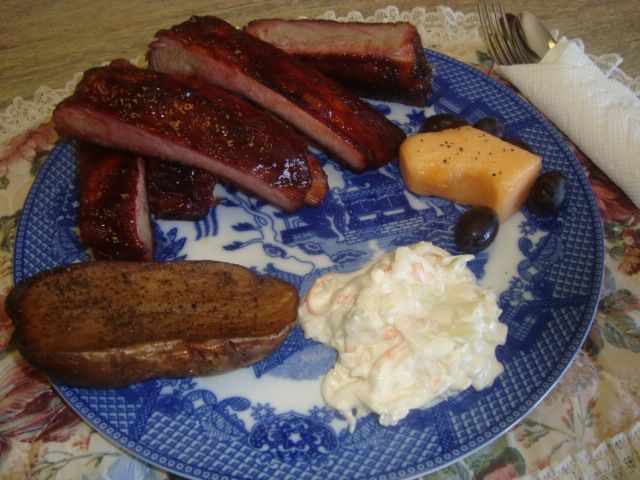
Sure made for a nice meal.

Very happy with the cook as I feel the possibility of cooking 5 slabs of St. Louis cut  spare ribs ribs in this little Davy Crockett tailgate cooker will work well for me in the future. 

Searing Steaks on the Davy Crockett

I sear my steaks to add that wonderful slightly crusty grilled, caramelized, and nutty additional flavor to my meat that is so hard to get even in some fine restaurants. To me, I do not need any additional spices, marinades, or sauces for my steaks. Sea salt and a great sear is all that is required for a fine steak. 

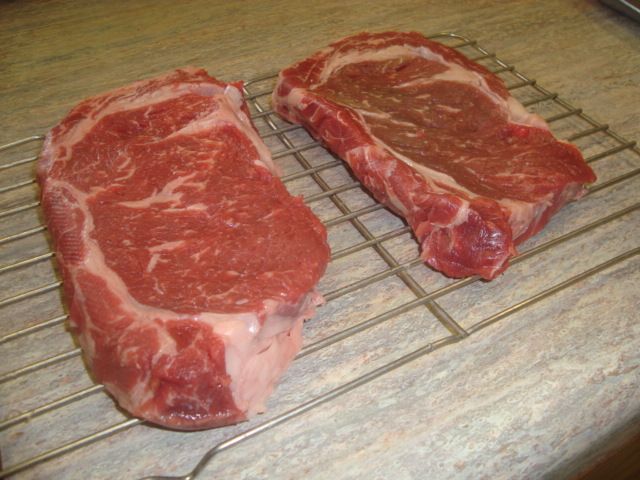
I like to start with either a boneless ribeye or strip steak and I like to cut my own to get them at least 1/1/4” to 1-3/4”thick for the best results. I prefer choice or above graded piece of meat if I can find it. 

 photo DSC02283.jpg

To prep the meat, I take it out of the fridge and wipe it dry with paper towels and place it on a cooling rack to dry and warm up for about 40 minutes. The rack lets air under the meat so any moisture doesn’t puddle under the meat. I usually turn the meat over and wipe it off a couple of times during this 40 minute warm up period as I want the surface dry as moisture is your enemy for a proper sear. 

 photo DSC02282.jpg

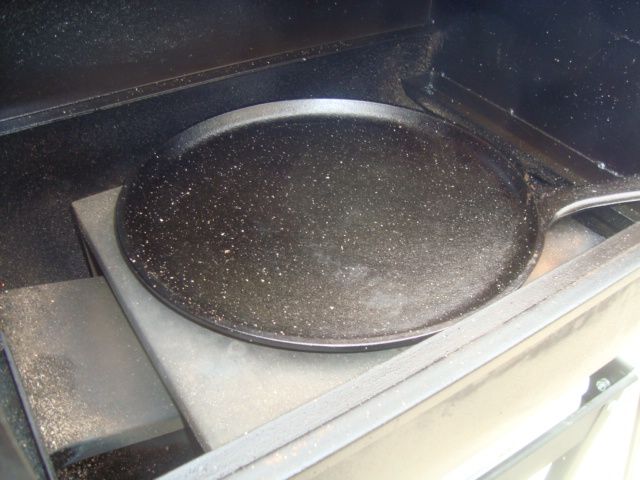
I will be searing these steaks in my Green Mountain Davy Crockett pellet grill and this is how I have it setup for this treat.

I take the two cooking grids out, then both of the “Open Flame Technology Plates” out of the grill. I do leave the diffuser plate in the grill as it is a good base for my black iron griddle. I then place my 10” round Lodge griddle on top of the diffuser plate.


 photo DSC02284.jpg

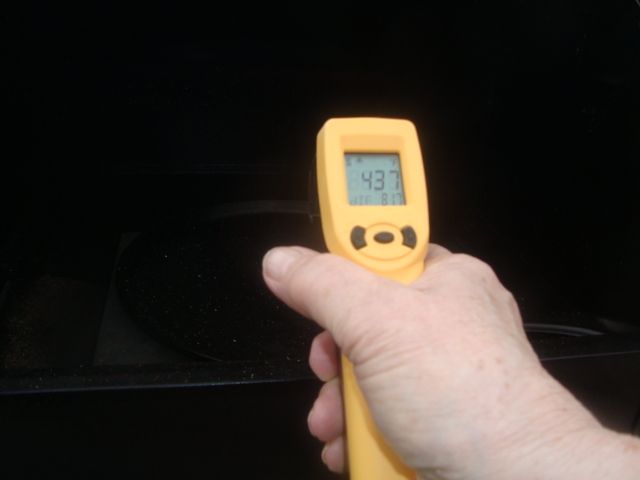
The best temp for searing is about 350 to 500 degrees and to get this on this little cooker and my setup, I find that setting the cooker temp to 375 degrees will produce a griddle surface temp of about 425-450 degrees which is perfect for my steaks.

Since there is such a thin line between searing and charring a steak and charring is not very safe, I finish my prep by sprinkling on a pretty heavy coat of sea salt just before the meat goes on to the griddle. Any other seasonings can burn or give an off taste to my meat. 


 photo DSC02286.jpg

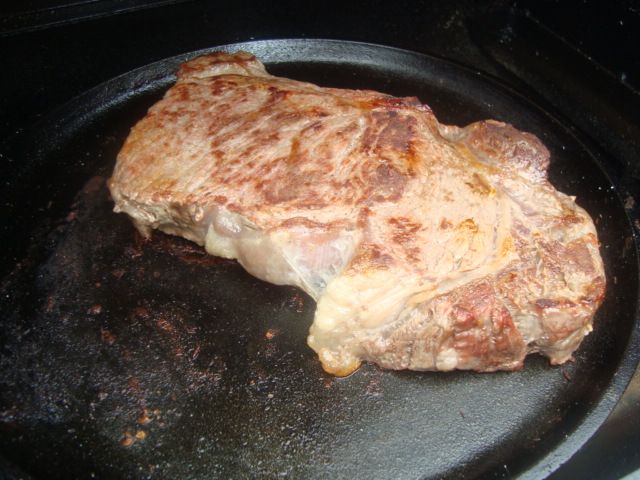
I place the steak on one side of my griddle and sear it for about 2-3 minutes until it naturally releases from the griddle surface and I turn it over on an unused part of the griddle to finish to cook.

Before starting my second steak, I wipe the griddle off of any remaining moisture from the first steak and then sear the second steak. 


 photo DSC02288.jpg

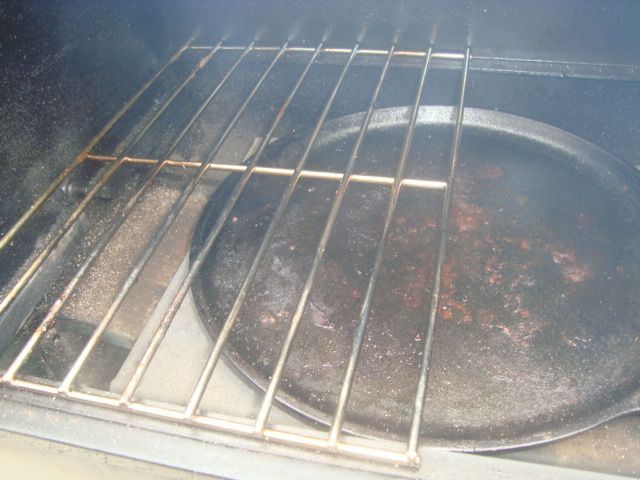
I cook my steaks to rare or medium rare and do not need this additional step but if the steak is not done to your liking during the 4-6 minute total searing time, you can add the grid back over the top of the setup to finish your steak. 

 photo DSC02287.jpg

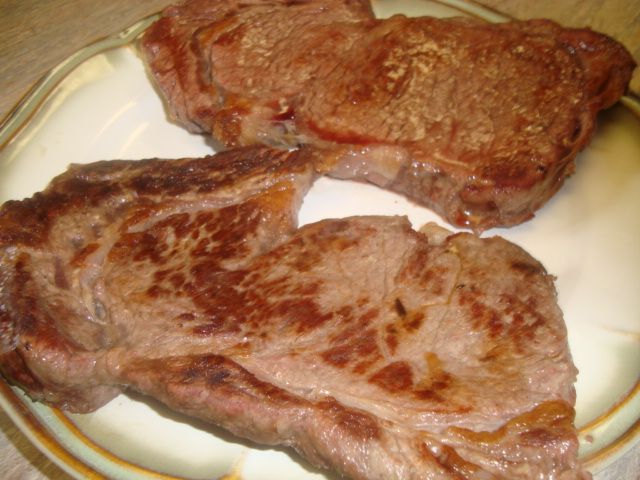
After a 10 minute rest, these are my seared, browned, and caramelized steaks cooked to slightly over rare and ready for the plate.

Anyway, that is the way I like to roll with steaks on  my little Davy Crockett tailgate pellet cooker.


Lollichops / other Stick Foods

This cook was done on the GMG Davy Crockett cooker and consisted of some Porksicles or as sometimes called Lollichops, some Slab Potatoes on a stick, and a block of Spam for some Spam Slyders.

 photo DSC02269.jpg

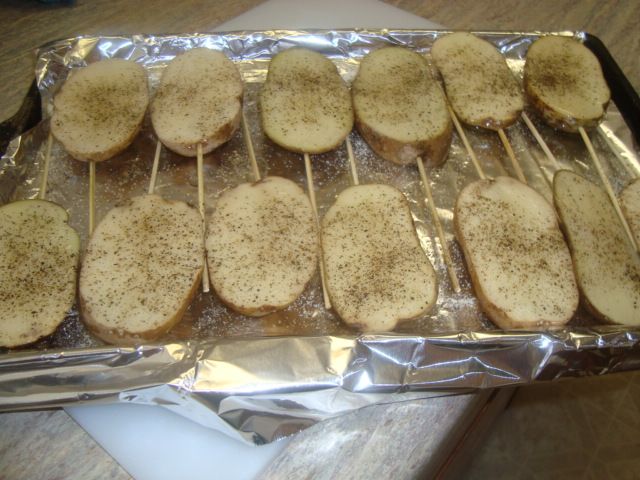
I prepped the slab potatoes by washing the potatoes first, then cutting them into about 3/4” thick slices, and then putting each slice on a stick. Next, I brushed on a coat of Peanut oil and then added my herbs and spices which in this cook was some Garlic salt and fresh cracked black pepper. Other spices and herbs that can be used on this treat are Italian seasoning, thyme, rosemary, basil, chives, dill, oregano, and dried onions to name a few. I sometimes will sprinkle on some Parmesan cheese later into the cook for a different taste. 

 photo DSC02270.jpg

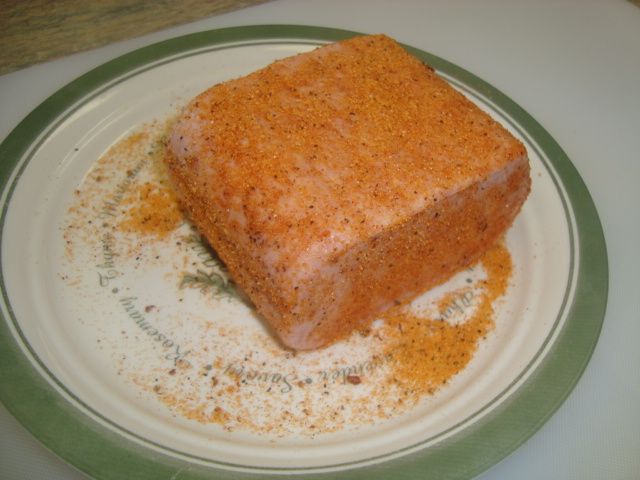
Not much prep for my Spam...just added a light coat of my favorite rub and it was ready for the fire.

 photo DSC02271.jpg

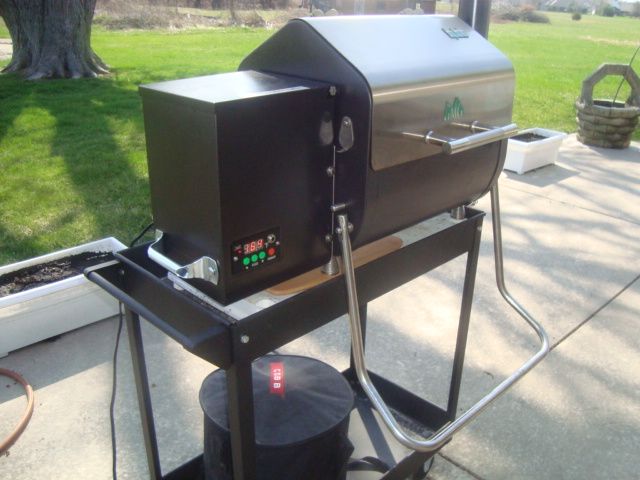
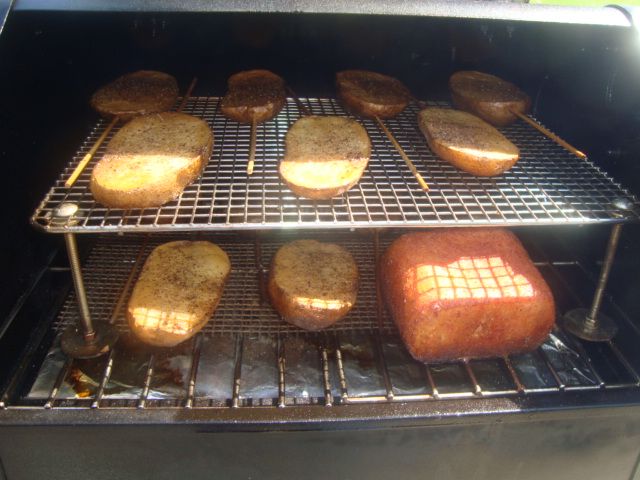
Rolled my little cooker around to the cooking patio and fired it up. Beautiful morning with a temp of about 55 degrees. I set the cooking temp to 365 degrees and let it come to temp and then loaded my food.

 photo DSC02272.jpg

Used my raised cooking grid to get it all on the cooker.

 photo DSC02273.jpg

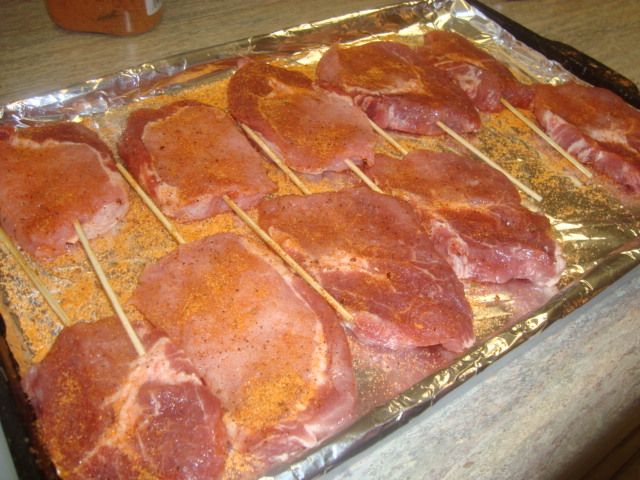
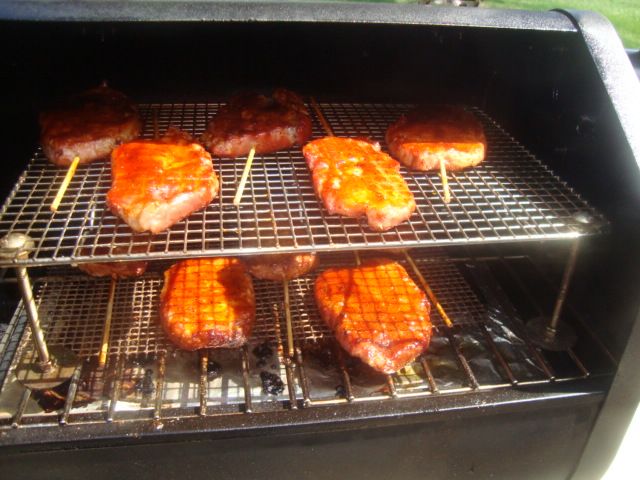
While that was cooking, I prepped my Porksicles by cutting the pork loin into about 3/4” thick slices and then putting them on a stick. Sprinkled on a light coat of rub and they were ready for the fire. 

 photo DSC02276.jpg

As soon as my first round was off the cooker, I loaded my Porksicles and later into the cook, I added some sauce and cooked them until done at about 145 degrees internal.

The results of the cook:


 photo DSC02275.jpg

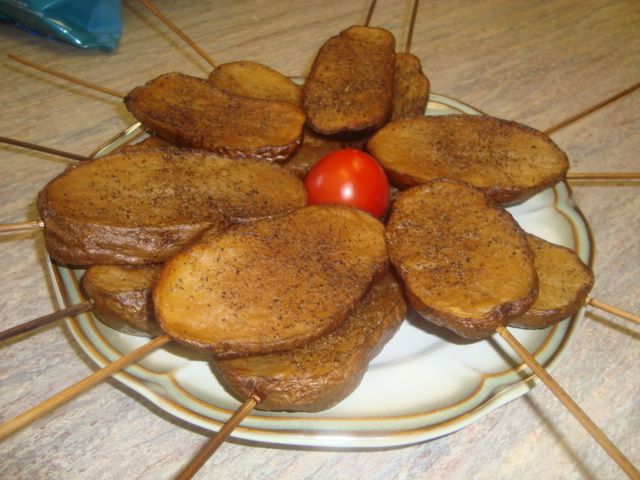
Slab potatoes came out great as usual...hard to beat this treat!

 photo DSC02277.jpg

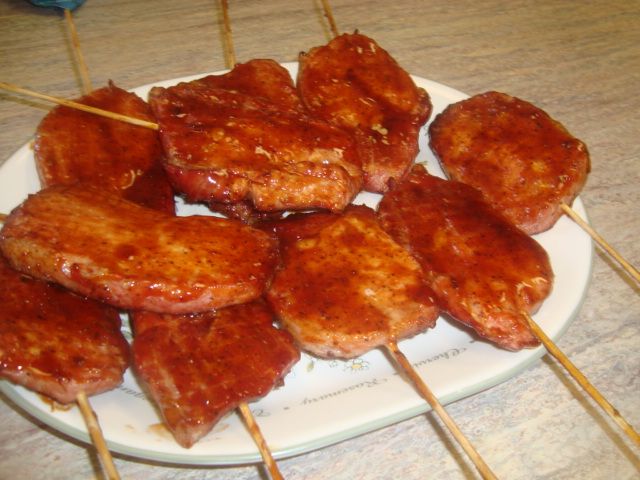
The Porksicles or Lollichops looked great as well just off the cooker.

 photo DSC02274.jpg

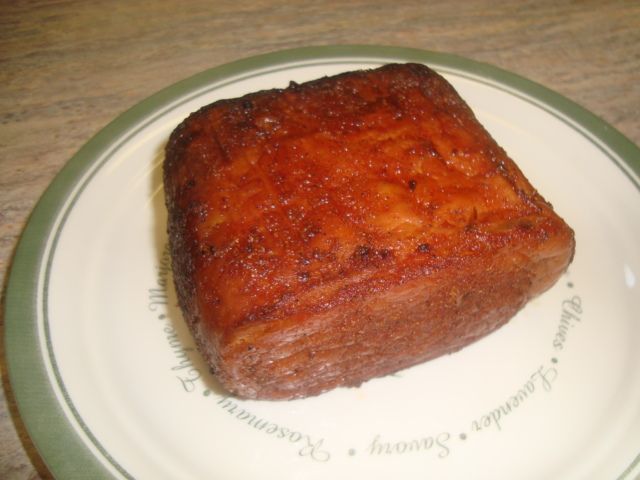
Love that crispy skin on the Spam...just had to have a sandwich.

 photo DSC02280.jpg

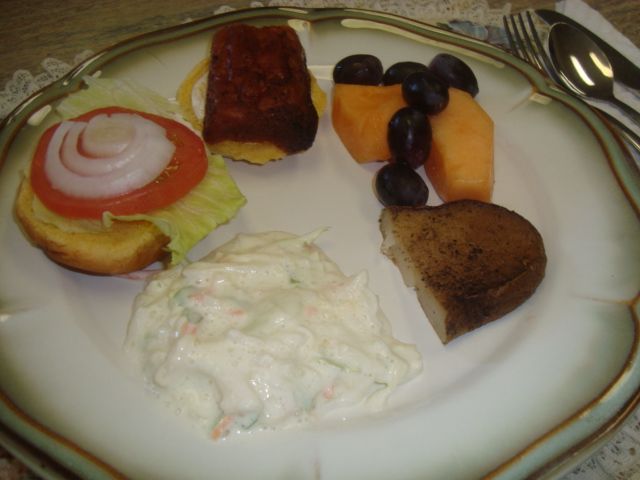
This is my Spam Slyder...put a little horsey sauce on the Slyder bun and then added some lettuce, tomato, and onion for my sandwich. Also added some slaw, a chunk of slab potato, and some fruit to complete the plate.

Gotta love “stick” food!!

Friday, May 23, 2014

More Davy Crockett Cooking

I did a two pork butt cook a few weeks back and these are the results of that cook along with some additional information about the cooker and how it cooks. 

 photo DSC02255.jpg

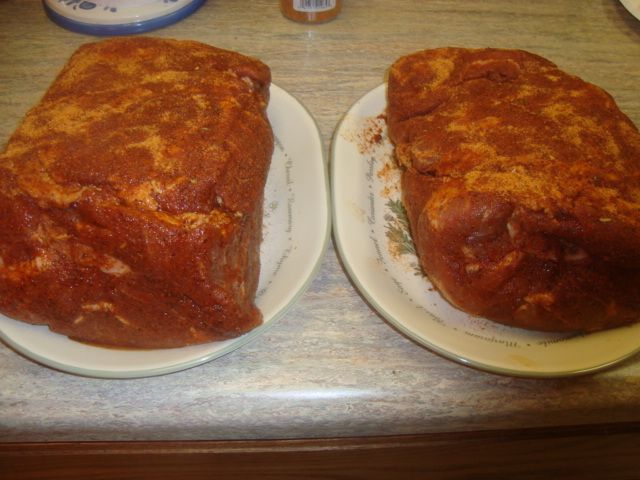
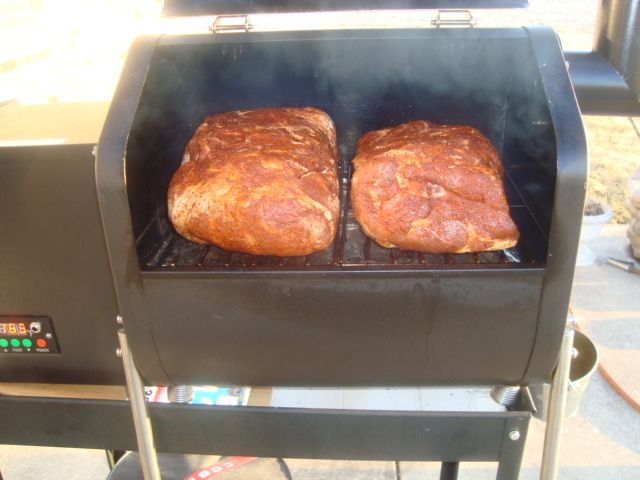
These two butts weighed a total of 15.21 pounds and were trimmed of their excessive fat, injected, and then rubbed. 

 photo DSC02256.jpg

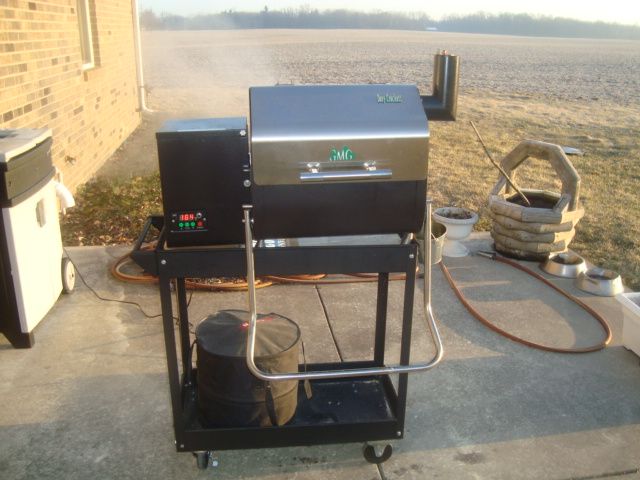
I moved my cooker around to the cooking patio and fired it up. Was a real nice sunny morning with the temp at 26 degrees so it looked like a nice day to cook. Set the starting temp at 165 degrees to give me a less efficient burn (more smoke) which I planned to use for the first couple of hours. 

 photo DSC02257.jpg

I loaded the heavier thicker butt on the hopper side as this side runs slightly hotter earlier in the cook and then loaded the smaller one on the right side. Now, as the meat heats up, this temperature difference seems to disappear in my cooker.

As far as capacity with pork butts, I have done 3 medium sized butts with a total weight of just under 23 pounds in the cooker and it came out well. To get them in, I loaded them on their sides again with the thickest on the hopper side. Although it is called a tailgate cooker, my 3 butt cook would make up 38 large 6oz sandwiches which would feed 38 hungry fans. It does have some capacity.


 photo DSC02258.jpg

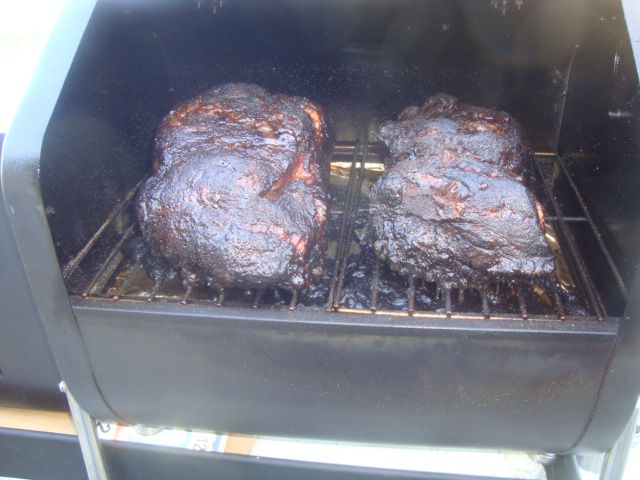
After two hours, I raised the temp to 275 degrees for the balance of the cook. Although I prefer foiling when I get the right color and the bark is right, I did not foil these two butts as I wanted to try them without foil. The above picture was taken just before I removed them from the cooker. I started checking the internal temp at 8 hours into the cook and then checked them a few more times during the cook and found both butts within 3-4 degrees of each other. I pulled them about 10-1/2 hour into the cook. 

 photo DSC02260.jpg

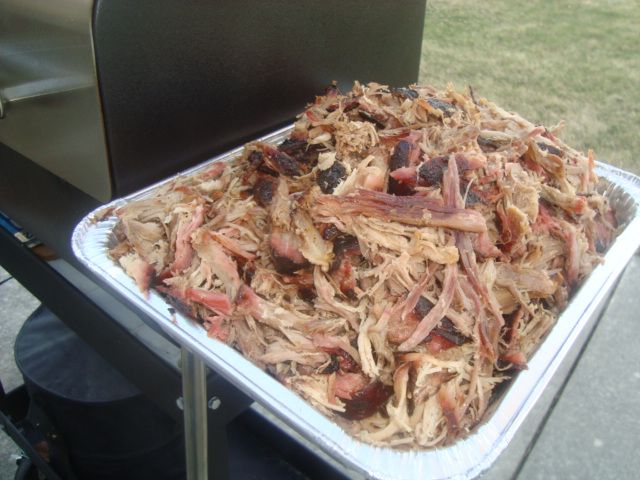
The butts pulled nice and gave me a large 1/2 pan of pulled pork. 

 photo DSC02261.jpg

 photo DSC02262.jpg

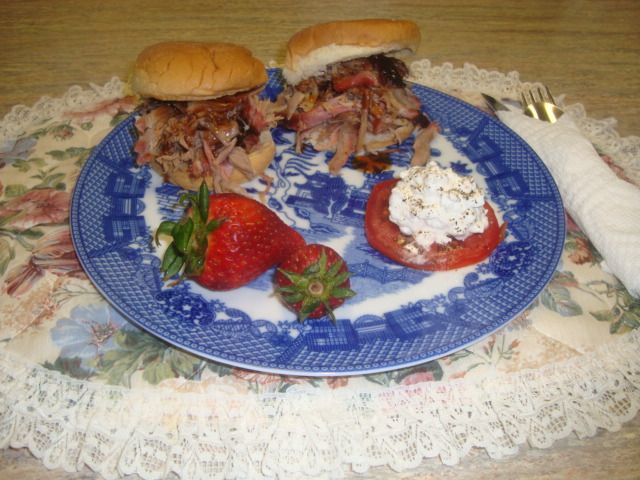
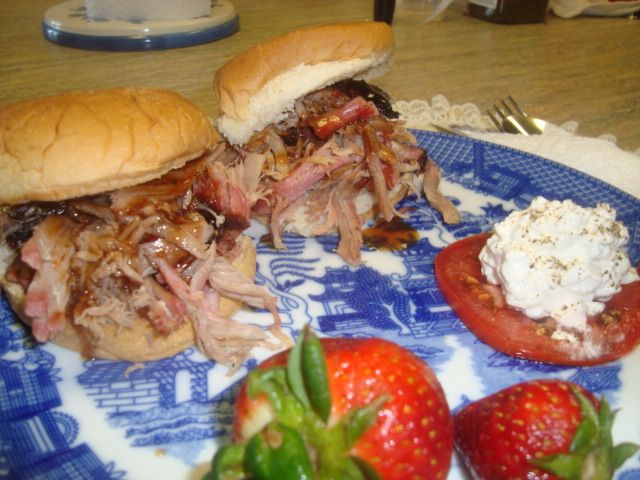
Made up a couple of small sandwiches and then dribbled on some Tennessee Red mixed with a little real Vermont maple syrup and sure made a nice meal.

I sure love this little cooker and use it often.