I had a few things in mind for my first proto-type "contraption" and just purchased all the parts and put together the first unit. Planned to use it for a few cooks and then make any improvements necessary to make it work better.
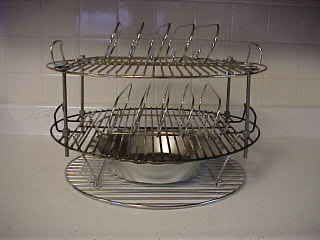
The contraption is built out of two 18-1/2" Weber replacement grids with handles and you must have the handles. These grids only measure about 17-1/2 inch across the od but are called 18-1/2 because they fit two of the Weber 18-1/2 inch cookers. The lower grid is the BGE Grid Extender which can be purchased from BGE. Then you need a 3 foot section of 5/16" threaded rod which can be found at any hardware store. Next is eight 5/16 inch fender washers, four 5/16" lockwashers, and sixteen 5/16" nuts. The drip pan should be a deep dish pie pan that should be about 11 inches (no more) in diameter and this can be found about anywhere. A fellow with just a hacksaw and a file or grinder can put this together in about an hour.
If a fellow didn't have any of the parts and had to buy it all new, would cost about 50 dollars which is money well spent as there is nothing better for the large Egg.
The capacity with this setup is about 10 slabs of ribs in rib racks, 4 large or 6 small pork butts, 2 meatloaves of about 16 pound total, 3-4 brisket flats although you may need to cut one in half if they are large, 10-12 pounds of jerky, 4 butterflied whole chickens, 4 whole turkey breasts, and several other large cooks.
I will list some of the features with my contraption setup. This first proto-type has over 4000 recorded cooking hours of use in the last 9 years and is still going strong.
1. The top grate is adjustable in height although I keep it at about 4-1/2 inch above the lower grate for everything except 4 turkey breasts.
2. The top grate just lifts off to service the meat on the lower levels in the cooker. I like to baste my meat and also put a glaze on the meat about 30-45 minutes before it comes off the cooker. I keep a small table beside the cooker and when I want to baste, I just open the dome, reach down and pull the upper grid off the cooker and set it on the table, spray or mop the meat on the lower level, place the upper grid with the meat back in the cooker, spray or mop this level and I am on my way again. I do the same thing with my glaze near the end of the cook. I also have to add charcoal at about the 8-9 hour mark into the cook with my heavy loads so I just reach down and get the handles of the lower grid and pull the whole setup with the meat out of the cooker and set it on my table. I then stir the remaining charcoal down and add more and replace the setup back into the cooker and I am on my way again. Takes about 90 seconds.
3. All setup work can be done on the kitchen counter top. I just get each cook ready in the kitchen and then fire up the cooker and when it gets on temp, I just carry the setup with the meat out and drop it into my cooker. This is really nice in the rain, cold, snow, and whatever as I don't really like to spend a ton of time out in the nasty weather if I can prevent it.
4. This setup will double the capacity in the cooker.
5. The lower section minus the top grid is used in all my smaller cooks and again, it can be all setup in the kitchen and then dropped into the cooker when the temp is right.
6. You can cook both indirect or direct by the use of my drip pan. You can also use the top grid only if you need to cook something on just a raised grid.
Ok, we'll do some pictures...
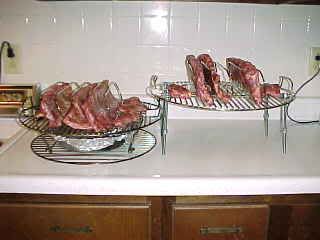
I am setting up a 6 slab rib cook in the kitchen.
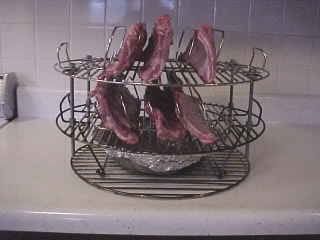
Ready to be carried out and dropped into my hot cooker.
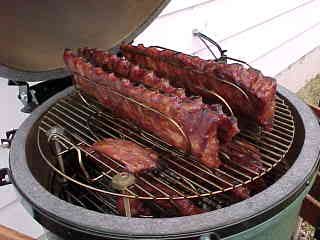
Ribs about done in the cooker. I never have to reverse the grids or move anything around as this setup work great.
This is two pork butts over a packer brisket ready to go on the cooker.
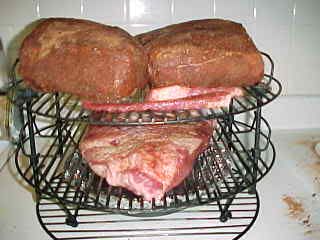
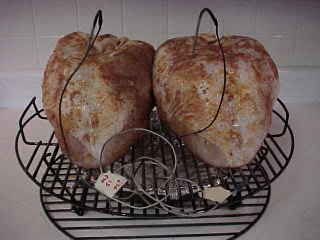
Prepping a 34 pound pork butt cook.
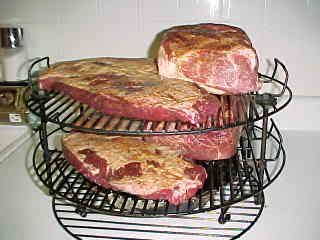
Two butts and three flats about ready to go on the cooker.

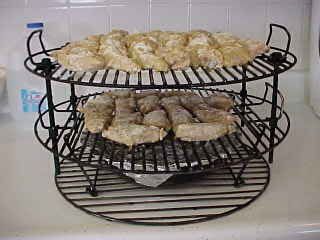
Prepping 10 large pork steaks.
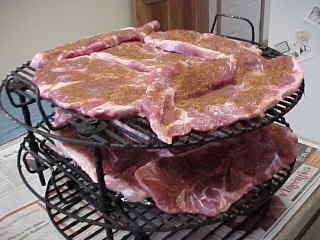
Ready for the cooker.

This is a two part cook and this is the first part and it is drbbq's corn casserole over 4 chicken breasts ready to be carried out and placed on the cooker.
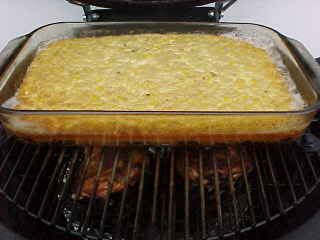
The cook about done.
Just as soon as the first part of the cook was done, I raised the temp to 375 degrees for my rolls and beans and placed them on the cooker. You can't see the lower grid in the picture but it had the baked beans in a glass bread pan.
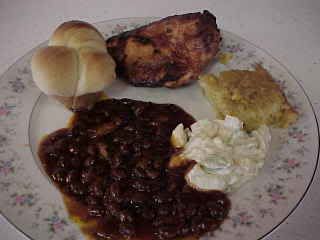
The results of this one cook. All but the potato salad wad done in this cook.
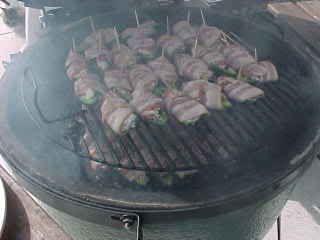
A couple layers of abt's just going on the cooker.
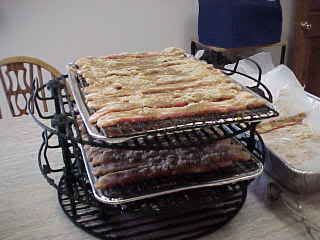
Prepping two layers of pig candy.
About done on cooker.
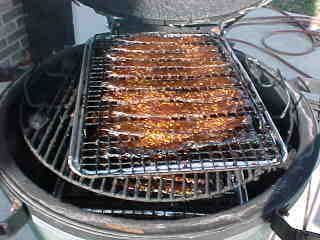
Prepping wings.
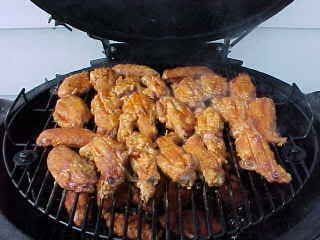
Wings on two layers about done on the cooker.
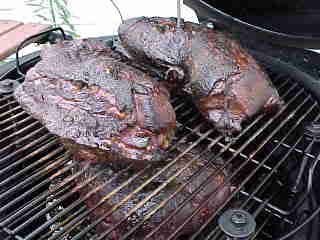
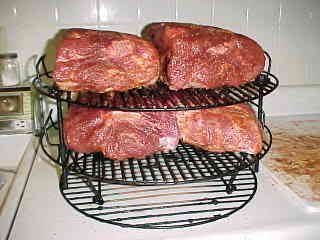
Four pork butts about done on cooker.
Two turkey breasts about ready for the cooker using only the lower section of my contraption.
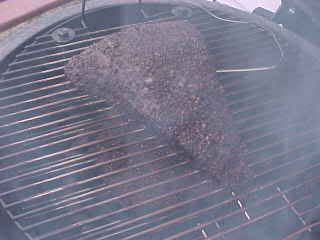
A two layer smoke of my pastraimed beef about done on cooker.
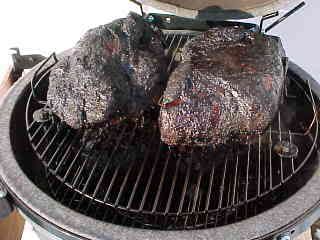
Four more pork butts on cooker.
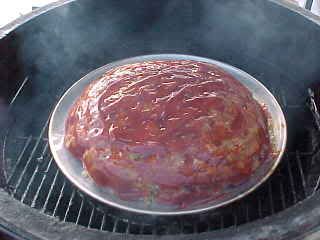
This is a meatloaf and Cresent roll cook. I set this one up on the cooker. I like to cook all my meatloaves on a preforated pizza pan so the meat doesn't cook in it's own grease.
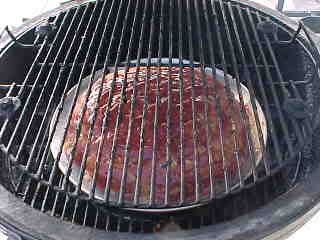
Placed my upper grid on the cooker.
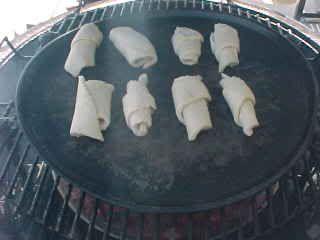
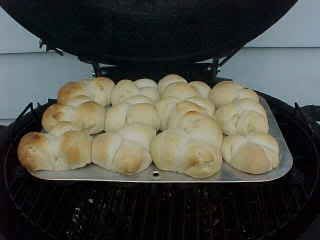
Added the pan rolls.
I did call this contraption a proto-type but it just works so great that I never did figure out any way to improve it!!

No comments:
Post a Comment